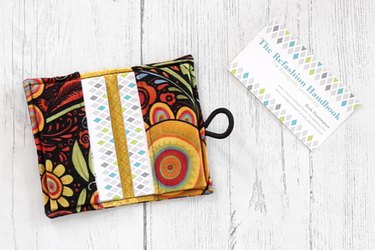
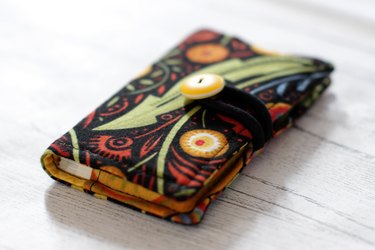
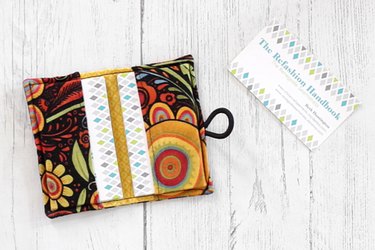
Let's face it, having a rubber band around your business cards or digging one out from the bottom of your bag just doesn't make you look very professional when you're handing one to a potential employer or a business associate. Instead, whip up a DIY card holder from some fabric scraps and keep your cards organized and clean. All you need is a few small pieces of fabric and an elastic hairband. This project is a great way to use up some fabric scraps and would make an excellent gift.
Video of the Day
Things You'll Need
2 4 1/2 x 2 1/2-inch fabric pieces
2 coordinating 4 1/2 x 5 1/2-inch fabric pieces
1 4 1/2 x 5 1/2-inch piece of fusible interfacing
Elastic hair band
Pins
Button
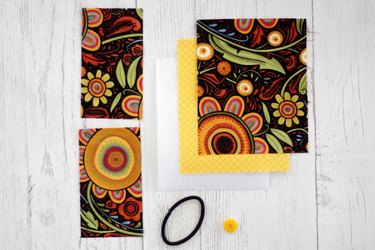
Step 1
Fold over 1/4-inch on one long side of each 2 1/2 x 4 1/2-inch fabric piece. Press and fold over another 1/4-inch and press again so you have a double hem. These pieces will become the card pockets.
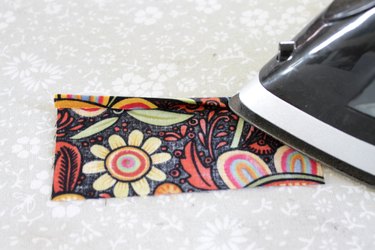
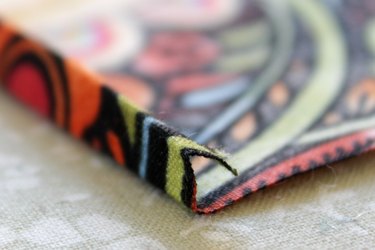
Step 2
Topstitch the hem on both pocket pieces.
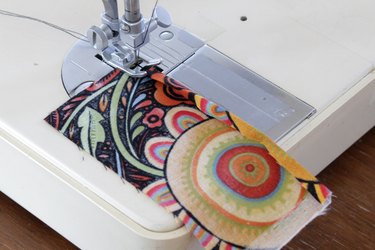
Step 3
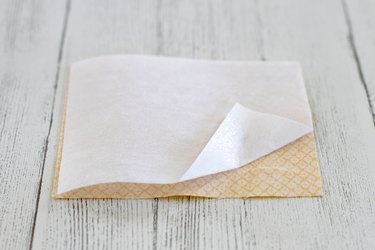
Line up the edges and use a hot iron to press the fusible interfacing to the wrong side of the lining piece.
Step 4
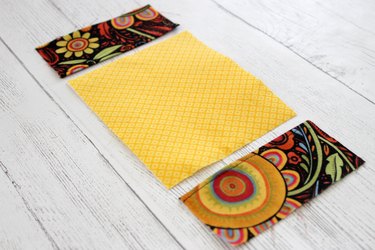
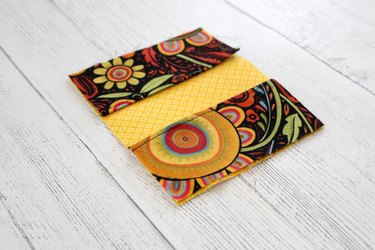
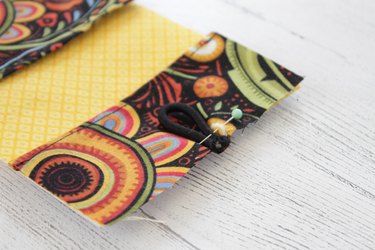
Turn the lining piece up so the right side is showing. Place the pocket pieces on each end of the lining piece and match up the raw edges.
Step 5
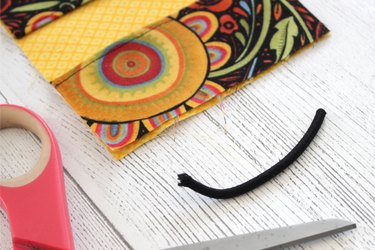
Cut an elastic hairband in half. Fold the hairband in half again and line up the raw edges in the center of one of the short edges. Pin in place.
Step 6
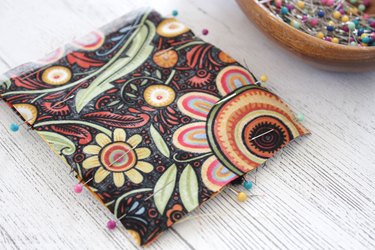
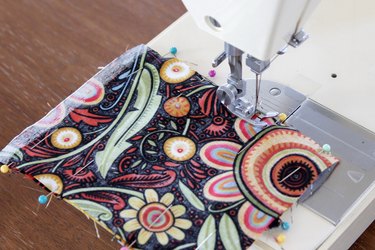
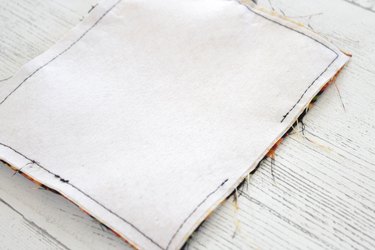
Place the outer fabric with right side down over the lining and pockets. Line up the raw edges and pin in place. Sew around three sides with a 1/4-inch seam. Leave a 2-inch opening in the last long side.
Step 7
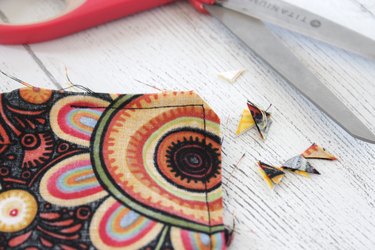
Trim each corner so when you turn it right side out the corners will be sharp.
Step 8
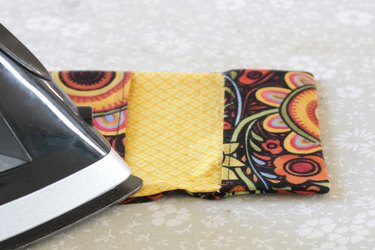
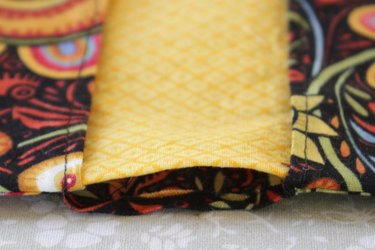
Turn the card holder right side out by pulling it through the opening in the side. Press all the sides and the corners with a hot iron so it's nice and crisp. Tuck in the raw edges of the opening and press flat.
Step 9
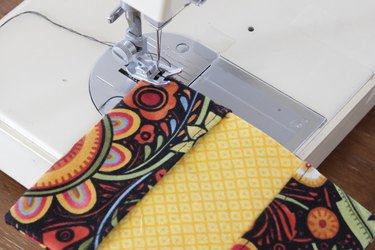
Topstitch around all four sides to close the opening and give it a finished look.
Step 10
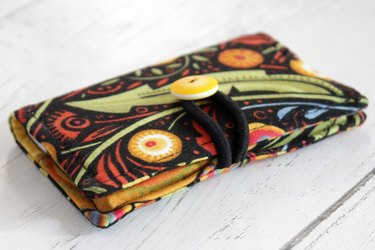
Sew a coordinating button to the outside. Be careful not to catch the inside pocket as you sew.
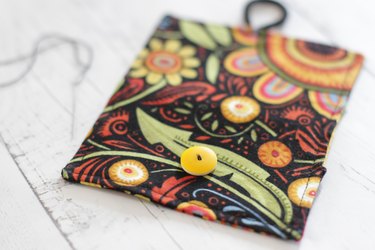
Pick a card, any card!
