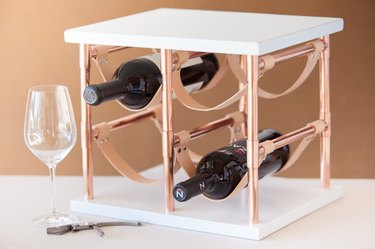
If your storage options are limited but your wine collection is not, then this DIY is for you. Put your wine collection on display and keep your favorite bottles on hand for entertaining with an easy-to-make copper pipe and leather wine rack.
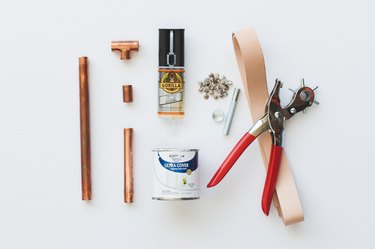
Things You'll Need
1/2 -inch copper pipe — 12 pieces cut to 4 3/4 inches, six pieces cut to 8 3/4 inches, six pieces cut to 1 inch
1/2 -inch T-fittings, 12
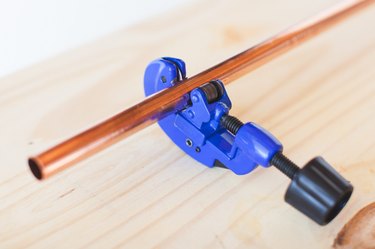
Pipe cutter
Two pine boards (3/4 by 11 3/4 by 14 inches)
1 1/4 inch leather strip, 4 ounces
Leather punch
Rivets & rivet setter
5/8-inch Forstner bit
Sandpaper
White paint
Step 1
Mark holes in both boards 1 inch from each corner and 1 inch up from the middle of the long edge.
Video of the Day

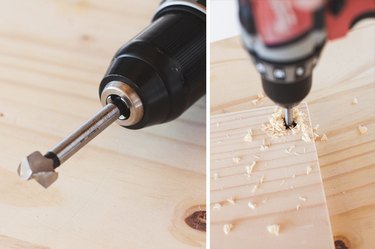
Step 2
Using a 5/8-inch Forstner bit, drill holes 1/2-inch deep, being careful not to drill all the way through.
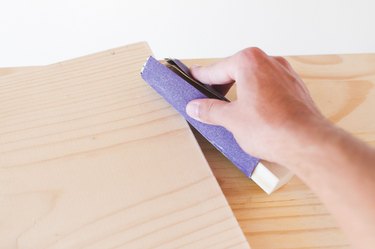
Step 3
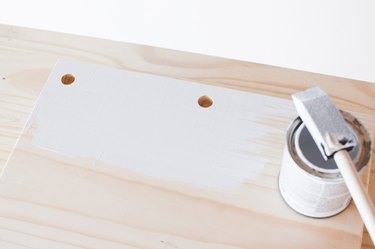
Lightly sand any rough edges, and paint the top and bottom of each board.
Step 4
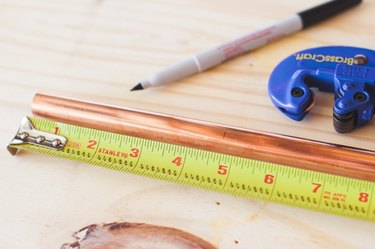
Measure and cut all pipes to length: 12 pieces cut to 4 3/4 inches, six pieces cut to 8 3/4 inches, and six pieces cut to 1 inch.
Step 5
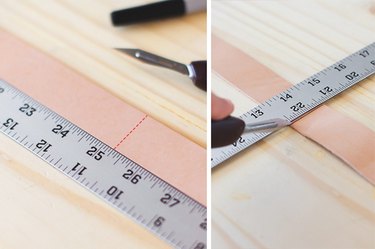
Using a sharp knife, cut the leather to length: four 1 1/4-inch strips cut to 25 1/4 inches long.
Step 6
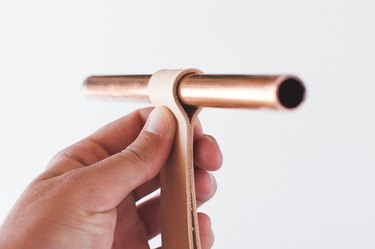
Fold a leather strap in half over a piece of the pipe to determine where to punch the holes for the rivets at the strap's center.
Step 7
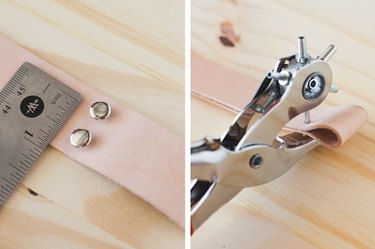
Using a leather punch, punch 2 mm holes 1/2 inch apart. Then insert rivets into the holes, and fasten them using the rivet setter.
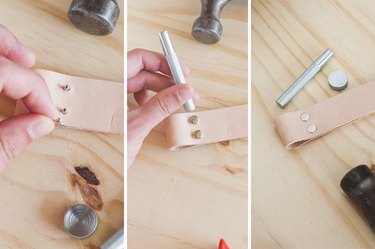
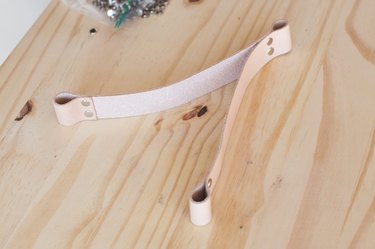
Rivet the ends of the strap in a similar manner, and repeat steps 6-9 for each of the leather straps.
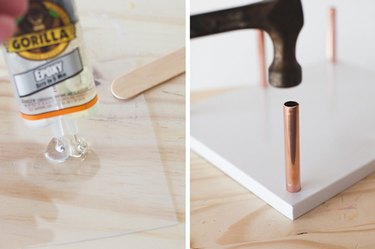
Step 8
Mix epoxy and apply a small amount to each hole in the bottom board. Insert one 4 3/4-inch-long pipe into each hole, lightly tapping with a hammer if necessary.
Step 9
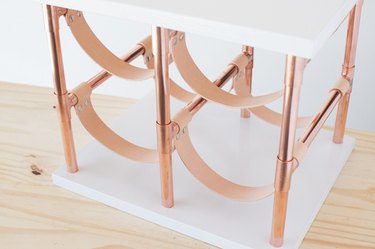
Thread the leather straps through each horizontal support.
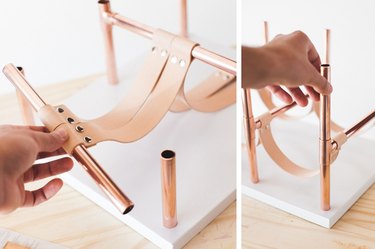
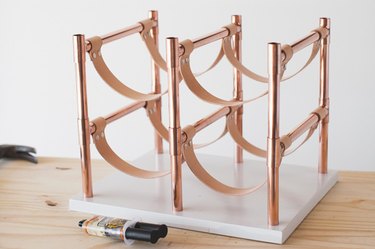
Assemble pipes with a small amount of epoxy at each joint using the 4 3/4-inch pipes as the vertical supports and the 8 3/4-inch pipes as the horizontal supports.
Step 10
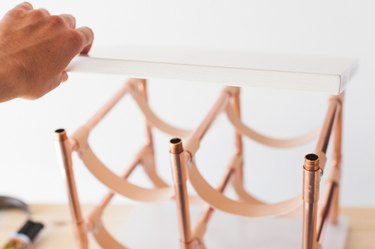
Insert 1-inch pipes into the top of each T-fitting on the top row.
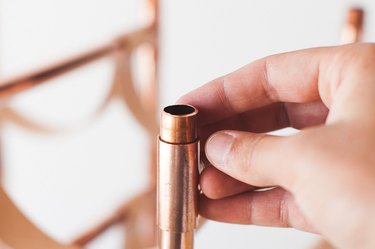
Aline the holes and attach the top board with a small amount of epoxy.
Step 11
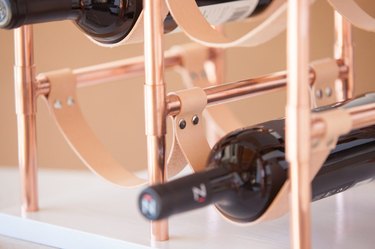
Fill with your favorite bottles.
Tip
Raw copper will tarnish over time but can be easily polished using any copper polish.
Video of the Day