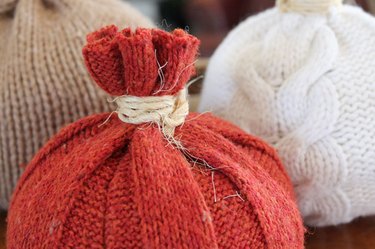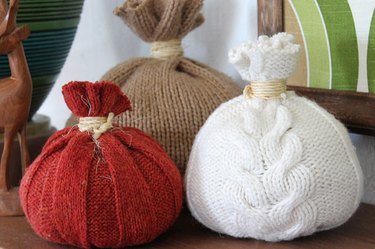
There's a nip in the air. It's time to get your cozy sweaters out. Fall is coming!
But if you happen to find a moth hole in one or more, don't throw them out. Instead, make some easy sweater pumpkins for autumn decorating. Or head to your nearest thrift store, like I did, to gather up a few old sweaters with some great colors and textures for this project. With this easy DIY sweater pumpkin tutorial, you'll maximize your fall decor by upcycling these thrifted sweaters and turning them into fabric pumpkins.
Video of the Day
Video of the Day
Here's our step-by-step DIY tutorial on the cutest fall craft.
Things You'll Need
Old sweaters
Fabric scissors
Large needle and embroidery thread
Pillow stuffing
Twine
Hot glue

1. Cut your sweater sleeves
Cut a piece from one of the sleeves. The size you cut will depend on how big you'd like your pumpkin to be.
Make sure you use a forgiving sweater fabric so you can easily shape the pumpkins for this fall project.
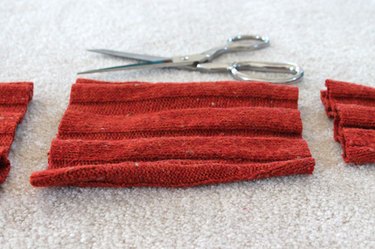
2. Thread a large needle
Thread a large needle with a full strand of embroidery thread and tie a knot on one end. Turn the sleeve piece inside out and hand stitch around the larger end.
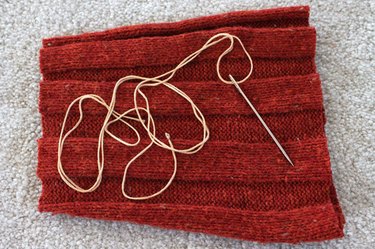
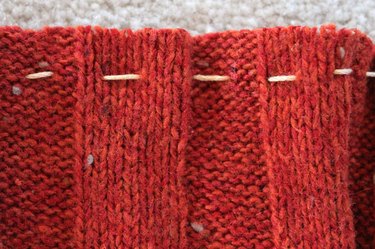
3. Pull your stitches tight
Pull your stitches tight to gather the end together.
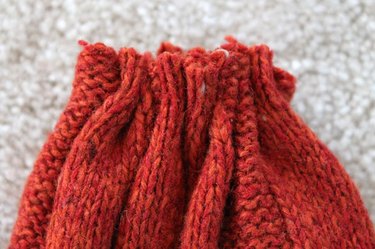
4. Tighten the fabric
Wrap the rest of the embroidery thread around the gathered portion of fabric several times and secure it with a knot. Cut off the extra thread.
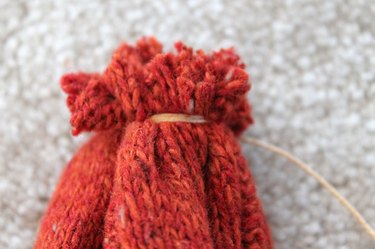
5. Shape your pumpkin craft
Turn the sleeve right side out, and the gathered end will become the bottom of the pumpkin.
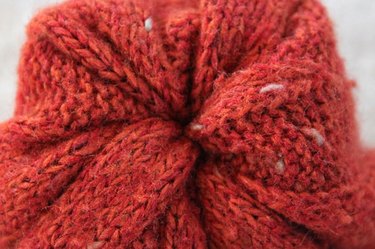
6. Stuff your pumpkin
Fill the sleeve with pillow stuffing until it is the shape you like, then use twine, string or leather to wrap around the pumpkin stem. This will serve as the top of the pumpkin.
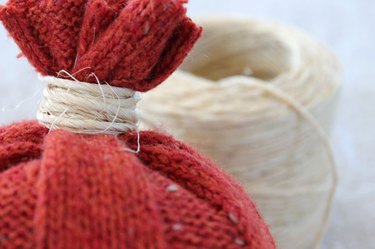
Tie a knot in the twine when you get the look you want. You can even use a dot of hot glue on the knot to keep it secure. Repeat this process with several different-colored sweaters for a fun and easy fall DIY project.
