We all love the convenience of slow cooking. I mean, you simply dump in the ingredients, chill out, and BOOM: a slow-simmered, super flavorful meal. But if you're under the impression that the cleaning up part isn't quite as easy, we're here to tell you otherwise—even if you've made a sticky toffee pudding and left the crusty remnants to dry inside overnight like we did. For demonstration purposes, of course, because we'd never be that lazy in real life (ahem). Not only can you clean it up with little effort, you don't even have to buy any special cleaners to get the job done. Here's how!
Video of the Day
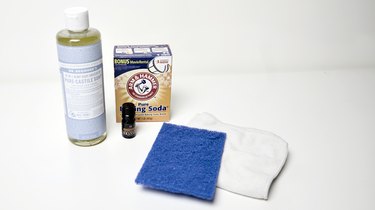
Things You'll Need
Baking soda
Liquid Castile Soap
Orange or lemon essential oil
Distilled white vinegar (optional for stubborn, burnt-on food)
Non-scratch scouring pad
Microfiber cloth
Step 1: "Cook Out" Stubborn Messes First
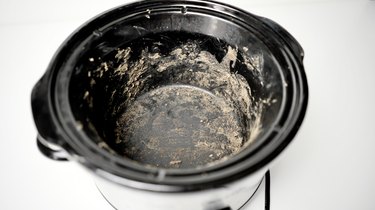
If you've got a fair amount of stuck-on food (as our sticky toffee pudding left us with below), you may need to complete this step before using your DIY cleaner.
Video of the Day
Fill your slow cooker with water and add distilled white vinegar (1/2 cup for a 3-quart cooker and 2 cups for a 6 quart). Then, set to low and let "cook" for 2 hours. This should make easy work of your cleanup afterwards!
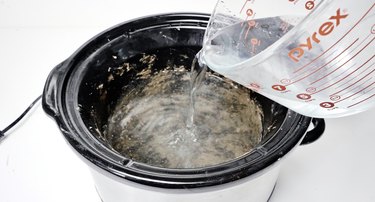
Step 2: Make a Gentle Cleaning Paste
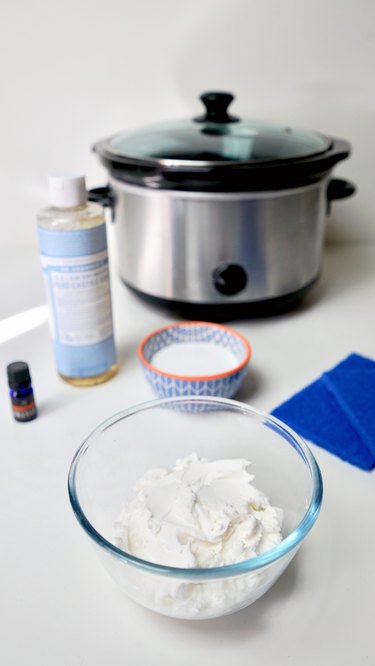
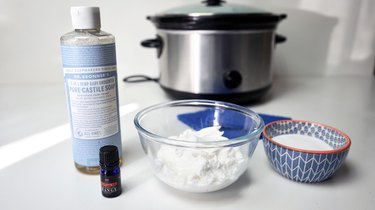
Whether you've got a removable or non-removable inner pot, this gentle DIY scrub will cleanse all parts of your cooker without the need to rinse with water (which would damage the electric heating element). In a bowl, add: 1 cup of baking soda,Gently Scrub Inside and Out.
In a bowl, add: 1 cup of baking soda,
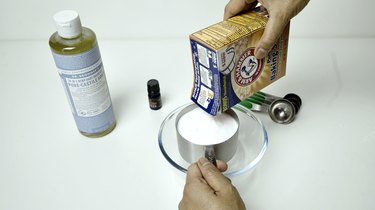
2 tablespoons of liquid castile soap,
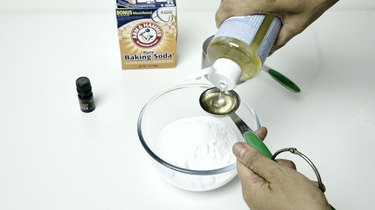
10 to 15 drops of lemon or orange essential oil,
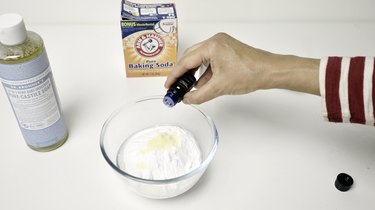
and 2 tablespoons of water.
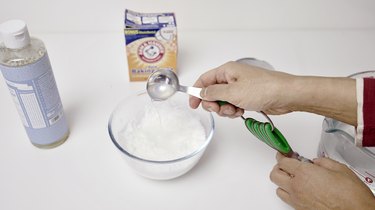
Mix well to make a paste.
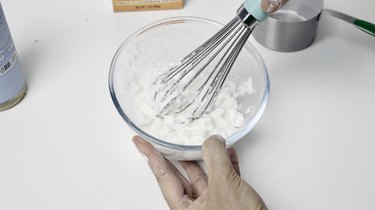
Step 3: Clean Outer Pot
Warning
Safety first! Unplug your slow cooker (or any small appliance, for that matter) before cleaning.
Using a non-scratch scouring pad, use the paste to clean off any food stains on the outer pot.
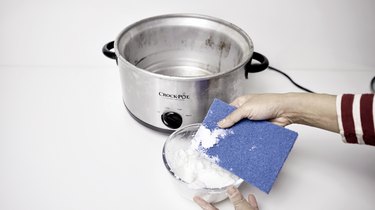
If you're able to remove the inner pot in order to reach the heating element at the bottom of the outer pot, use the cleanser to scrub this area also. (Before doing so, please read the warning below).
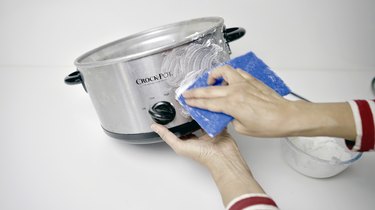
Warning
Refer to your product manual for detailed cleaning instructions for your particular slow cooker model. In general, the heating element should not be immersed nor rinsed with water which can cause damage and/or injury.
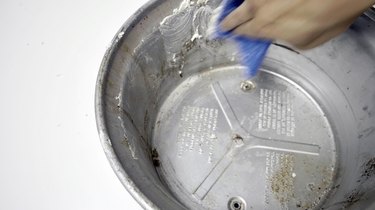
Step 4: Wipe Off with Microfiber Cloth
Once scrubbing is complete, wipe off the paste with a microfiber cloth. No water is required! Ensure that the heating element portion is entirely free of residue before using your cooker again.
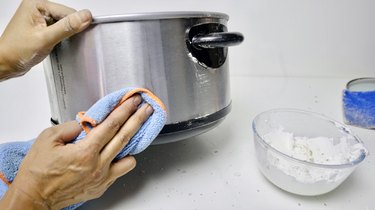
Step 5: Scrub Inner Pot
Repeat steps 2 and 3 for the inner pot—first scrubbing on, then wiping off. Ensure that you don't scrub too hard so as not to scratch the stoneware. If you've completed an initial phase of "cooking out" the burnt-on food with water and vinegar, you shouldn't need to use much elbow grease. However, if food is still stuck on, you may need to repeat the vinegar-water process.
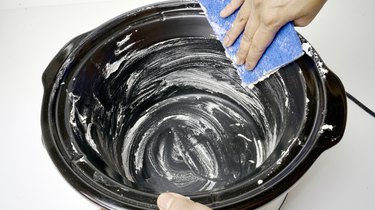
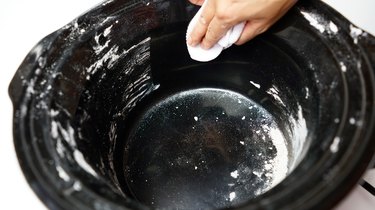
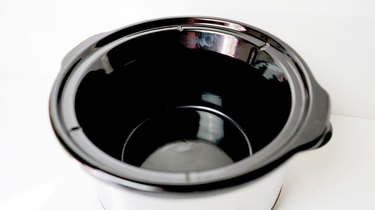
And voila! A sparkly clean cooker, ready to use for your next sweet or savory slow-cooked dish.
Not Just for Slow Cookers!
You can use this multi-purpose cleaning paste for water-free cleansing of other stoneware or metal appliances that require a gentle, scratch-free scrub. Make extra paste to have on hand whenever needed! It lasts for up to 3 months if well-sealed and kept in a cool, dry area.
