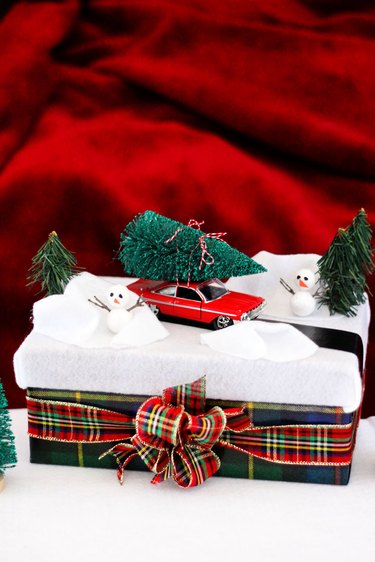
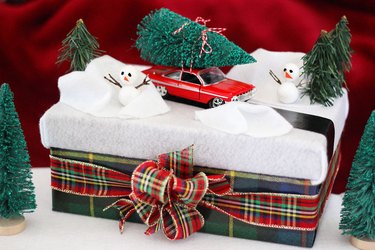
When I was a little tyke, one of my favorite things to do at Christmastime was going to the mall to see the department store windows decked out with miniature dioramas of holiday scenes. Since I'm still a kid at heart, here's a gift wrap idea inspired by these tiny winter wonderlands. In this display, a car carrying a freshly cut tree on its roof is driving along a country road surrounded by snowbanks and snowmen—and everything's taking place on the lid of a reusable gift box. It's definitely a beautiful sight, so happy tonight, gifting with this winter wonderland.
Video of the Day
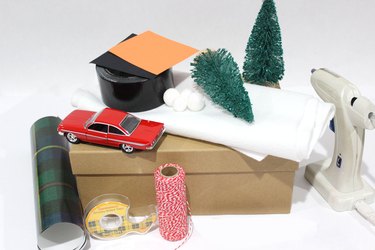
Things You'll Need
Box with lid
White felt
Hot glue gun
Wrapping paper
Tape
Black duct tape
Miniature toy car
Bottle brush tree
Twine
Artificial pine sprigs
Small styrofoam balls
Black and orange paper
Glue
Twigs
Ribbon
Step 1: Cover Box Lid in White Felt
To create this gift wrap project, you'll need a box with a lid like a shoebox or photo storage box. We'll be decorating primarily on the lid, so the winter wonderland display will stay intact when the gift is opened.
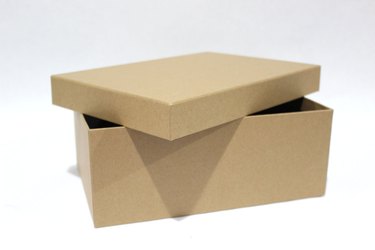
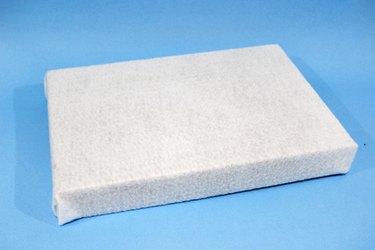
Cut a piece of white felt that will fit around the box lid. Hot glue the felt to the top and sides of the lid.
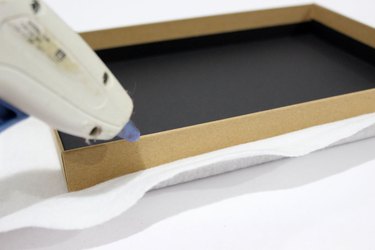
The lid will look like it's covered in a blanket of snow.
Step 2: Wrap the Main Box
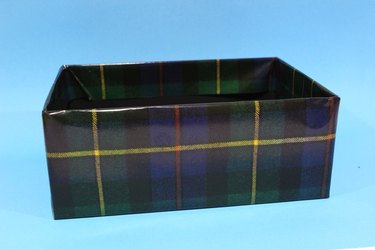
Cut a piece of holiday wrapping paper that will fit around the main box, and adhere it to the sides and bottom with tape. Put the box aside for now.
Step 3: Create the Road
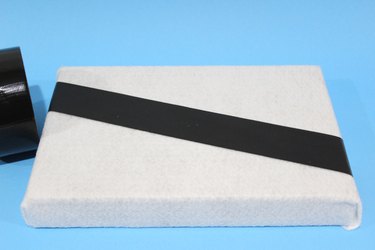
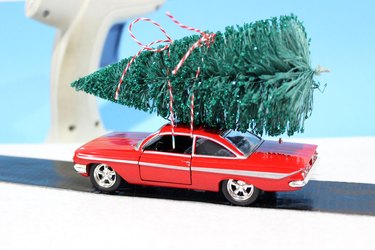
Tear off a piece of black duct tape, and apply it diagonally across the felt-covered box lid. We now have a road that's ready for cars.
Step 4: Add the Toy Car
Select a miniature car for your display—look for something that appears like a vintage car rather than a muscle truck or Batmobile. Tie a bottle brush tree to the roof of the car with two strands of twine to keep it secure.
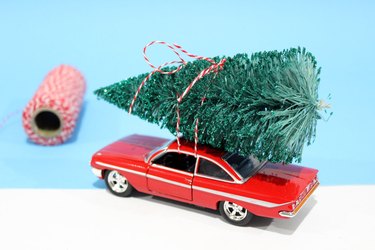
Then hot glue the tires of the car to the road.
Step 5: Make Snowbanks
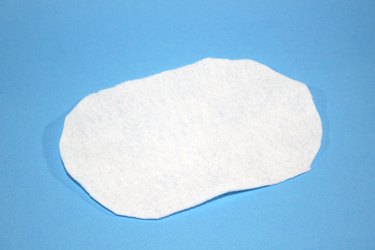
To create snowbanks by the side of the road, start by cutting pieces of felt into ovals.
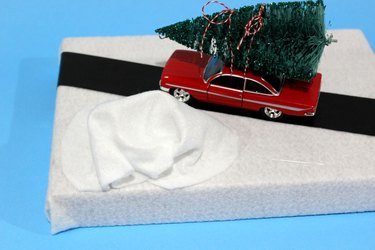
Hot glue the felt onto the lid on either side of the road, scrunching the felt as you glue to create a mound of snow.
Step 6: Add Trees in the Snow
We want the car to look like it's driving through a treelined road. An easy and inexpensive way to create trees is to cut sprigs from an artificial pine branch (e.g., a floral pick or a wreath) from a dollar store. They look just like tiny trees. If you want, you can also trim the greenery so it's pointier at the top like a Christmas tree.
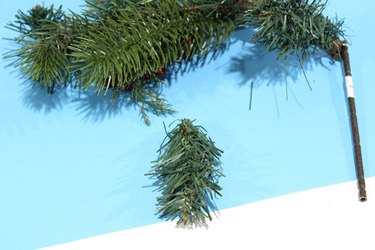
Hot glue the miniature trees to the box lid display. You can lean them up against a snowbank for added support.
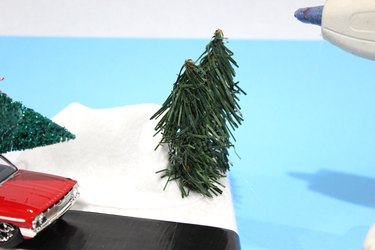
Step 7: Add the Snowmen
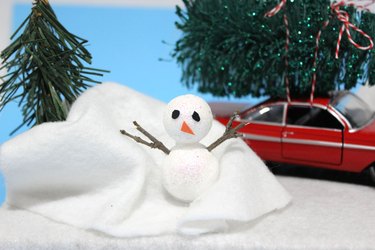
Hot glue two styrofoam balls to each other. Ideally the head is smaller than the body. Cut out eyes out of black paper and a carrot nose out of orange paper, and glue them to the heads of the snowmen. Use regular craft glue here instead of hot glue, as you will most likely be touching the glue with your fingers as you position the eyes and nose. Poke twigs into the shoulders and glue them in place.

Hot glue the snowmen near or on top of the snowbanks.
Step 8: Finish with a Ribbon
Place the decorated lid on the wrapped box. Wrap a ribbon around the box and tie a bow.
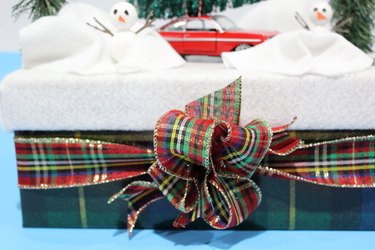
Whoever receives your gift will also have a wintry diorama that can be displayed and cherished for years to come. The scene may be tiny, but your heart is big.
