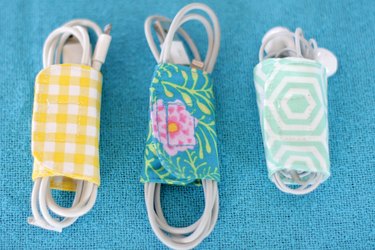
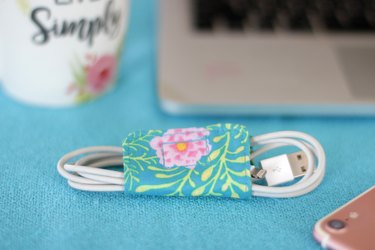
One easy way to jump on the decluttering bandwagon is to tackle your collection of unruly cords. Let's face it—we all have that basket full of tangled chargers lurking about that could use some serious organizing. Keep those cords under control and detangled with these cute cord holders that you can make yourself from a couple of pieces of scrap fabric. Imagine the cord envy your friends will have when you pull one of these bad boys out of your bag.
Video of the Day
eHow may earn compensation through affiliate links in this tutorial.
Things You'll Need
Two 2 3/4 x 4 3/4-inch pieces of cotton fabric with rounded edges
One 2 3/4 x 4 3/4-inch pice of medium fusible interfacing with rounded edges
Clips or straight pins
Sharp scissors
1 inch piece of hook and loop tape
Iron

Step 1
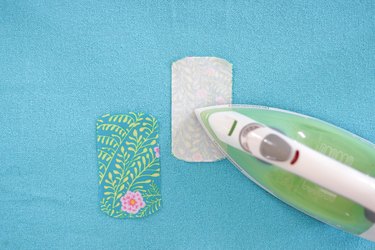
Use a hot iron to adhere the fusible interfacing to the wrong side of one fabric piece.
Step 2
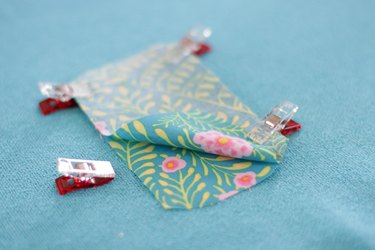
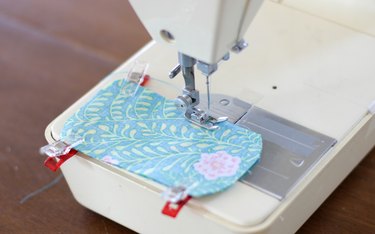
Place the two pieces of cotton with right sides together. Use clips or pins to hold in place. Sew around the edges with a 1/4-inch seam, leaving a few inches open on one of the long sides.
Step 3
Use a sharp pair of scissors to clip notches from both rounded edges. This will reduce bulk when you turn it right side out. Be very careful not to clip the stitches.

Step 4
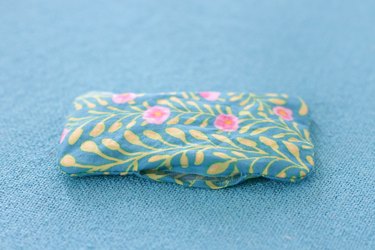
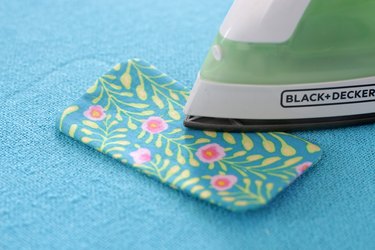
Turn it right side out by pulling the fabric through the side opening. Use a chopstick or a pencil to push out the corners. Press flat with an iron.

Step 5
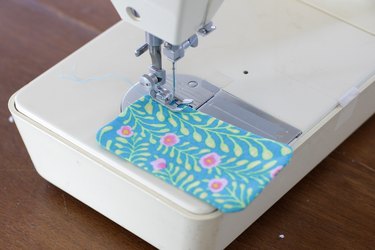
Topstitch close to the edge to close the opening and create a finished look.
Step 6
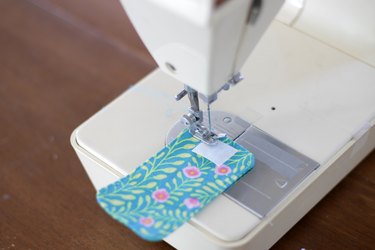
Place the hook and loop fastener on opposite ends and opposite sides of the cord holder, then sew in place.
Wrap up your chargers and say good-bye to cord clutter with this stylish way to keep your cords neat and tangle-free.

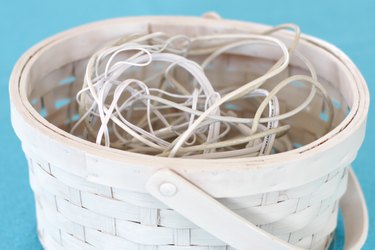
You will go from this...
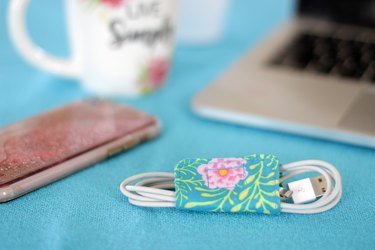
...to this!
