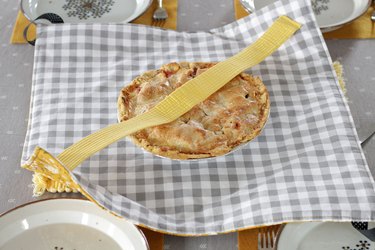
What is synonymous with holiday season? Pie season! It's our favorite time of year to break out old pie recipes, and to discover new ones. If you are baking a pie to give as a gift, or are bringing one to a holiday meal, go the extra mile and present it in a charing fabric pie carrier. Everyone is going to want to know which boutique sells them. They'll be delighted when you tell them you made it yourself.
Video of the Day
Things You'll Need
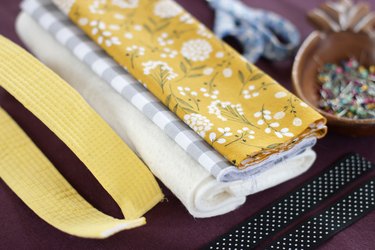
22-in. square piece of cotton batting
22-in. square pieces of coordinating cotton fabric, 2
7-in. pieces of wide ribbon, 2
Straight pins
22-in. piece of cotton webbing
Sharp scissors
Iron
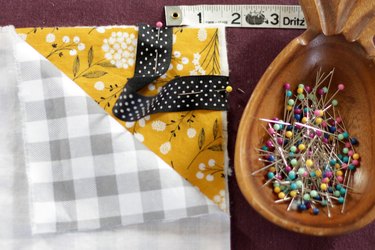
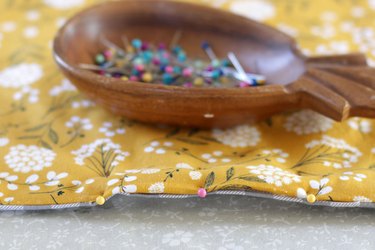
1. Pin the fabrics and batting
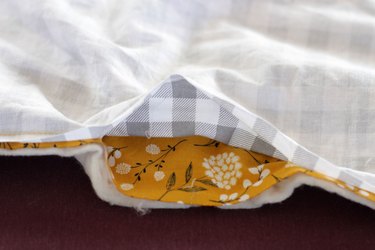
Layer the fabrics starting with the cotton batting on the bottom, then place one of the fabrics with the right side facing up on top of the batting. Pin the ribbon 1 1/2-inches away from the corner on both sides.
Place the second piece of cotton fabric on top with the right side facing down. Pin all around the four sides. Pin another ribbon in the same way on the opposite corner from the first ribbon.
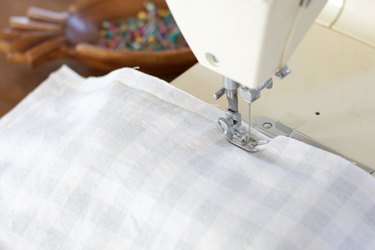
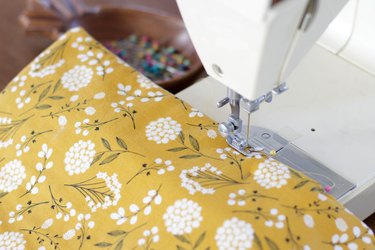
2. Sew the fabric and batting
Sew around all four sides, being sure to remove the pins as you sew. Leave a 5-inch opening in one side.
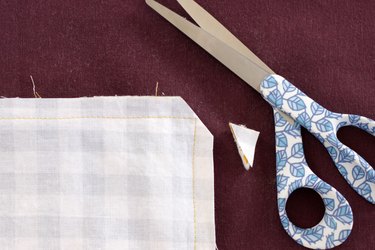
3. Clip the corners
Clip all four corners. This will reduce the bulk and help the corners to lie flat when you turn it right side out.
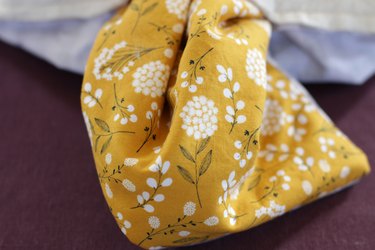
4. Pull the fabric through
Pull the fabric through the 5-inch opening in the side to turn it right side out.
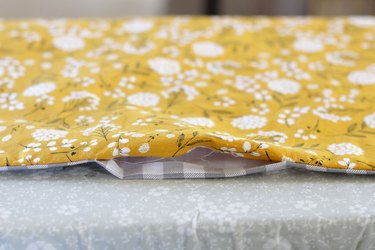
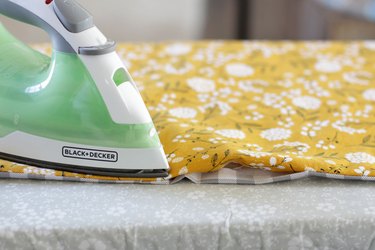
5. Press the fabric with an iron
Press the opening and pin it closed. Continue to press all of the edges to create a nice crisp finish.
6. Topstitch the fabric
Topstitch around all four sides.
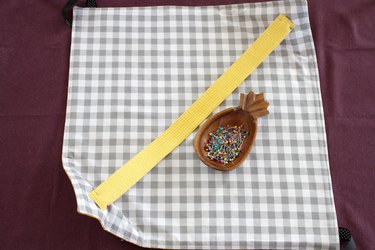
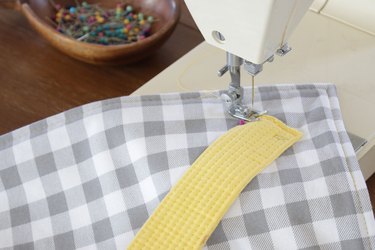
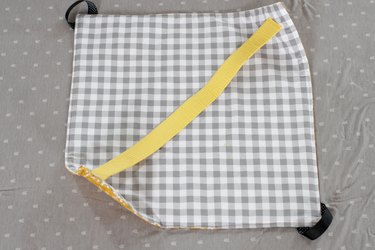
7. Attach the cotton webbing
Pin and sew the cotton webbing 2 inches in from the corners without the ribbon loops. It will pull up slightly. This will be the inside of your carrier.
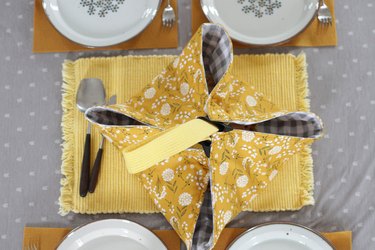
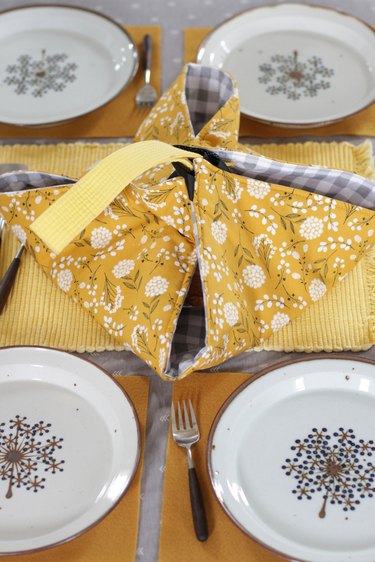
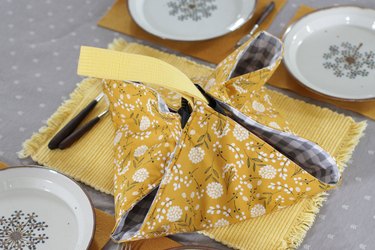
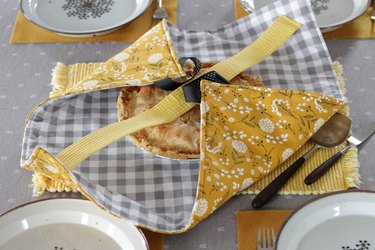
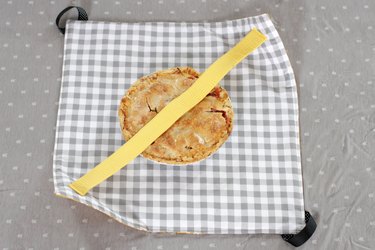
8. Bundle up your pie
Place your pie in the center.
Thread the webbing through each ribbon loop and pull closed.
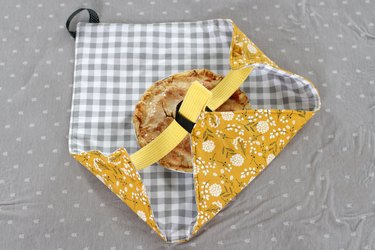
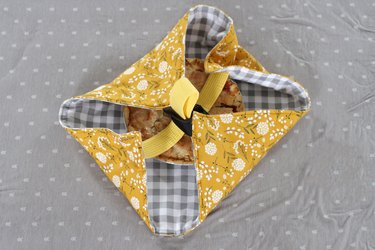
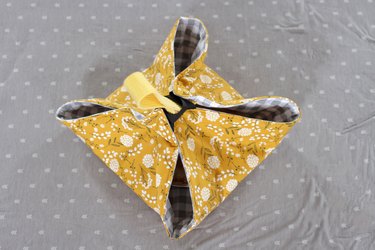
Isn't this adorable? Your friends and family will love the entire presentation!