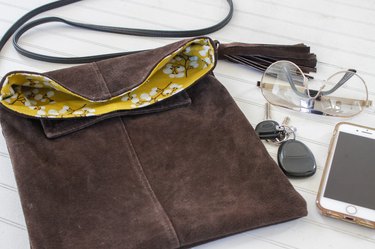
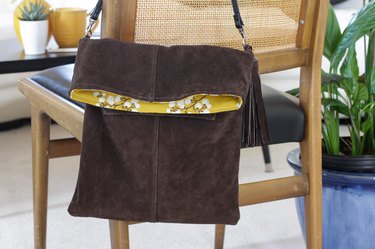
Whether you're on vacation, shopping at the store, strolling through the park or enjoying an afternoon at the zoo, a cross bodybag is a must have item. They are perfect for carrying the essentials and keeping your hands free at the same time. You can even make your own from an old thrift store suede jacket or shirt to put your own personal touch on a bag that just might become a new favorite.
Video of the Day
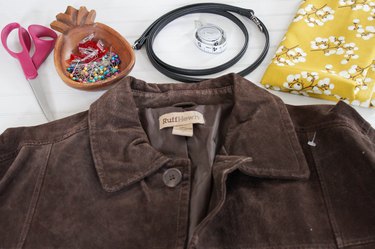
Things You'll Need
Suede jacket or shirt
Sharp scissors
12-inch x 17-inch piece of lining fabric
Leather needle (110/18)
Straight pins
Purse strap with swivel clips
Tassel (optional)
Step 1
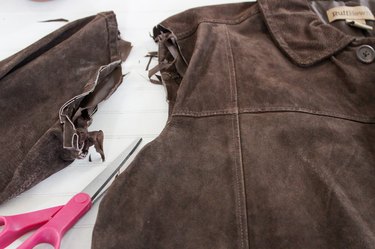
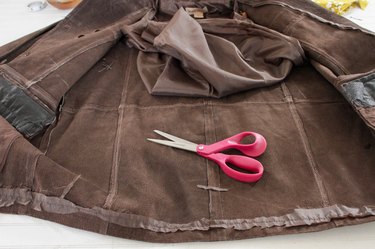
Cut the sleeves off of the jacket with a sharp pair of scissors. Remove the lining from the inside of the jacket by cutting all along the edges.
Step 2
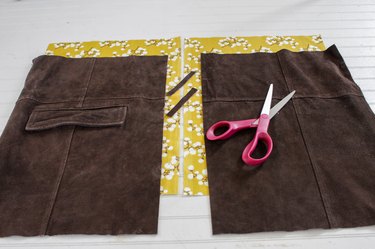
Cut two pieces from the jacket that are 12-inches x 17-inches. You can include the pockets or other interesting features from the jacket. Cut two small strips of suede that are 3 1/2-inches x 1/2-inch.
Step 3
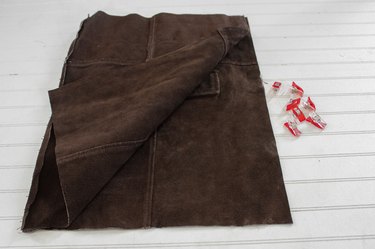
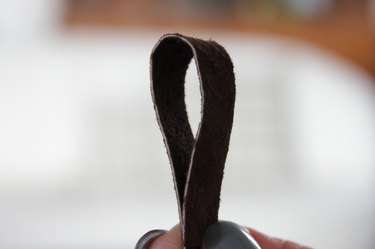
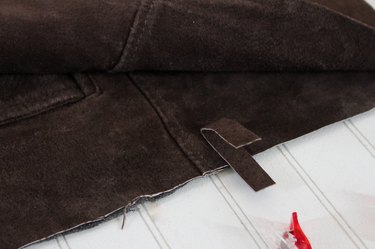
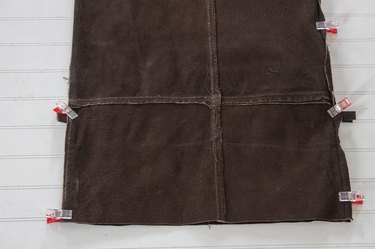
Place the two pieces of suede with right sides together. Fold the small strips of suede in half and place them with the loop on the inside about 5 inches down from the top of the bag. Hold in place with a wonder clip.
Do the same on the other side of the bag with the other small strip of suede. Continue to clip around the sides of the bag and the bottom of the bag.
Tip
When working with suede or leather, use clips instead of pins to hold it in place while you sew. Pins will put holes in the suede or leather and clips will keep it nice and neat.
Step 4
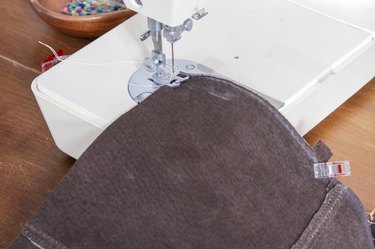
Starting at the top of the bag, sew a 1/2-inch seam down the side, across the bottom and up the other side of the bag. Be sure to remove the clips as you sew and backstitch at the beginning and the end of the seam.
Step 5
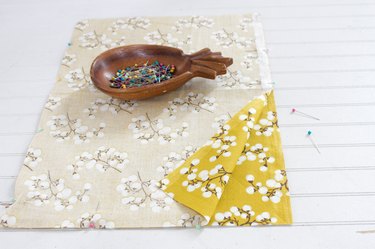
Place the two lining pieces right sides together and pin the sides and the bottom. Sew a 1/2-inch seam around the sides and leave a 6-inch opening in the bottom edge.
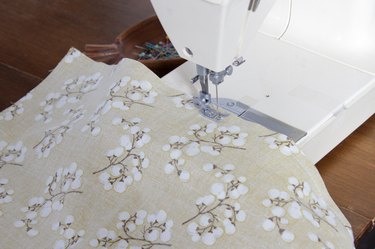
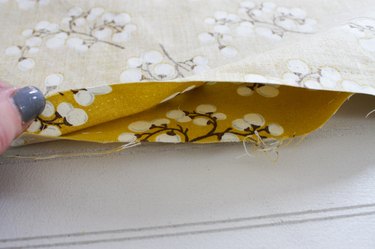
Step 6
Clip the bottom corners of the bag and the lining to reduce bulk.
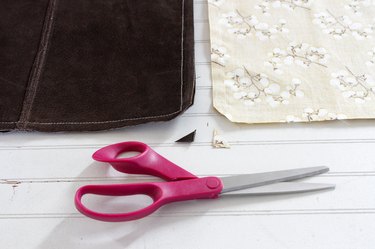
Step 7
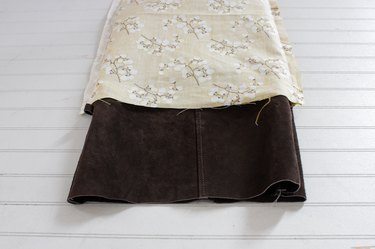
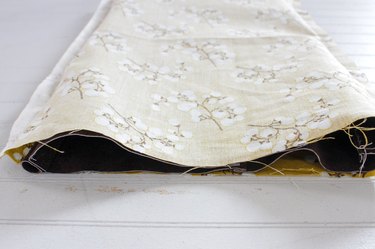
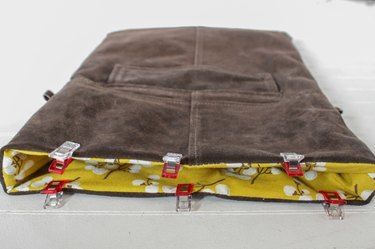
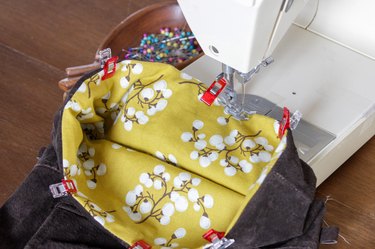
Turn the bag right side out and place it inside the lining so right sides are together. Line up the side seams and the top raw edges. Clip to hold them in place.
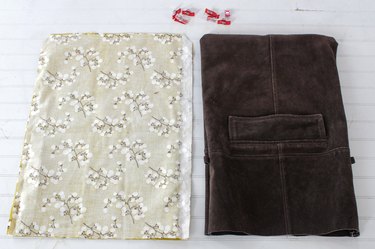
Step 8
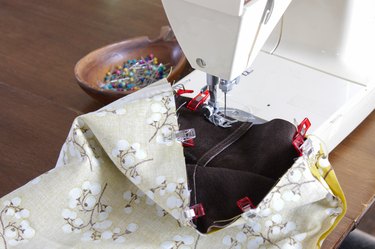
Sew a 1/2-inch seam all around the top edge. Remove the clips as you sew.
Step 9
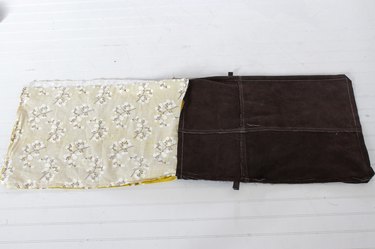
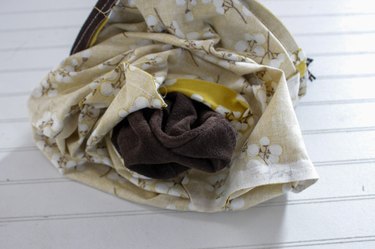
Pull the lining out of the bag, reach in through the opening and pull the bag through so everything is right side out.
Step 10
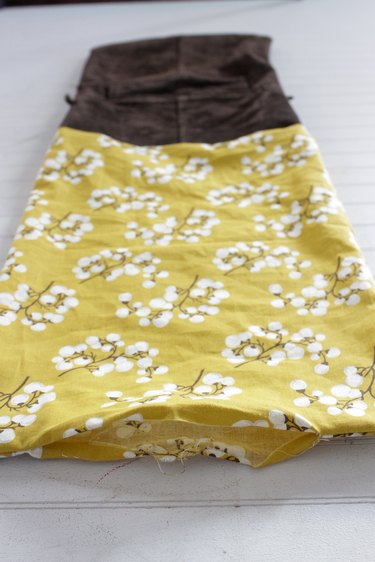
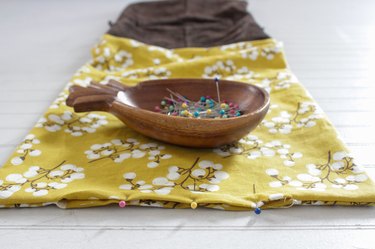
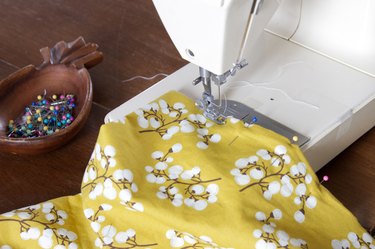
Tuck in the raw edges of the opening in the lining. Pin and sew to close the opening.
Step 11
Push the lining back inside the bag. Smooth down the top edge and clip in place. Topstitch around the top edge.
Step 12
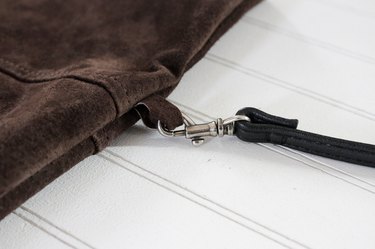
Clip the strap onto the side loops. You can even add a tassel or two to the sides. To learn how to make a tassel, you can click here.
Tip
You could use a strap from a thrift store purse instead of purchasing a new one.
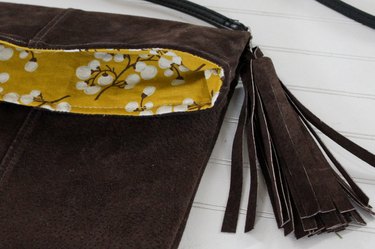
Load up and go!
