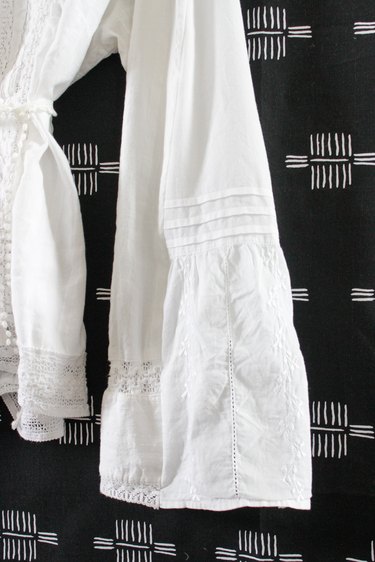
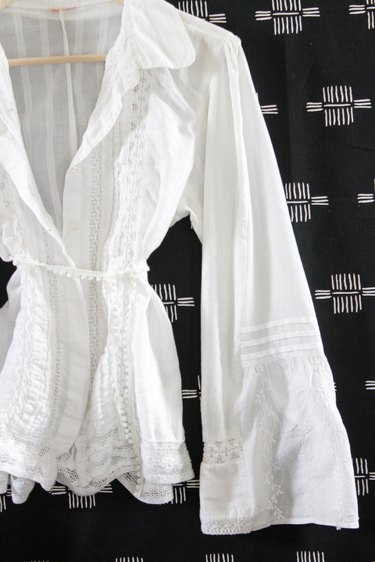
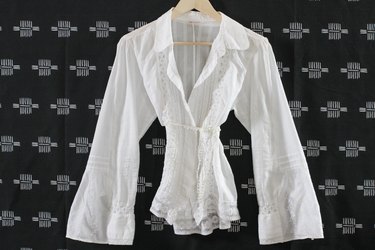
Whether your sleeves are too tight or you're just trying to create a statement with some billowy new sleeves, adding an insert is an adjustment that even a beginner can do. You can choose your level of drama by varying the width of the insert. Keep the bottom of the insert around 6-inches for a subtle increase or amp it up to 10 or more inches for an exaggerated statement. Whatever you choose to do, you can update a few pieces of your wardrobe in an afternoon with this fun and uncomplicated fix.
Video of the Day
Things You'll Need
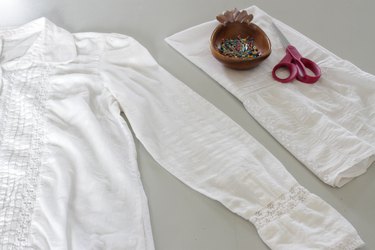
Shirt with long sleeves
1/2-yard fabric sourced from a thrift store skirt
Sharp scissors
Measuring tape
Straight pins
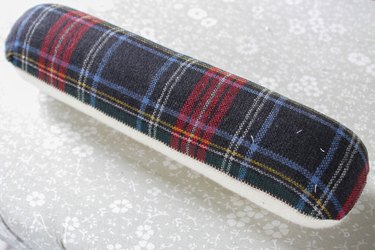
Dressmaker's pressing ham (optional)
Step 1
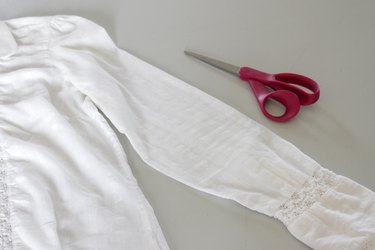
Use a sharp pair of scissors to cut from the cuff to the top shoulder of each sleeve.
Step 2
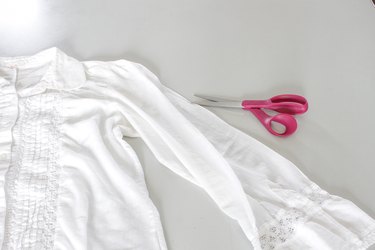
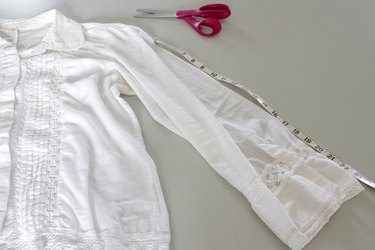
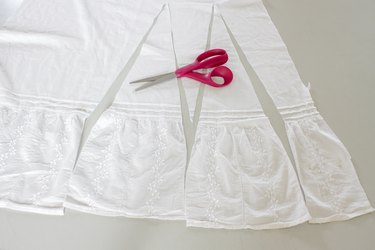
Measure along the cut to determine the height of the fabric insert. Add a 1/2-inch to your measurement to allow for a seam allowance. Cut two triangles from the thrift store skirt. Use the hem of the skirt for the bottom of the triangle insert. This will create a ready made hem for your sleeve.
Step 3
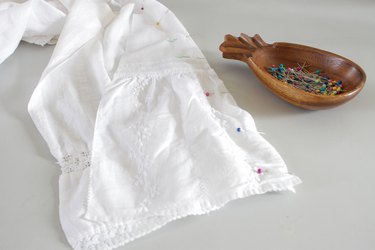
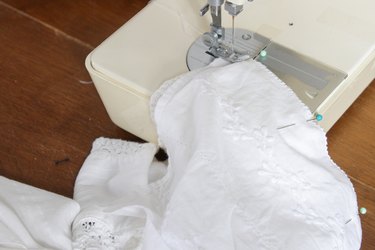
Turn the shirt inside out. Place the insert into the sleeve opening with right sides together and pin in place along each side. Sew along each side removing the pins as you sew.
Step 4
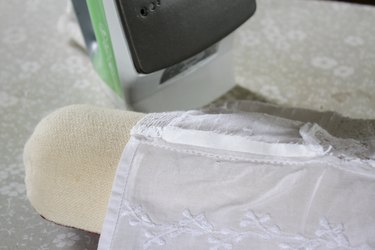
For a nice finished look, use a dressmaker's pressing ham to press the seams open with an iron. If you don't have a pressing ham, you could use the narrow end of the ironing board or a sleeve board.
Tip
A dressmaker's pressing ham is a small, tightly stuffed pillow that is used to press curved areas of clothing like sleeves, cuffs, collars and darts.
Wardrobe refresh!
