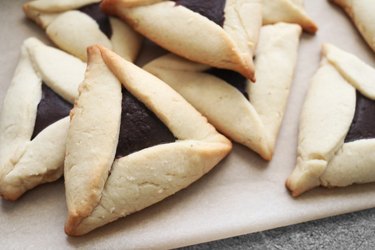
Hamentashen are delicious filled cookies eaten for the Jewish holiday of Purim. They can be made with a variety of fillings, including fruit preserves and poppy seeds. Other popular options include Nutella, dates and prunes. These days, you can even find hamentashen with savory fillings, like goat cheese and herbs! Either way, you can be sure that your family and friends will enjoy these tasty triangle-shaped cookies.
Video of the Day
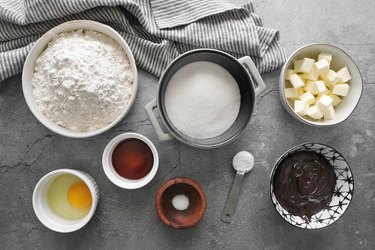
Things You'll Need
2 cups all-purpose flour, plus more for dusting
3/4 cup margarine or cubed unsalted butter, room temperature
1/2 cup sugar
1 teaspoon baking powder
1/4 teaspoon salt
2 teaspoons vanilla extract
1 egg, room temperature
1 1/2 cups filling of your choice
Water or orange juice, as needed
Tip
For this recipe, we used Nutella. But you can use any filling(s) you like or have on hand.
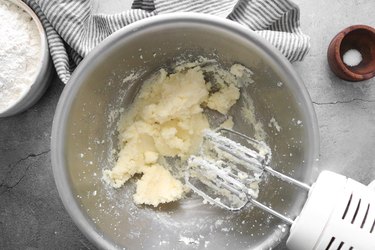
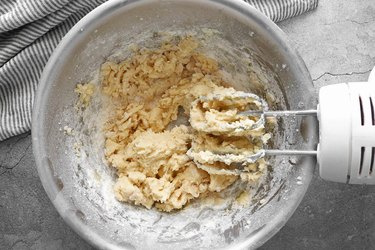
Step 1
In a large bowl, combine the butter or margarine and sugar.
Video of the Day

Beat with an electric hand mixer until fluffy and combined.
Step 2
Add the egg and vanilla extract. Beat to combine.

Step 3
Add the flour, one third at a time, beating continously.
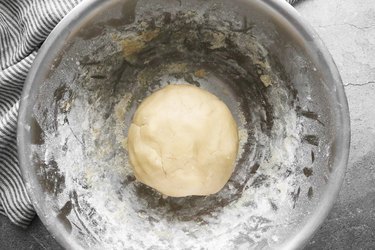
Step 4
Eventually, you'll need to combine the mixture by hand. Knead the dough until it is smooth and tacky, but not sticky. If it's too wet, add a sprinkle of flour. If it's too dry, slowly add water or orange juice, one tablespoon at a time.
Cover the dough and chill for 2 to 3 hours.
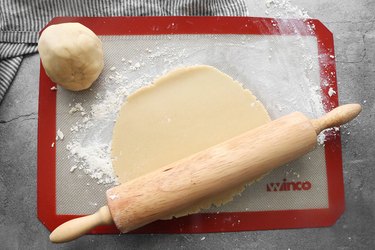
Step 5
Preheat the oven to 350° Fahrenheit. Dust your work surface with flour. Roll the dough into a thin sheet, about 1/4-inch thick.
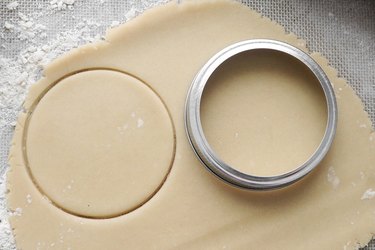
Step 6
Use a mason jar lid to cut out circles. You can also use the rim of a glass or a 3-inch circle cookie cutter. Re-roll the scrap dough as needed.
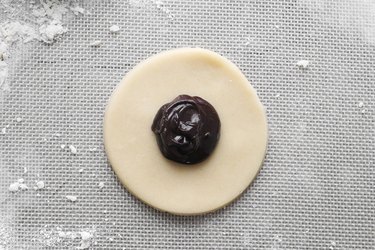
Step 7
Spoon 1 teaspoon of filling onto the center of each circle.
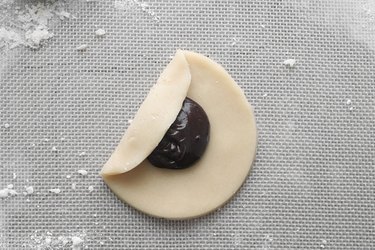
Step 8
Fold one side of the circle toward the center.
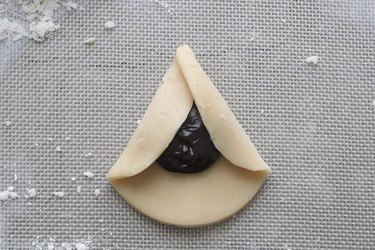
Step 9
Fold the opposite side toward the center, creating a pointed end along the top.
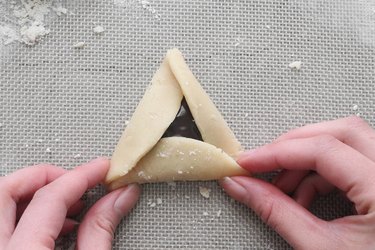
Step 10
Fold up the bottom edge, tucking the bottom left under the first fold you made. This will make sure all three edges are tucked under a flap.
Pinch the edges to seal.
Step 11
Transfer onto a greased baking sheet. Repeat with the remaining dough and filling.

Step 12
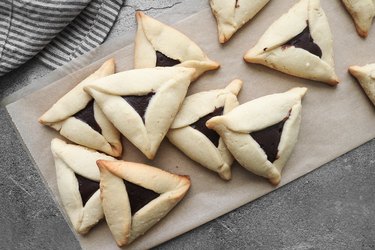
Bake for 12 to 15 minutes or until the edges are golden brown.

Your homemade hamentashen cookies are ready to eat. Enjoy!