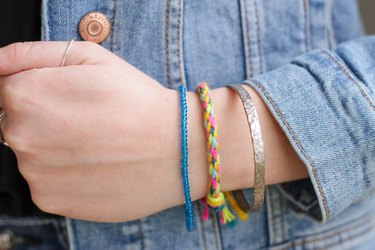
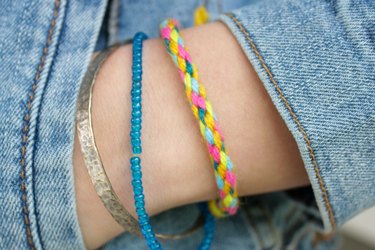
Friendship — one of life's most precious gifts. When you need a helping hand, a listening ear or a good laugh, our besties will always be there to help us through the good times and the hard times. Especially those friends who have been by your side since childhood, sharing memories like summer bike rides, sleepovers in the back yard, and making friendship bracelets. If these fun bangles were a part of your childhood, now could be the perfect time to teach this simple weaving technique to the young people you love. It's therapeutic, relaxing and fun. Grab a little cardboard, some colorful yarn, find a comfy spot and get to work on a few bracelets for yourself or make a few to send to those sidekicks your children might be missing right now.
Video of the Day
Things You'll Need
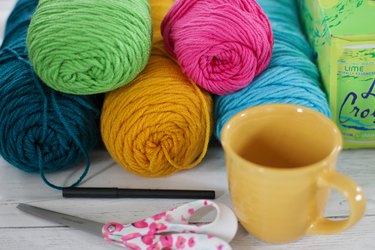
Empty cardboard box (cracker, cereal or soda)
Round cup
Marking pen
Scissors
Various colors of yarn
Step 1
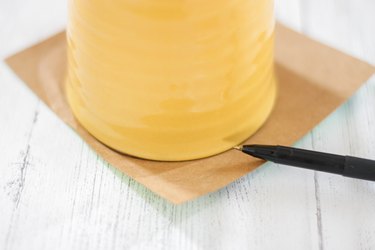
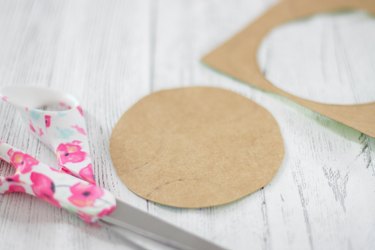
Trace around a round coffee cup on the back of an empty cardboard box. Cut out the circle.
Step 2
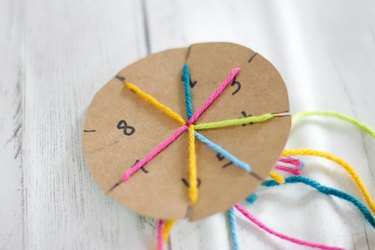
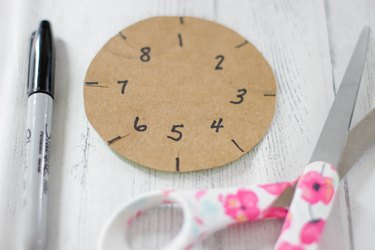
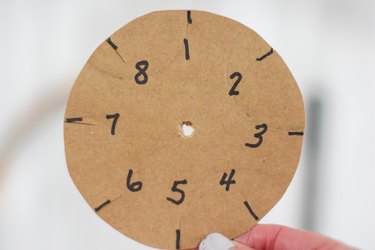
Mark eight small lines around the circle that are equal distance apart. Cut a small notch on each of the lines. Label with the numbers 1-8.
Step 3
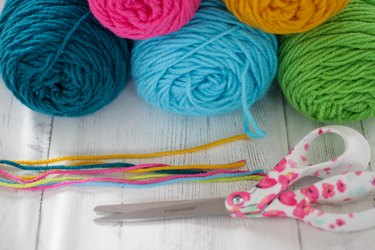
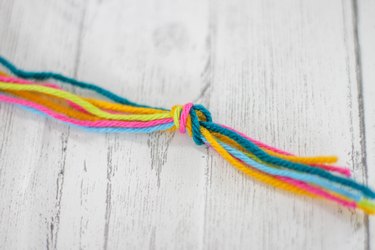
Cut seven pieces of yarn that are 25 inches long. Place them together and tie a knot in one end.
Step 4
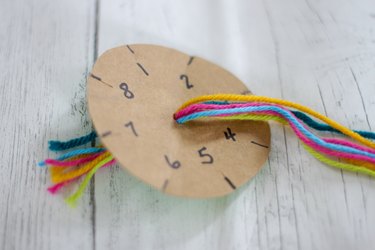
Use a pen to poke a hole in the center of the cardboard circle and thread the knotted end of the yarn through the hole.
Step 5
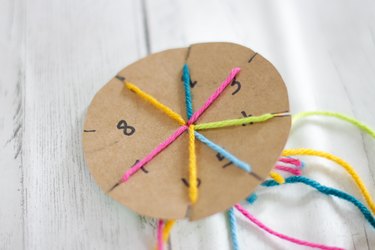
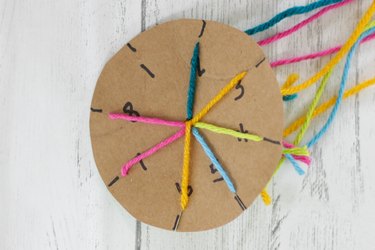
Place one piece of yarn into each of the seven notches. Leave one notch empty.
Step 6
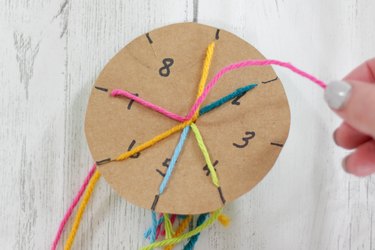
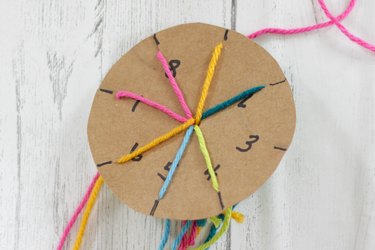
Count three notches from the empty notch. Take the third thread out of the notch and place it into the empty notch. (Place number 3 thread into the number 8 notch)
Step 7
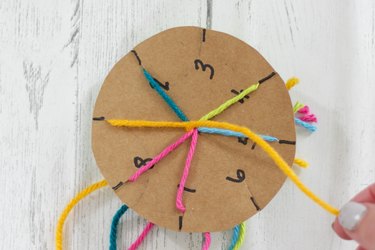
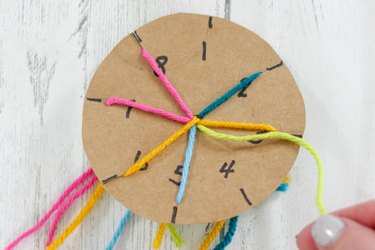
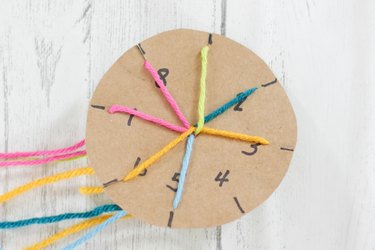
Count three notches from the newly formed empty notch. Take the third thread out of the notch and place it into the empty notch. (Place number 6 thread into the number 3 notch)
Step 8
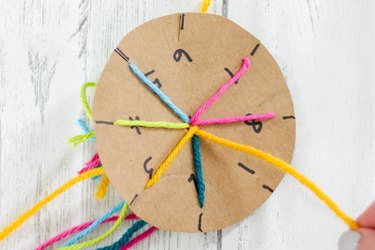
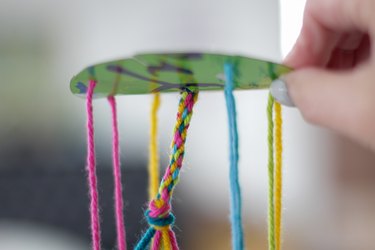
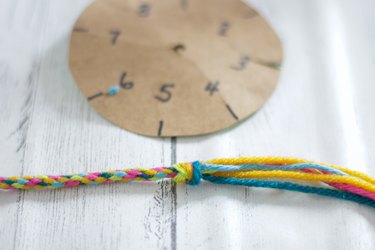
Continue counting three notches from the newly formed empty notch and placing that third thread into the empty notch. Every once in awhile you'll need to pull down on the knot underneath the cardboard. As you continue to weave this way, the bracelet will start to appear on the under side of the cardboard.
Step 9
When your bracelet is the desired length, remove all of the yarn from the notches and pull the knotted end out of the hole. Tie a knot in the other end.
Step 10
Tie the bracelet onto your wrist and pair it with a few other bangles or give it to one of your besties.
