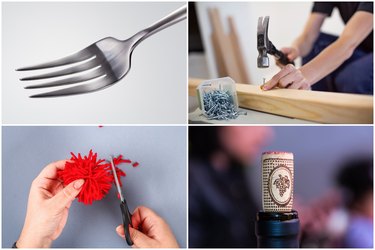
Famously, Ariel from "The Little Mermaid" found an unconventional use for a basic dinglehopper fork. Granted, combing your hair with a fork isn't for everyone. But if you've been using your own flatware for nothing but eating, it's time to take some inspiration from everyone's favorite animated mermaid. A fork can help you do everything from hammer in a nail to uncork a wine bottle and give new life to an old rug.
Video of the Day
1. Guide Pictures Onto Nails
Hanging a framed photo on the wall is one of those little tasks that you expect to be easy, yet never is. It's hard to keep track of where that nail is once it's blocked by the artwork. Next time, slide the tines of a fork over the nail so the fork's handle is sticking up and angled away from the wall. Slide the frame down the fork to find the nail on the first try, then remove the fork.
Video of the Day

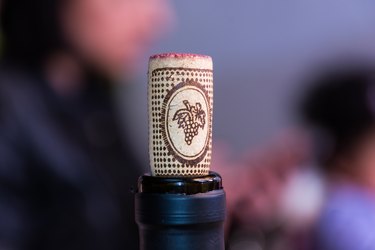
2. Open Wine Without a Corkscrew
Finding yourself with a bottle of corked wine but no corkscrew may get you humming an old Alanis Morissette song. Solve this dilemma with the help of a screw, screwdriver and fork. Drive the screw into the cork until just the head is visible. Slide the tines of the fork under the nail and grasp the tines in your hand as you pull upward.
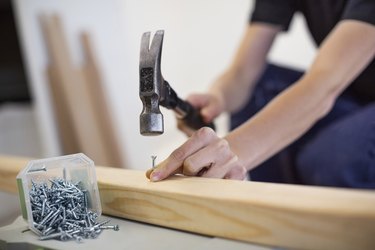
3. Hold a Nail Steady for Hammering
Ouch! One accidental hammer blow to your thumb is enough to scare you off home repairs forever. Next time, position the nail and slide the tines of a fork around it. Hold the fork's handle to keep the nail in place while you hammer the nail with the other hand. Slide the fork out once the nail is partially embedded in the wood.
4. Protect Your Garden From Critters
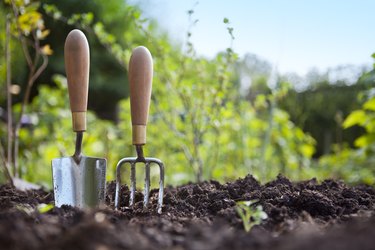
Your garden is beautiful — all the local critters think so, too. Surrounding your favorite plants with spikes should discourage some animals from roaming around in your garden beds. Old forks or plastic forks are perfect for this purpose. Press the handles into the soil so the sharp tines stick out. Be careful where you step!
5. Create Quick Pom Poms
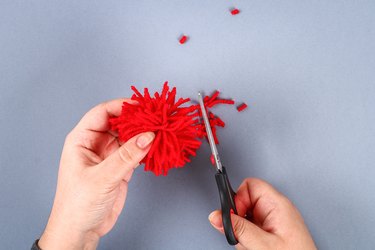
It's easier to make decorative yarn pom poms than you might realize, with the help of a basic fork. Wrap yarn around the outside of the tines of a fork, looping the yarn around about 10 times. Cut the end of the yarn but hold it in place. Slide a short piece of yarn between the center tines of the fork and tie it around the center of the yarn bundle. Cut open the yarn at the sides of the fork to create a pom pom, then fluff and trim the edges to give the pom pom a round shape.
6. Turn Forks Into Art
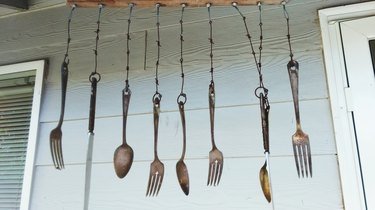
Simple, everyday objects can make striking art pieces. Collect a bunch of old forks that you no longer need, and drill a hole in the end of each one. Hang them from a hoop to make an overhead mobile, or hang them from a branch and display this rustic art piece outdoors.
7. Create Rustic Place Settings
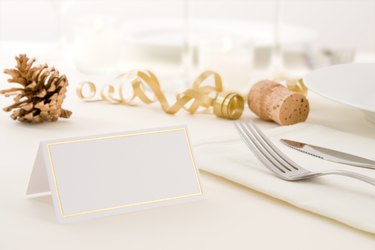
Creating place settings is one of those little things that makes you feel like you're hosting an event, not just another dinner. But who has time to make fidgety little displays before every special meal? When you're in a rush, set a fork in the middle of each plate and slide a name card into the tines. Ta-da: instant place settings.
8. Make Emergency Tongs
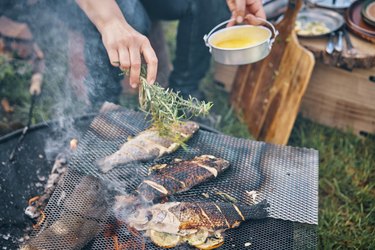
You remembered to bring everything you would need for a perfect campfire meal out in the woods.... except for tongs to turn the food. Turn a pair of forks into an emergency pair of tongs. Hold two forks back to back so the tines and handles are angled away from each other. Wrap a rubber band around the place where the two forks meet, then press the handles together to grab items.
9. Fluff a Matted Shag Rug
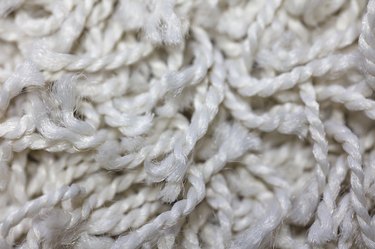
That once-fluffy shag rug has been literally beaten down from use. Use a fork to restore some shape to a matted rug. Tease the rug fibers upward using the tines of a fork. Be sure to wash it before putting it back in the drawer.
10. Create Makeshift Candle Holders
Taper candles add ambiance and provide necessary light during blackouts, but each one needs its own holder and few people have tons of spare candle holders around. Make a temporary holder for a taper candle or tea light using three forks. Arrange the forks so their handles make a tripod shape and the tines are all facing in. Tie the forks together with twine and position the base of the candle in the cradle created by the tines. This may not be the most stable candle holder, so never leave a lit candle unsupervised.
