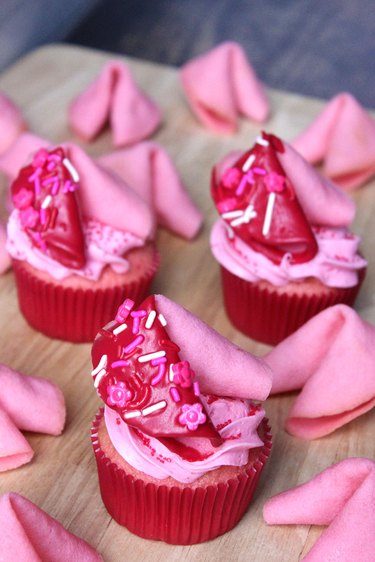
Most years, Valentine's Day coincides with the Chinese New Year season. So, for a special treat that celebrates both holidays, top your cupcakes with these pink fortune cookies. If you've only had fortune cookies from restaurants, you'll know that they are usually rather dry and tasteless. These pink fortune cookies, which are surprisingly easy to make, taste way better. They look so festive and romantic sitting on top of a pink cupcake.

Video of the Day
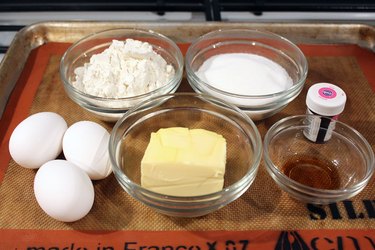
Things You'll Need
3 egg whites, room temperature
3/4 cup sugar
Whisk
1/2 cup unsalted butter, melted
1 cup all-purpose flour
Pinch of salt
1/2 teaspoon vanilla extract
1/4 teaspoon almond extract
2 tablespoons water
Red gel food coloring
Parchment paper
Silicone baking mat
Tablespoon scoop
Spatula
Mug or glass
Muffin tin
Red candy melts
1 tablespoon vegetable shortening (optional)
Pink, red and white sprinkles
Paper fortunes
Cupcakes
Frosting
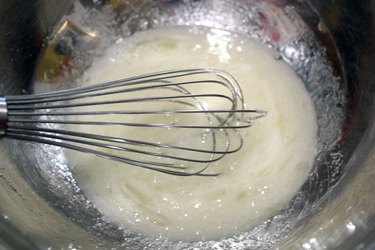
Step 1: Mix the Batter
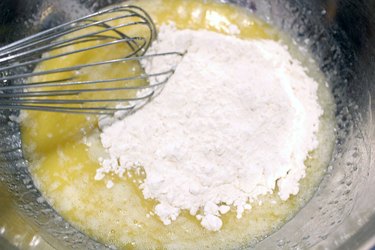
Whisk the egg whites with the sugar until well combined.
Video of the Day
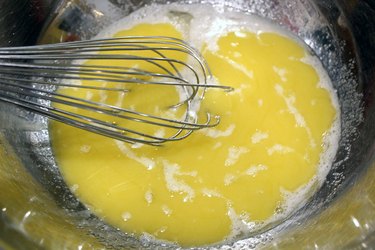
Melt the butter in a microwave at 20-second intervals. Whisk the butter with the egg whites and sugar.
Add the flour, a pinch of salt, the vanilla and almond extracts and the water.
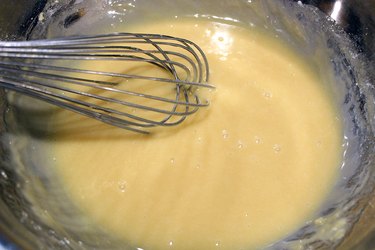
Whisk the batter until it has a smooth consistency.
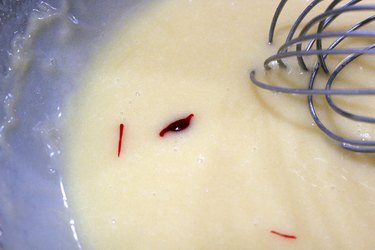
Step 2: Dye the Batter
To dye the batter pink, add a small drop of red gel food dye or icing color. A little goes a long way, so start with just that one little drop. You can always add more if the color is not deep enough for you.
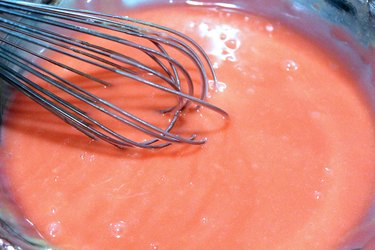
Stir the batter until the batter has a consistent pink tone. Add a little more dye if necessary.
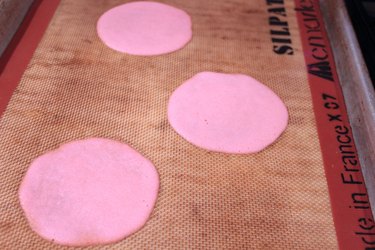
Step 3: Prepare the Baking Sheet
On a piece of parchment paper, trace three circles of about 3 1/2 inches spaced evenly apart. I used the cap of a store-bought frosting container.
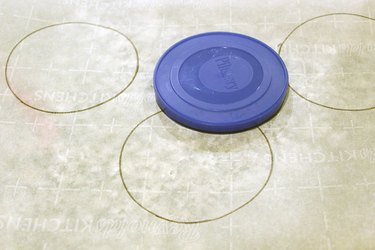
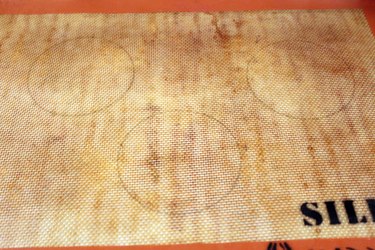
Place the parchment paper with the circles underneath a silicone baking mat. The circles show through the mat and will help guide you as you spread the cookie batter. Preheat the oven to 350 degrees Fahrenheit.
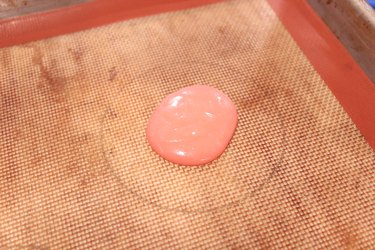
Step 4: Spread the Batter
Using a tablespoon, scoop up some of the cookie batter.
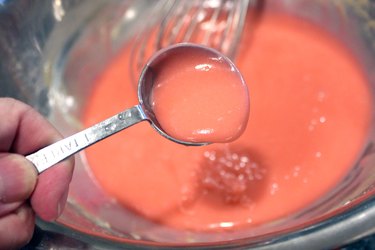
Pour the batter into one of the circles on the baking mat. Some of the batter will remain stuck in the spoon, and that's OK because you'll only need about 2/3 tablespoon.
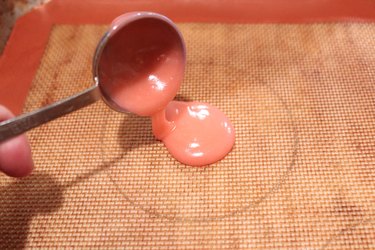
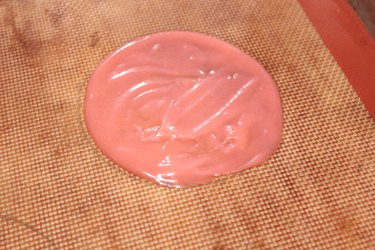
Spread the batter with a spoon until it extends to the circumference of the circle.
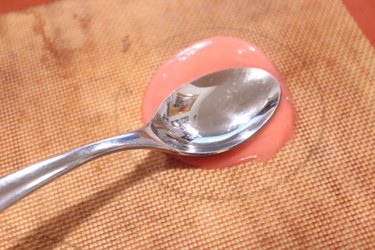
Don't worry if the batter is lumpy at this point. It will even out in the oven, and the cookie will be flat.
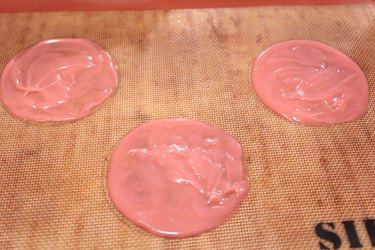
Bake at 350 degrees for 8 minutes. We are only baking three cookies at a time for a reason. Once they are out of the oven, you only have a limited amount of time to shape the circle into a fortune cookie before the cookie hardens.
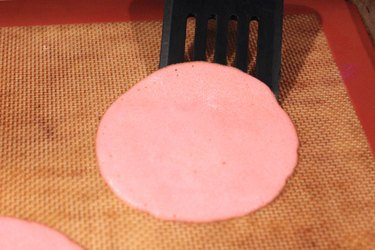
Step 5: Shape the Fortune Cookies
Once they're removed from the oven, allow the cookies to cool for 1 minute.
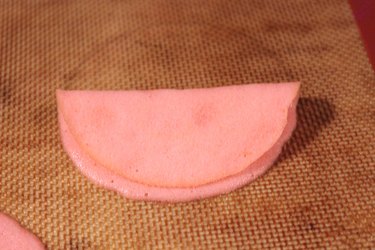
Lift one edge of a cookie with a spatula and fold it over so the cookie looks like a taco shell.
Position the center of the folded side of the cookie over the rim of a mug or glass. Fold down the corners to create the fortune cookie shape.
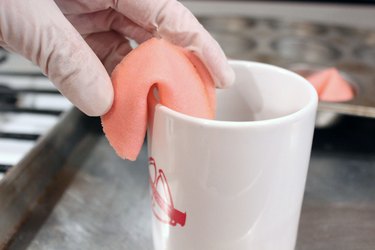
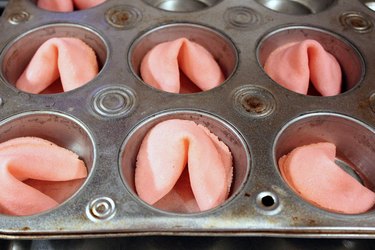
Place the fortune cookie in a muffin tin so that it holds its shape as it cools.
Step 6: Decorate the Fortune Cookies
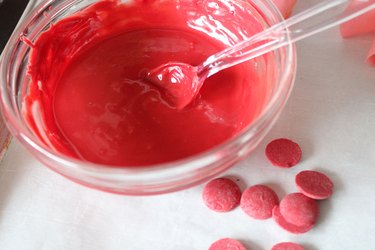
The pink fortune cookies are perfectly fine as is, but let's decorate them to make them even more irresistible. Start by warming some red candy melts in the microwave at 40-second intervals until they are completely melted. Add a tablespoon of vegetable shortening as you melt the candy if the consistency is too thick. You want it to be able to coat a spoon.
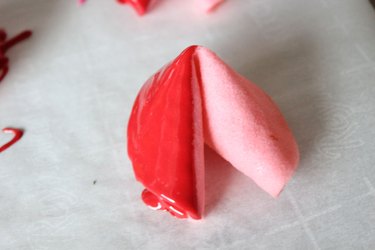
Dip half the fortune cookie in the candy melts and place the cookie on a piece of parchment paper to catch the drippings.
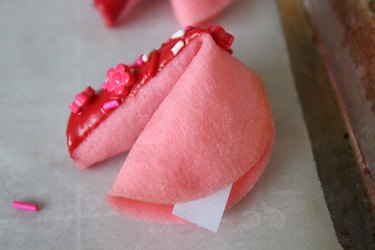
Apply some sprinkles to the melted candy side before it hardens.

Step 7: Create the Fortunes
Type some fortunes and print them on a piece of paper.

Cut the fortunes to size. I made them 2.2 inches long by 0.5 inches high.

Slide the fortunes into the openings of the fortune cookies. I recommend inserting the fortunes at this point rather than when initially folding the cookie so they are not damaged when decorating with the candy melts.
Step 8: Assemble the Cupcakes
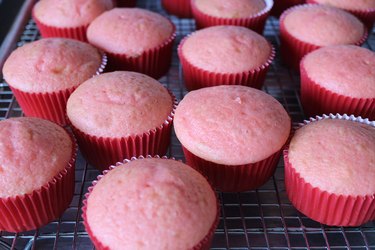
Bake cupcakes of your choice. I decided to go all pink and selected strawberry cupcakes from a box mix.
Spread the frosting of your choice on the cupcakes. Again, I went all pink and used store-bought strawberry frosting. Although I used a piping tip and bag to create a rosette shape with the frosting, it's fine to just spread a flat layer with a spatula. Most of the frosting will be covered by the fortune cookie anyway.
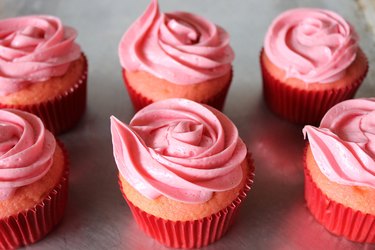
Apply more sprinkles to the frosting. You may wonder, "Sprinkles on the fortune cookie AND sprinkles on the frosting?" Absolutely!

Finally, it's the moment we've all been waiting for. Place the fortune cookie on top of the cupcake. A new Valentine's cupcake champion has been crowned.