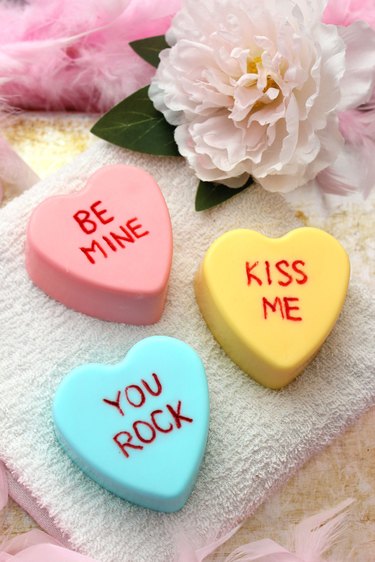
If you're looking for some good, clean fun for Valentine's Day, you can't get more squeaky clean – and adorable – than these soap bars shaped like giant Sweetheart candies. Easy and quick to make, they even have romantic messages written on them, just like the iconic conversation hearts. What a great gift for valentines and galentines alike!

Video of the Day
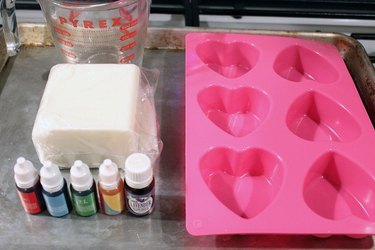
Things You'll Need
Melt-and-pour goat's milk soap base
Knife
Microwave-safe container
Clear plastic wrap
Spoon
Liquid soap dye
Essential oil or fragrance of your choice
Heart silicone mold
Isopropyl alcohol in a spray bottle
Nail
Small paintbrush
Paper towel
Step 1: Cut the Soap Base
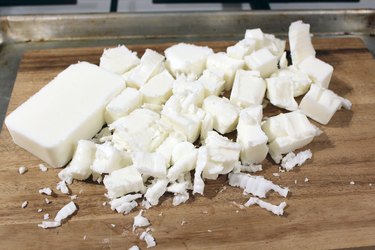
For this project, we're using a goat's milk soap base. Besides being very gentle and nourishing for the skin, it is white in color, making it very easy to dye. Be sure to select a soap base that is formulated to melt and pour. To help it melt quickly and evenly, first cut it into small 1-inch cubes.
Video of the Day
Step 2: Melt the Soap Base
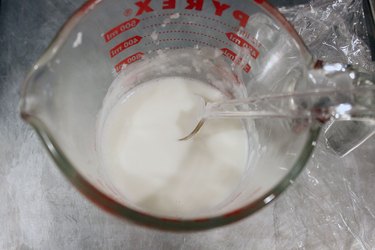
Place the soap base in a microwave-safe container, like a Pyrex measuring cup. Cover the container with clear plastic wrap. Then, zap it in the microwave for 20 seconds at a time, stirring with a spoon between each interval.
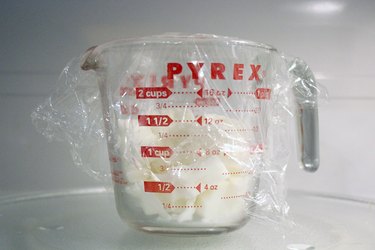
The soap base melts very quickly, usually in about three 20-second intervals. Stir it with the spoon to make sure it is completely melted with no lumps.
Step 3: Add Dye and Fragrance
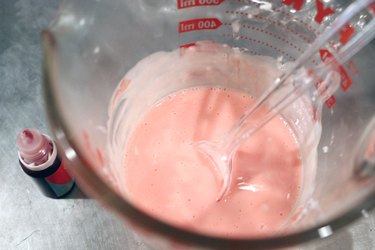
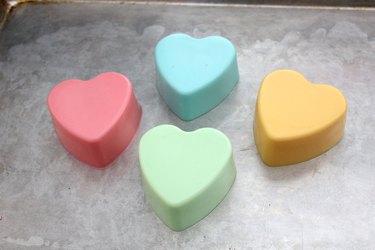
Add drops of liquid soap dye to the soap base, stirring constantly and adding dye until you've reached the desired color. Sweetheart candies are typically pastels, like pink, baby blue, light green and yellow. When selecting a dye, make sure it is formulated for soaps, which means it won't stain your skin or bathroom surfaces. At this time, you can also add between 10 and 20 drops of your favorite essential oil or fragrance.
Step 4: Pour the Soap Into the Mold
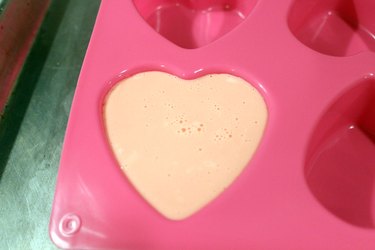
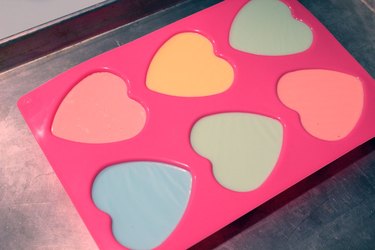
Pour the tinted soap base into a heart-shaped silicone mold. The one I used has hearts that are about 3 inches wide.
Step 5: Remove Air Bubbles
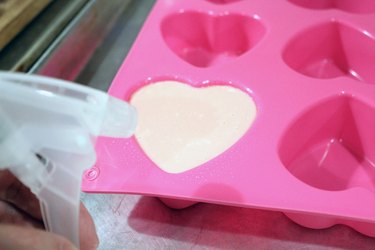
Air bubbles inevitably form on the surface of the soap base. To remove them, just spray the top with isopropyl alcohol. The alcohol instantly eliminates the bubbles and then evaporates.
Step 6: Allow the Soaps to Harden
Repeat using different colors. Allow the soaps to harden for at least two hours and preferably overnight.
Step 7: Remove the Soaps From the Mold
Once the soaps have hardened, push up from the bottom of the mold and the hearts will pop right out.
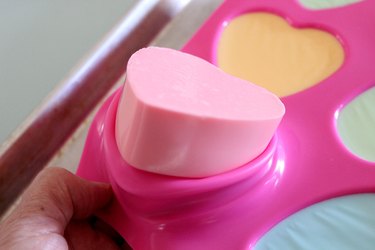
They come out beautifully from the mold, but they're not "Sweethearts" until there's a message on them.
Step 8: Engrave a Message
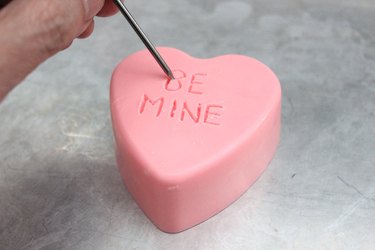
Using the tip of a nail, carve a message in all capital letters. Consult actual Sweetheart candies to get some ideas. The soap is very soft, so it's easy to dig into it with the nail. Brush off any excess soap that is displaced as you carve the words.
Step 9: Color the Words
We're dyeing the carved words red since red is the typical color of the sayings on Sweetheart candies. However, feel free to mix up the colors if you desire. Squeeze a few drops of the red dye into a shallow dish. Dip the tip of a narrow paintbrush in the dye.
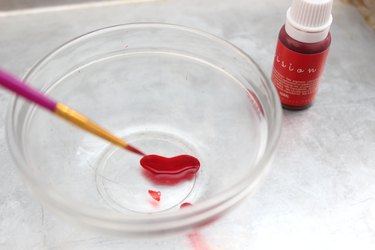
Insert the tip of the paintbrush in the carved contours of the letters. Keep tracing all the letters, re-dipping the brush in the dye as you go. Don't worry if your brush ventures past the letters and the words look messy. That will happen, and we'll easily fix it.
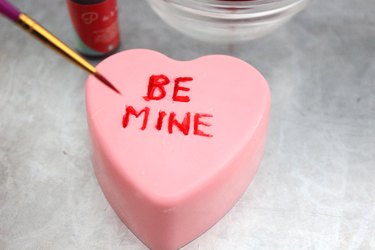
Spray some isopropyl alcohol onto a paper towel. Then, wipe the surface of the soap to remove any excess dye. At first, it will look even messier as some of the dye smears the surface. This is not a problem. Keep wiping the soap with a clean, alcohol-moistened paper towel until the surface is smudge-free, and the words look pristine.

A set of these soaps is the perfect gift for the sweetheart in your life – even if that sweetheart is yourself.
