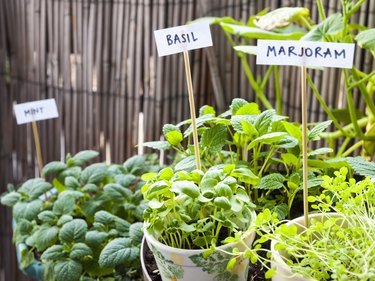
Planting a garden is all about seeing potential in a patch of bare dirt, so isn't it sort of fitting for your garden markers to be upcycled from things you no longer need? Making garden plant markers from old pottery or plastic bottles helps you keep track of which plant is which, and these DIY projects also help you save money and send less junk to the landfill.
For most of these trash-into-treasure projects, you can use acrylic paint or a permanent marker to write the name of the plant on the garden marker before pushing it into the soil. Add a coat of clear acrylic protectant spray to outdoor garden markers to keep the paint from fading.
Video of the Day
Video of the Day
1. Wooden Spoons
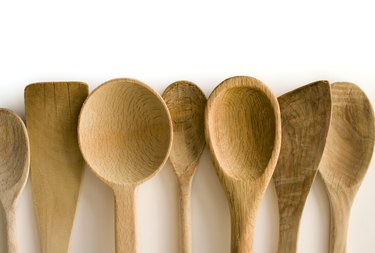
Wooden spoons need to be taken out of commission in the kitchen when they develop splinters, cracks or soft spots. When you upgrade to new spoons for cooking, recycle old wooden spoons as DIY plant markers in your vegetable garden. Not only are wooden spoons sturdy enough to stay standing up in your soil but spoon garden markers also provide the perfect miniature canvas for artists. Instead of writing the names of the veggies and herbs in your garden, create tiny paintings of them instead.
2. Wine Corks
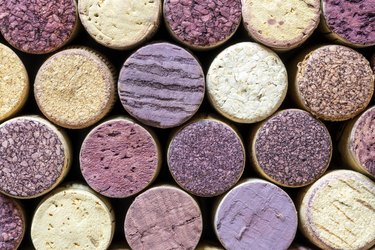
The next time you toast to a special occasion, save the cork from the wine bottle. Using wine corks is an easy DIY way to label plants, especially in a small garden without a lot of space for large plant labels. Write each plant's name on the side of a cork and use a hammer to tap a dowel or skewer into the end of it. Each trip to the garden is an opportunity to remember all those special, toast-worthy occasions.
3. Paint Stirrers
If you've tackled any painting projects in recent years, you probably have a collection of leftover paint stirrers gathering dust in the garage or basement. Writing plant names on paint stirrers using a Sharpie is basically a 30-second project. DIY garden markers just don't get any easier than this.
4. Tin Can Lids
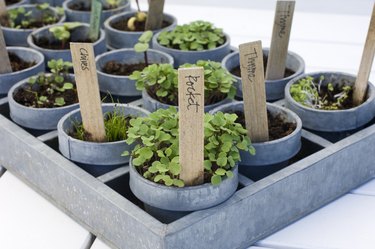
As long as your can opener cuts smoothly (or you use pop-top lids), the metal lids from canned goods should be perfectly safe to handle as plant markers. Give them a coat of all-over color before adding labels or leave them unpainted so the silver catches light in your garden. Use a drill or hammer and nail to create a hole near the edge of each clean lid so you can suspend your painted markers from hangers made by cutting up wire hangers.
5. Broken Pottery
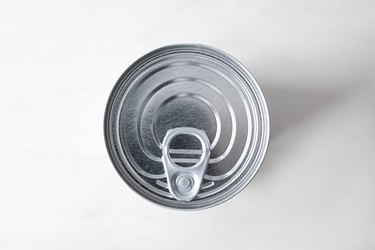
Maybe you've heard of the Japanese art of kintsugi, in which broken pottery is put back together using gold to seal the cracks. Creating something beautiful out of broken pieces is an aspirational goal, but you don't need liquid gold leaf to upcycle shards of pottery. Use the pieces of old, broken terra cotta pots as clay garden markers. Paint them with acrylic paint and press the pieces right into the soil at the base of each plant.
6. Seed Packets
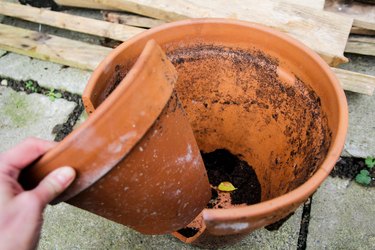
Using seed packets to label your plants is a pretty genius move. They add whimsy and color to your garden and help you give each plant the best possible care. Have you forgotten how high to let your zinnias grow before thinning them? There's a cheat sheet right there.
Laminate empty seed packets and staple them to wooden craft sticks to make markers. Alternatively, attach seed packets to paint stirrers and push them into the soil until only the seed packet is showing. Place an upside down Mason jar over each one to protect the packet from rain and critters.
7. Cardboard
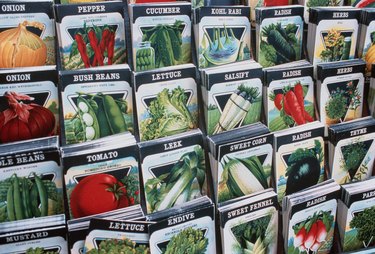
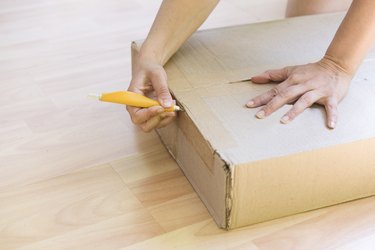
Online shopping is sometimes too convenient. If your recycling bin is bursting with folded cardboard boxes, reuse some of that cardboard to make plant markers for your flower, herb or veggie garden. For an outdoor garden, they won't be as durable as clay or plastic plant labels, but you might not need your garden markers to last all season – just until your new plants grow enough that everything is recognizable. This is a great project for kids. They can cut out plant markers in whatever shape and size they like and tape them to dowels.
8. Plastic Bottles
When you're looking for creative garden ideas, your mind probably doesn't go right to shampoo bottles. But bottles made of thick, durable plastic – like the ones that hold your laundry detergent and body wash – can provide the perfect material for making garden labels. Use a utility knife to slice an empty bottle into small rectangles and print plant names on them using permanent marker. Glue labels to dowels or skewers.

9. Aluminum Cans
Creating garden labels out of old soda cans is an adults-only project and still requires caution, as cutting up aluminum cans definitely involves some sharp edges. As long as you're careful with your shears, making plant markers from cans can be a surprisingly stylish way to label your plants.
Cut off the top and bottom of a can and slice down the middle of the body of the can to create a rectangular piece of metal. Slice it into rectangles with pointed tips, which you'll push into the soil. Use a set of metal stamps to emboss each label with the name of the plant or etch the names into the metal using a pen if you don't want to shell out for a metal embossing kit.

10. Painted Rocks
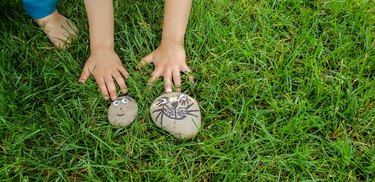
Rocks may not technically be trash, but if you're looking for an eco-friendly, zero-waste way to mark your garden, there's no better material than something that's probably already in your backyard. There's also something soothingly meditative about wandering around collecting rocks that appeal to you. Paint them with plant names or pictures as markers and then paint a few more with inspirational words or smiley faces and scatter them throughout your garden too.
