With Turkey Day around the corner, it's time to start brainstorming festive tablescape ideas. But fear not—you don't need to be a crafting pro to create a pretty setup. Thanks to these easy eco-friendly Thanksgiving place card ideas, it's possible to spruce up your table with minimal effort and materials.
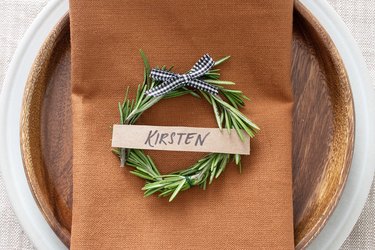
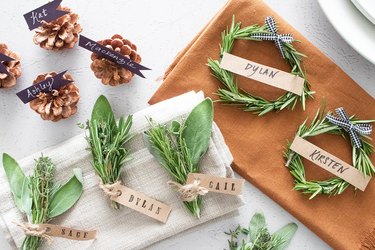
To keep things interesting, we've included three different place card themes: pine cones, herb bouquets, and mini rosemary wreaths. This way, you can pick a project that best suits your style or the supplies you have on hand. Additionally, each version calls for natural materials or repurposed items, paving the way to a more sustainable holiday celebration.
Video of the Day
Video of the Day
What's more, these place card holders will add a lovely natural, organic touch to your Thanksgiving table. They pair well with elements like wheat grass centerpieces, fresh apples, mini pumpkins, and linen napkins, but feel free to add your own personal touch.
Pine Cone Place Cards
Things You'll Need
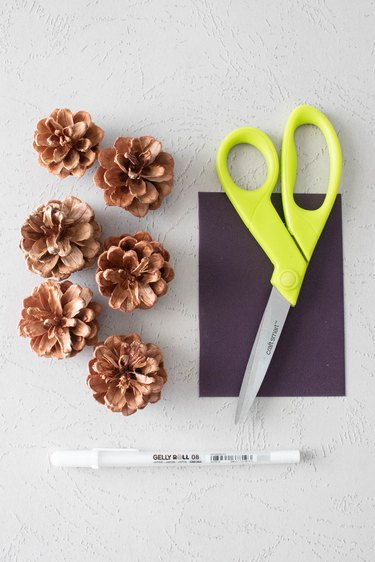
Gel pen, gold paint pen, or marker
Cardstock
Scissors
Pine cones
Tip
Pine cones are available in the floral section of the craft store. Alternatively, you can clean pine cones from the outdoors and use them for this project.
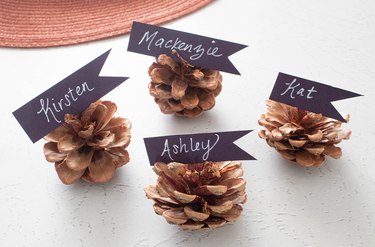
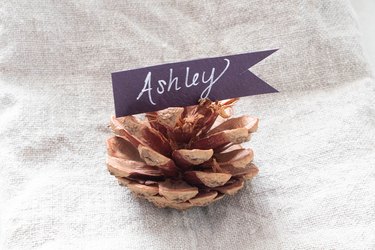
Using a pen or marker, write each guest's name on the cardstock. Feel free to print the names or use calligraphy techniques. Next, cut out the names into strips. At this point, you can leave them as is or cut the ends at an angle to create a decorative touch.

Tip
To further customize this Thanksgiving craft, consider using white cardstock and embellishing the tags with a wash of watercolor paint.
To complete your pine cone table decorations, simply add a name tag to the top of each pine cone. Try to place the paper between the pine cone's scales to ensure it stays in place (otherwise, you can use a dab of hot glue). And just like that, your pine cone name cards are ready to adorn your dinner table!
Tip
If the pine cones are unable to stand up straight, adhere the bottom to a cork pad or wooden disc using hot glue.
Herb Bouquet Place Cards
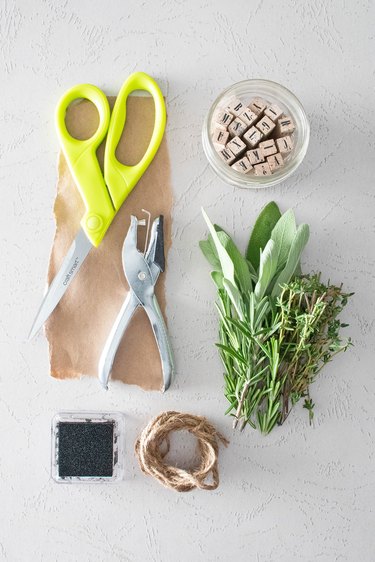
Things You'll Need
Black ink
Brown paper scraps
Scissors
Hole puncher
Fresh herbs (rosemary, sage, thyme, or oregano)
Jute cord, raffia, or twine
Tip
This DIY project is best made just before serving Thanksgiving dinner. That’s because the herbs will wilt if you leave them out for too long. Alternatively, you can create them a few hours in advance and store them in the refrigerator in an airtight container.
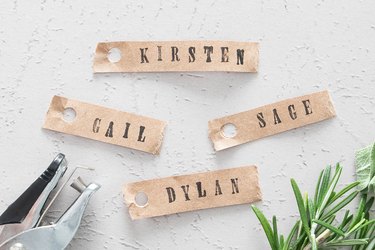
Using the alphabet stamps, spell out each guest's name on the brown paper scraps. Next, cut out each name, making sure to leave extra space to the left of each one. Punch a hole in this spot.
2. Make herb bouquets
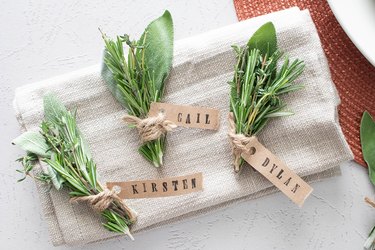
Gather sprigs of fresh rosemary, sage, thyme, and/or oregano. Wrap a strand with jute cord around the base. You can also use twine, ribbon, or strips of burlap.
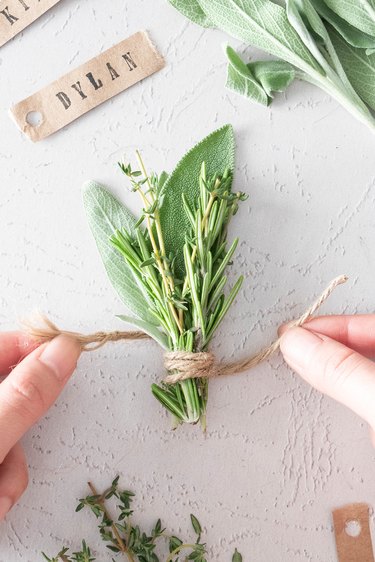
Tip
Be sure to trim the herbs so that they’re about the same length.
Add the name tag to the cord and then tie a tight knot.
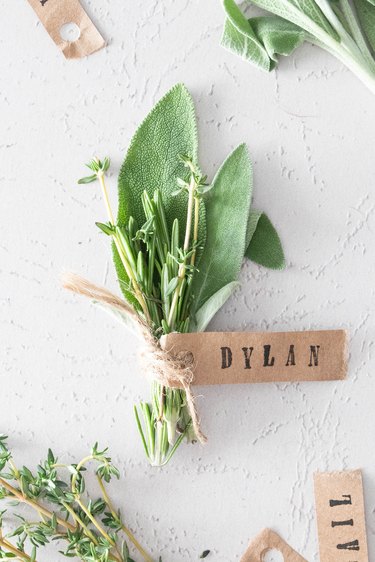
To complete your beautiful Thanksgiving spread, add a mini bouquet to each place setting.
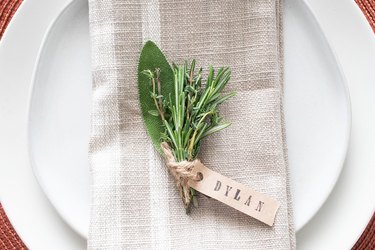
Mini Rosemary Wreath Place Cards

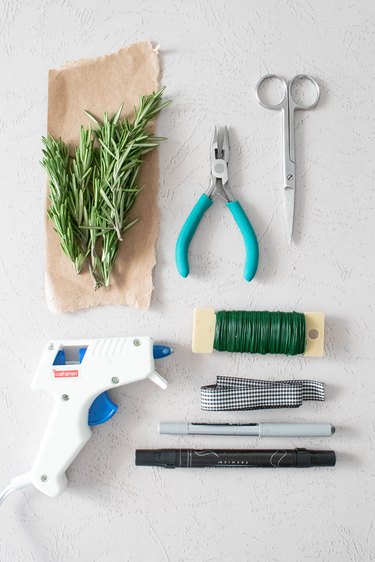
Things You'll Need
Floral wire
Wire cutters
Fresh rosemary sprigs
Ribbon or fabric scraps
Pen or marker
Brown paper scraps
Scissors
Hot glue gun
Tip
For each mini rosemary wreath, you’ll need three rosemary sprigs measuring about 3 to 4 inches each.
1. Join the rosemary sprigs
First, precut the floral wire into strands measuring about 4 inches each.
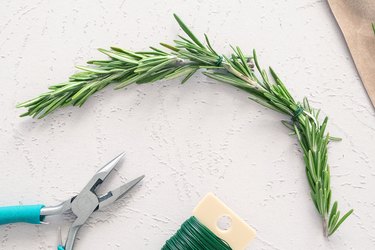
Place the top of one rosemary sprig against the bottom hard stem of another. Using a strand of floral wire, wrap the sprigs together. Cut away the excess wire and then carefully press down the ends.
Repeat the same process to attach a third sprig.
2. Form a wreath
Gently snap each sprig without fully breaking it. This will make them more pliable.
Attach the ends with a strand of wire to create a circular shape.

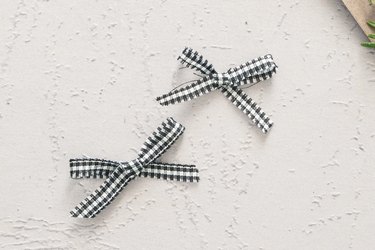
To make embellishments for your place card holder, tie a strand of ribbon or scrap fabric into a bow.
Write each guest's name on brown paper and cut them out.

Attach the bow to the top of the mini wreath with hot glue, then tuck in the name tag between the leaves.
