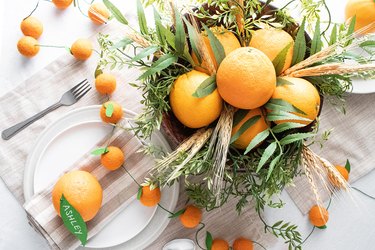
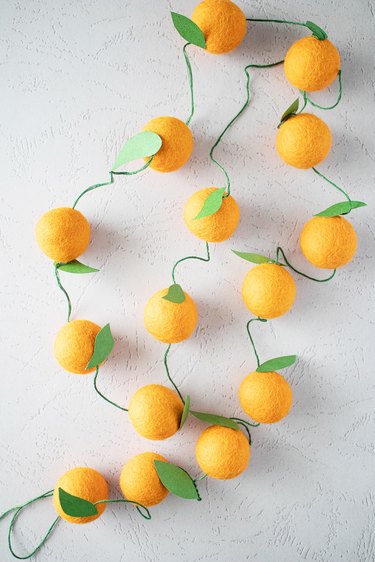
Oranges are delicious during the summer months but work just as well in fall and winter creations. In fact, oranges are in their peak during the cooler months, and they complement festive scents and flavors. It's the reason dried orange-slice projects are so popular during the holidays! But if you're looking for something a bit different, consider our orange-themed holiday table. It includes three DIY projects: an orange wool felt garland, place cards made with real oranges, and an eye-catching centerpiece.
The garland is an ideal alternative to DIY dried orange garlands, which might attract pests if they're not dried properly. The centerpiece also consists of faux greenery, dried wheat stems, and wooden items, though you can add other natural elements, such as pine cones and cinnamon sticks. The result is a bright and fun tablescape that offers a break from the usual pumpkins.
Video of the Day
Video of the Day
Wool Felt Orange Garland
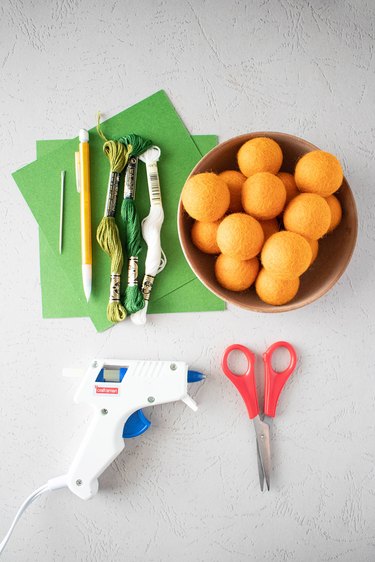
Things You'll Need
15 to 20 orange wool felt balls (more for a longer garland)
Green cardstock
Pencil
Scissors
Embroidery thread (green or white)
Thick craft needle
Hot glue gun
Tip
1. Prepare the paper leaves
Using a pencil, draw leaves on green cardstock. You can create teardrop shapes, oval shapes with pointed ends or wavy leaf shapes. It's up to you!
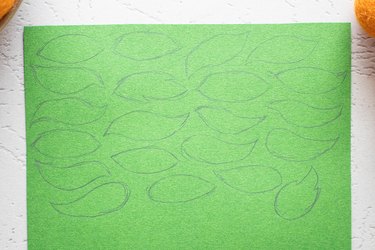
Cut out the leaf shapes and set them aside.

2. Thread the wool felt balls
Cut a long piece of embroidery thread and insert it through a needle. The exact length depends on how long you'd like your garland to be. You can also use fishing line or thin twine.
Insert the needle through the center of the wool balls. Depending on the thickness of the balls, there might be some resistance as you push through, so be sure to watch your fingers.
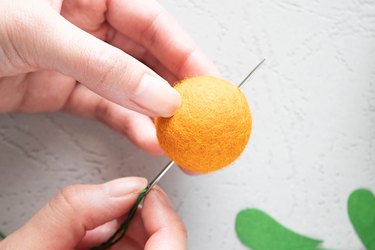
Continue until all of the wool balls are on the thread. Make sure to space them out evenly.
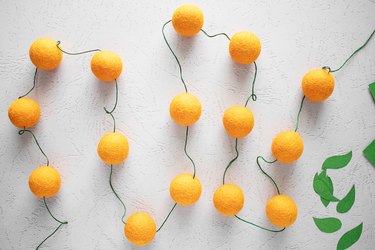
Tie a double knot on the first and last ball to keep them in place.
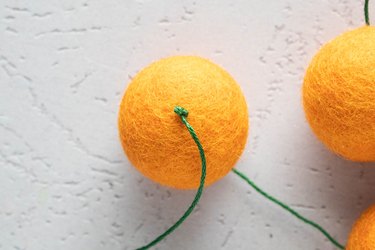
3. Add paper leaves
To attach the paper leaves, apply a dot of hot glue to the spot where the thread enters the ball. This will also keep it in place.
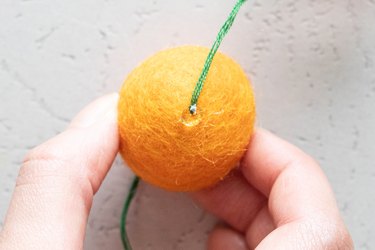
Place a paper leaf on top and gently press to secure.
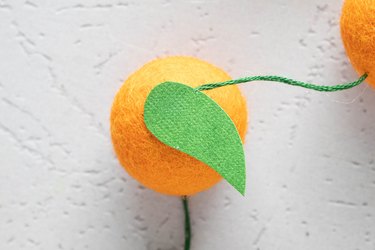
Repeat until all of the "oranges" have leaves.
Tip
After you’ve displayed your garland on your holiday table, consider reusing it for other festive home decor. For example, you can hang it on your mantel or drape it around a mini Christmas tree. It will look especially attractive with Christmas ornaments made of natural materials, such as cinnamon sticks and wood.
Orange Place Cards
Things You'll Need
Fresh oranges
Green cardstock
Pencil
White gel pen
Scissors
Straight pins
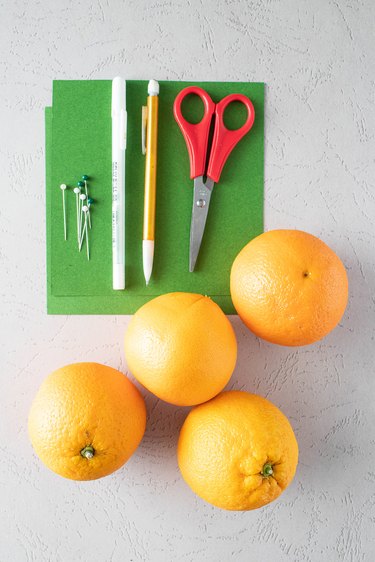
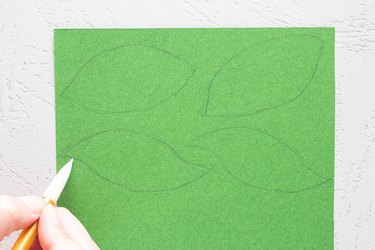
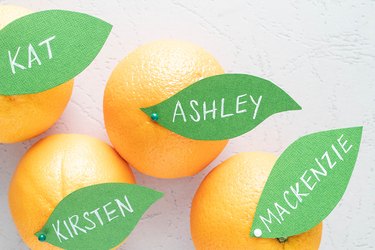
Using a pencil, draw leaf shapes on the green cardstock. You can vary the shape of each leaf. Don't be afraid to experiment!
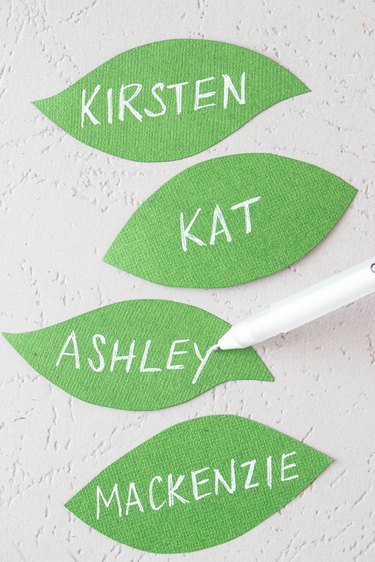
Cut out the leaf shape and write each person's name with a white gel pen.
Tip
You can also use a white paint pen. If your green cardstock has a darker hue, another option is to use a gold gel or paint pen.
Place one paper leaf on top of an orange. Carefully pin it in place, piercing through the paper and into the orange. How's that for an easy DIY project?
Tip
If you're using straight pins, wash and sanitize them before putting them in the oranges, especially if they've been used for other projects. Another option is to use toothpicks. Carefully pierce a hole in the paper using a safety pin, insert the toothpick through the paper and then place it in the orange.
Orange Greenery Centerpiece
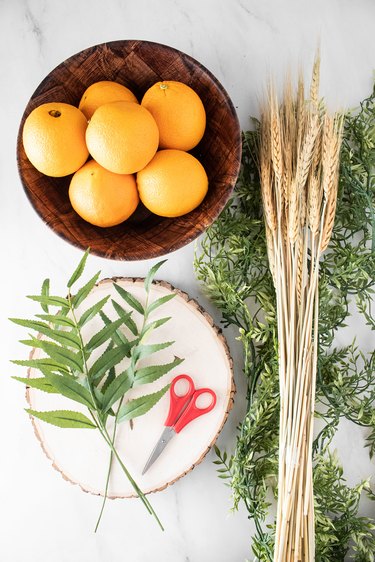
Things You'll Need
Fresh oranges
Wooden bowl or basket
Round wood slice
Faux greenery and stems
Dried wheat stems
Scissors
Tip
You can use real dried greenery for more natural decor, but it might be difficult to find stems with vibrant colors and full leaves. We recommend using faux greenery garlands, which tend to have a nice, full look. Simply cut the garland into smaller pieces to style it into the bowl.
1. Style the oranges and greenery
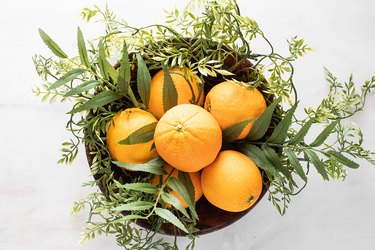
Place a wood slice in the center of the table and then place a bowl or basket on top. Add a single layer of faux greenery to the bottom of the bowl or basket, letting it drape over the sides. Place fresh oranges on top and accent with contrasting greenery stems if you'd like.
Tip
Another idea is to use a combination of oranges and grapefruits to mix up the colors and sizes.
2. Add wheat stems
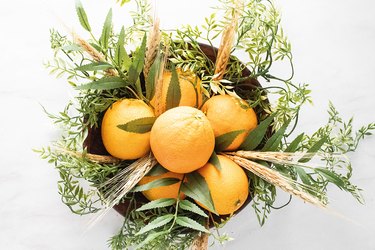
Trim the stems of dried wheat if needed. Insert the stems into the centerpiece.
Tip
Your centerpiece can double as a home fragrance. Try adding natural potpourri elements to the bowl or basket, like dried oranges, cinnamon sticks, or anise pods.
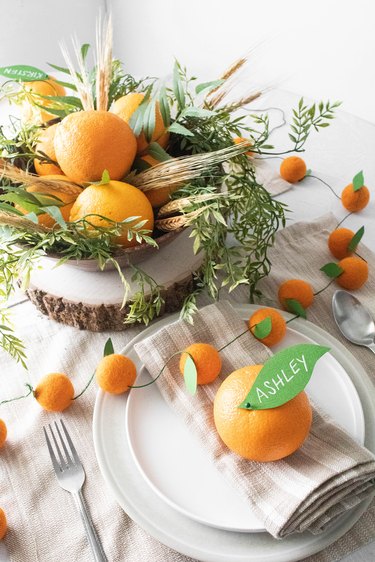
To display your homemade holiday decor on a table, make sure the centerpiece is in the middle. Set your plates around it and then add the orange place cards on top. Finally, drape the wool citrus garland across the table.