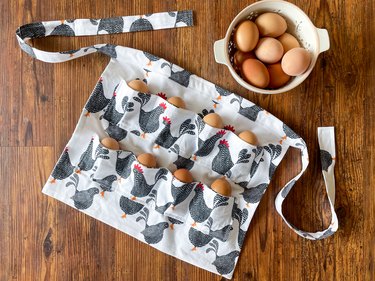
Welcome to the world of farmhouse fashion, where practicality meets style! Whether you're a homesteader, farmer, baker or just someone who likes to keep eggs on hand (we won't ask questions!), you know that toting around multiple eggs can be a bit tricky. Fear not, our feathered-friend enthusiasts: We have just the thing to make egg-collecting adventures both practical and fashionable in the form of a DIY egg-gathering apron.
Video of the Day
Not only will you have a hands-free way to carry eggs but you'll also look like the chicest chicken farmer this side of the Mississippi. So, review this tutorial, grab your sewing kit and get cracking on a must-have accessory for any chicken-loving fashion fan.
Video: Farmhouse Fashion: A Homemade Egg Apron
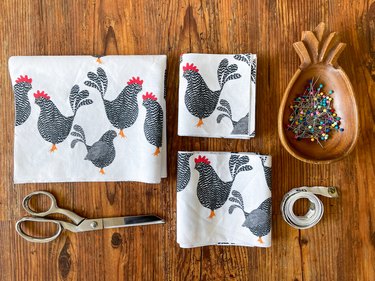
Things You'll Need
Tip
Don't forget to give your fabric a good wash and dry before starting this sewing adventure. This way, your egg-gathering apron will be machine-washable and won't shrink when dried later. After all, you never know when a rebellious egg might make a run for it and end up splattering all over your egg-holder apron.
Part 1: Create Front of Apron
1. Cut, pin and sew front of apron
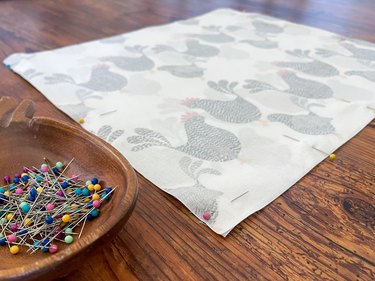
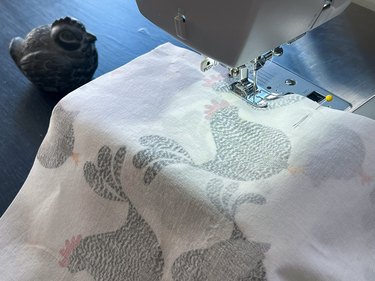
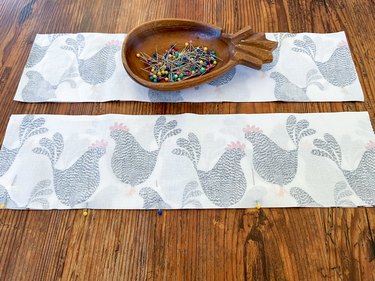
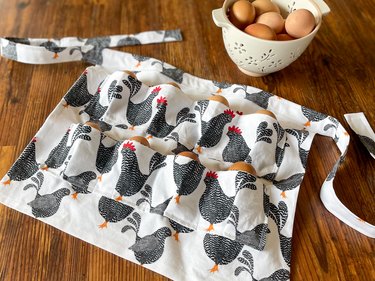
Cut two 17 1/2-in. (width) by 14 1/2-in. (length) pieces of fabric for the front of the egg-collecting apron. Place the patterned sides together and then pin and sew the sides and bottom.
Tip
If you're rockin' fabric with a bold pattern like our Spoonflower chicken fabric, make sure those feathered friends are facing the right way up. (We hear that upside-down chickens are slackers in the egg-laying department, so let's keep those yolks rollin' and those chickens proud!)
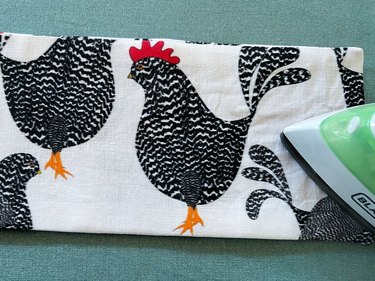
2. Clip corners, turn right side out and press
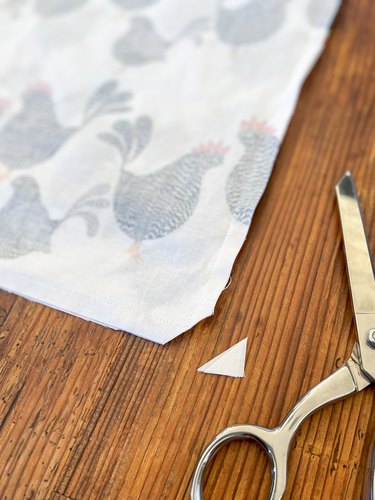
To ensure crisp corners on your apron, carefully clip the bottom corners. Next, turn the apron right-side out and use a chopstick to push out each corner. Press with a hot iron. Set aside and move on to creating the waist tie.
Part 2: Make Apron Waist Tie
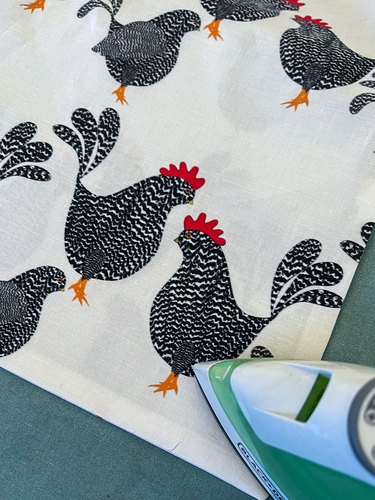
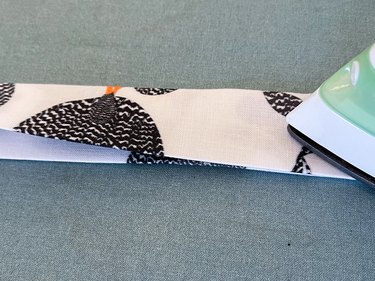
1. Press short ends of waist tie and center fold

To guarantee finished ends on the apron ties, press under 1/4 in. on both short sides of a 60 by 5-in. piece of fabric. Fold the waist tie in half lengthwise and press. This will provide a guideline to use for the next step.
2. Fold long sides and press
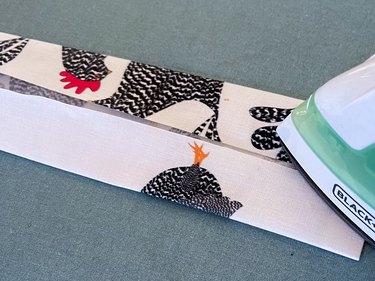
To tuck in the raw edges, fold the long sides into the center fold and press. Next, fold in half lengthwise again and press.
Set the waist tie aside and move on to constructing the egg pockets.
Part 3: Assemble Egg Pockets
1. Pin and sew egg pockets
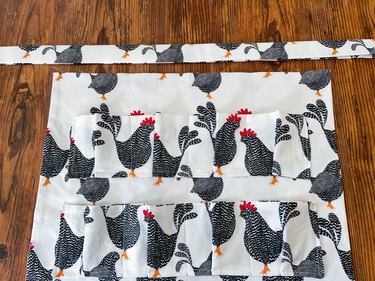
Place the right sides of 17 by 4 1/2-in. pieces together. You'll be making two strips with four egg pockets in each.
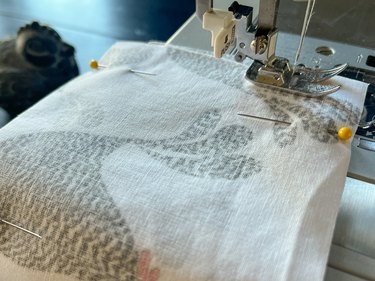
Pin in place and sew the edges, leaving a 3-in. opening in one short side.
2. Clip corners, turn right-side out and press
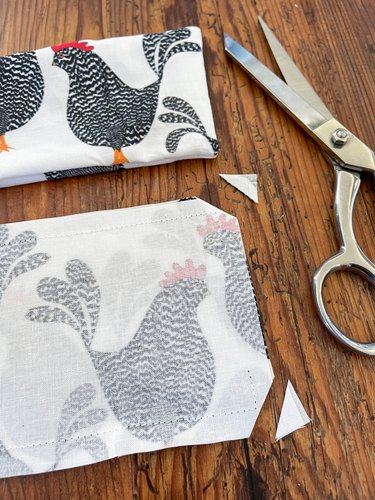
Carefully clip each corner. Turn each egg pocket strip right-side out by pulling fabric through the opening in the short side.
Use a chopstick to push out the corners and then press with an iron.
3. Measure and mark every 2 inches
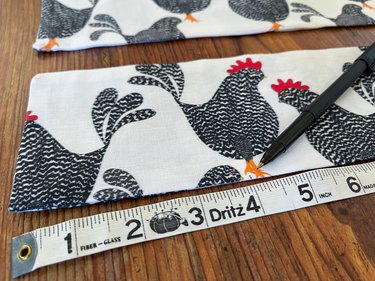
Using a marking pen, mark every 2 inches along the long edges of the egg-pocket strips.
4. Pin pleats
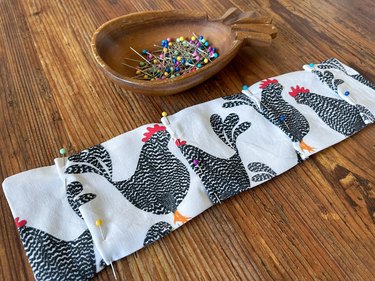
Starting on the first 2-in. mark, use your fingers to pinch a 1/2-in. pleat on every other mark. Pin pleats in place. Do this on both egg pocket strips.
Part 4: Put Everything Together
1. Sew pockets onto apron
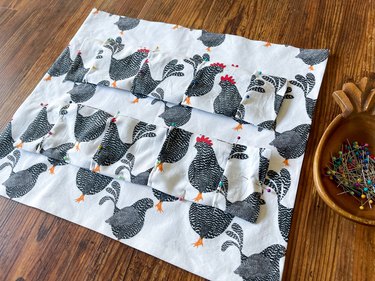
Making sure the pattern on the fabric faces the same direction as the apron front, place two egg-pocket strips on the apron front.
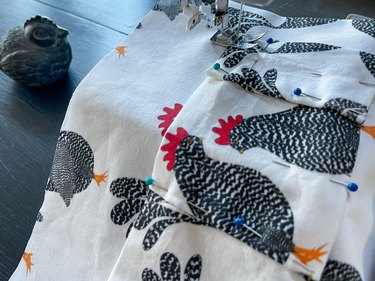
Pin and sew both the short sides and bottom side of each pocket strip to the apron front, leaving the top open. Be sure to remove the pins as you sew.
2. Sew between pleats
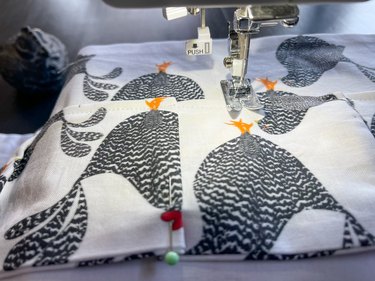
Now, it's time to sew along the other 2-in. marks between each pleat. Starting at the bottom of each pocket, sew up from the 2-in. mark to create individual pockets.
3. Attach waist tie to apron
Line up the center of the waist tie with the center of the apron front.
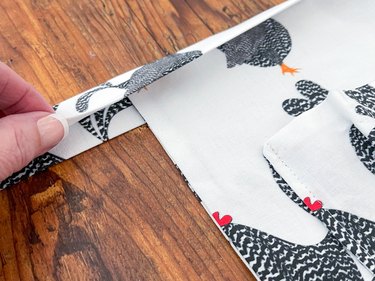
Tuck the top edge of the apron front inside the waist tie and pin in place.

Sew along all four edges of the waist tie, securing the top edge of the apron front inside.

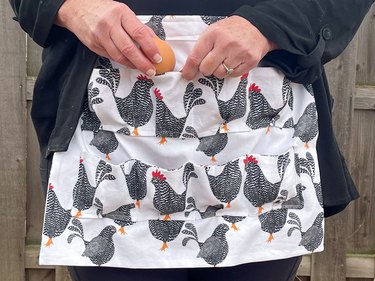
4. Show off your new apron
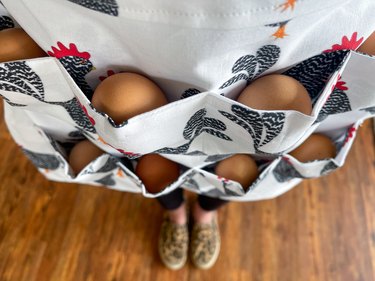
Put on your new harvest apron and start carrying fresh (or store-bought—again, we don't judge!) chicken eggs in style.
If you have backyard chickens, these deep pockets might even encourage them to start laying more eggs.
If you want to add a touch of farmhouse fashion to your daily chicken coop trip (or your daily duties in the kitchen) but don't want to carry an egg basket, this DIY kitchen apron is a clucking good idea. Not only will it keep your hands free while collecting or baking with fresh eggs but it will also make you feel farmhouse chic. Let your creative energy hatch!