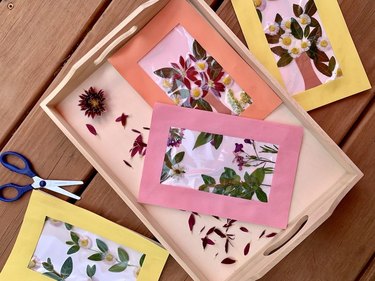
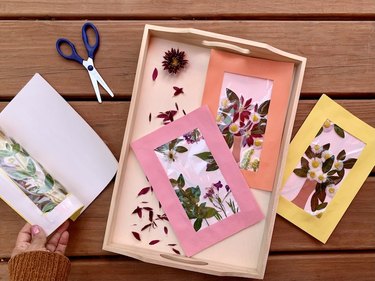
It's fitting that Mother's Day arrives in conjunction with springtime blooms. Many of us associate the holiday with colorful flower bouquets, DIY Mother's Day gifts (often featuring flowers) and fun family outings (often among flowers!). If you'd like to fully embrace the floral vibes this Mother's Day and steer away from typical store-bought greeting cards, we've got the perfect paper craft tutorial: whimsical homemade Mother's Day cards created with real flowers.
To make these playful floral cards, you'll need to gather a handful of small blooms—preferably fresh from the garden. If you don't have access to handpicked bouquets, though, grocery store flowers will do the trick. Just make sure they're small enough to arrange atop a half sheet of card stock and thin enough to press flat inside clear contact paper.
Video of the Day
Video of the Day
With these beautiful cards, you'll bring an extra dash of freshness and springtime charm to this year's festivities. Whether you present your thoughtful DIY to your mom or a mother figure, this inventive Mother's Day card idea is sure to impress.
Let your card-making creativity bloom!
Things You'll Need
White card stock, 8.5 x 11 in.
Scissors
Glue stick
Clear contact paper, 2 sheets
Colorful craft paper
Small fresh flowers
How to Make DIY Mother's Day Cards with Fresh Flowers:
1. Fold and cut white card stock
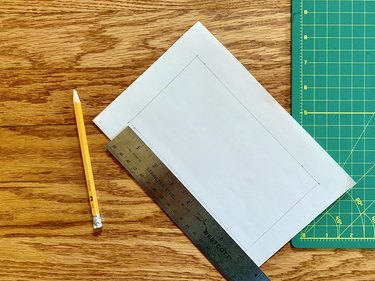
Start by folding an 8.5 × 11-in. piece of white card stock in half. Plain white paper will work in a pinch for this easy craft, but thicker options like card stock are preferable to support the weight of flowers.
Measure a rectangle in the center of front of the folded card, approximately 4 in. wide and 7 in. long, leaving approximately 1 in. of border space.
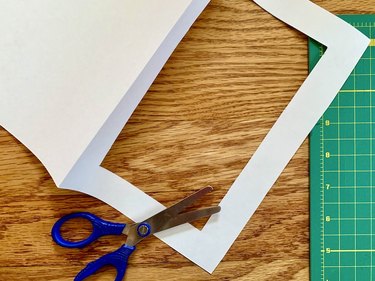
Use regular scissors to make an incision in the center of card stock, then cut out rectangle. You can also use an X-Acto knife for a more precise, clean cut.
2. Create extra page and glue it inside card
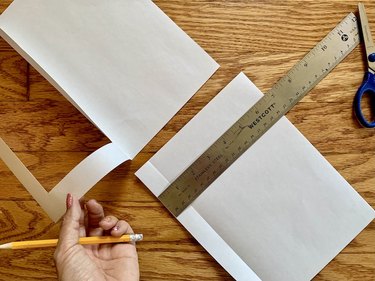
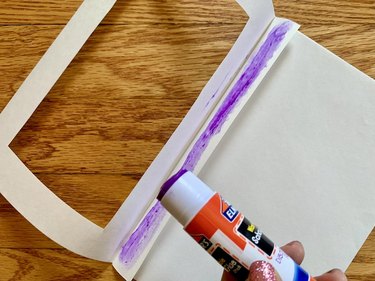
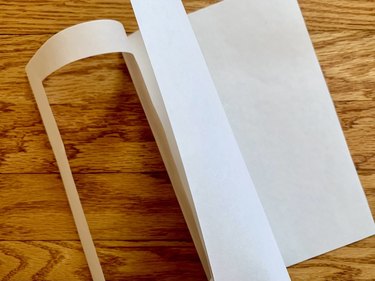
Fold another 8.5 × 11-in. sheet of white card stock in half. Measure and mark ¾ in. on one side of paper and cut out remainder of sheet.
Glue this extra page inside card.
Tip
This extra page will help hide the back of the front page if you want to cover backs of flowers or any pencil marks.
3. Cut clear contact paper
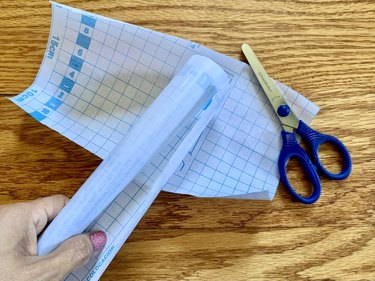
Cut 2 pieces of clear contact paper so each measures approximately 4.5 x 7.5 in.
4. Glue one piece of contact paper inside card
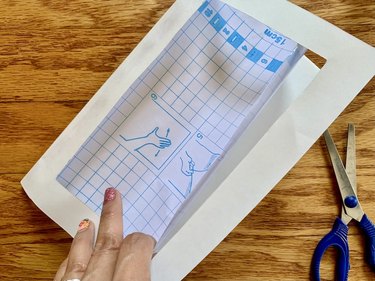
Remove one of the clear contact paper sheets and place it inside card. The sticky part should face front of card.
5. Place flowers onto contact paper
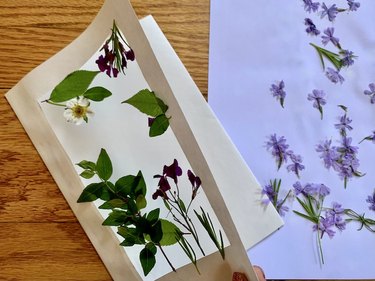
Create a whimsical floral design for your handmade Mother's Day card by placing fresh flowers all around the center of card, on top of clear contact paper.
Be gentle and take your time placing flowers until your design is complete. When finished, press flowers to ensure they stay in place.
Tip
You can also pick flowers prior to tackling this DIY and press them between newspaper inside heavy books to flatten. Alternatively, create a mini tree inside your card using small leaves, flowers and a piece of brown card stock in the shape of a tree trunk.
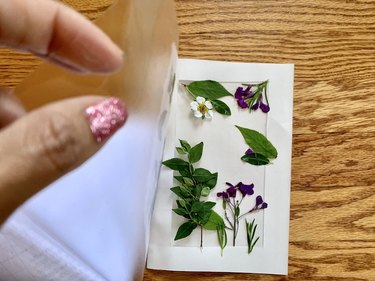
6. Cover flowers with second piece of contact paper
When design is complete, apply second clear contact paper sheet atop flowers and press gently again.
7. Add colorful frame
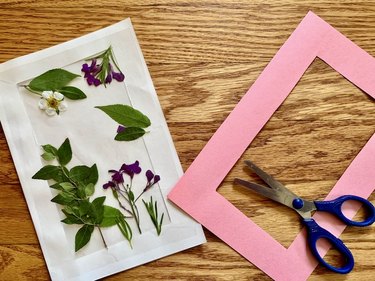
Hide imperfections by creating a frame for the front of card using colorful paper or extra card stock. To make this frame, fold your choice of paper in half and cut out a 5 x 8-in. rectangle.
Glue frame onto card. If you're feeling extra creative, add a few stickers or even a simple watercolor design to the framed area with Mom's name. Your Mother's Day craft is complete!
Of course, the most important part of our easy DIY card is the message inside—so be sure to fill your lovely flower card with equally lovely sentiments about your mother (or motherly loved one). With its crafty feel and whimsical design, this beautiful Mother's Day card is sure to become a treasured keepsake from a truly memorable day. (And the technique would work just as wonderfully for a birthday card or other special event!)
