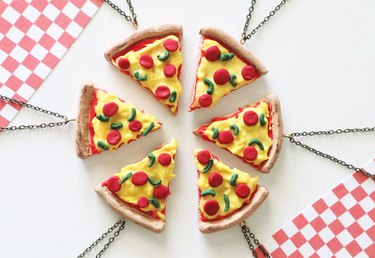
If you're looking for cute and kitschy jewelry to share with multiple besties, you knead to make these DIY pizza necklaces. Each pendant is shaped like a slice of pizza, so when you put them together, the necklaces form a full pie. How fun is that?
Our pizza slice charms are made of polymer clay and basic jewelry supplies, including chain and eye pins. They're also delightfully easy to make, even if you're new to clay or jewelry projects. After all, clay pendants are super forgiving—and the details aren't supposed to look perfect.
Video of the Day
Video: A-dough-rable Pizza Friendship Necklaces for Your BFFs
What's more, as with all DIY pieces, you can customize these pizza slice necklaces to your heart's—or stomach's—desire. For example, we created a pepperoni pizza with green bell peppers, but you're welcome to switch up the toppings. You could even make each charm different to match each bestie's favorite ingredients! No matter how you slice it, these BFF necklaces for more than two people will be a hit with your crew.
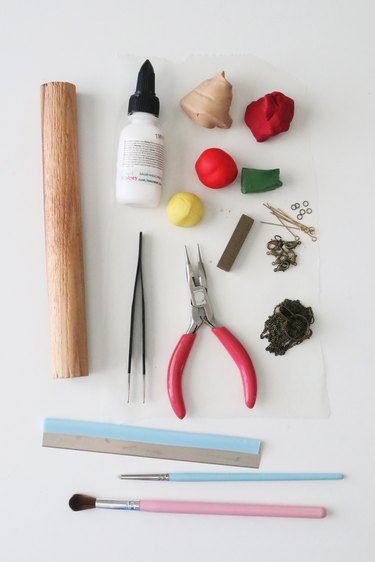
Things You'll Need
Tan polymer clay
Yellow polymer clay
Red polymer clay
Dark red or brown polymer clay
Green polymer clay
Clear liquid polymer clay
Eye pins
Jewelry clasps
Jump rings
Parchment paper
Chain
Jewelry pliers
Craft tweezers
Clay roller
Clay cutter or craft knife
Clay sculpting tools
Brown or black soft pastel (optional)
Fluffy brush (optional)
Tip
Chain color and type are totally up to you. Yellow gold, gold-plated and sterling silver are all great options. You could even mix and match chains based on each person’s style. For a luxe touch, add a gemstone charm to each pizza slice or use a chunkier chain. We used brass cable chain for our necklaces.
How to make Pizza Friendship Necklaces:
1. Make crust
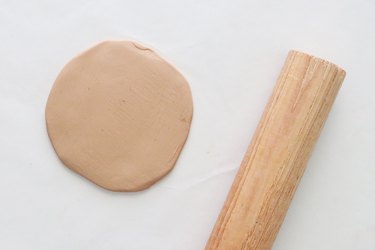
Cover work surface with a sheet of parchment paper. Roll a piece of tan clay into a ball and then flatten into a 1/4-in. disc using roller.
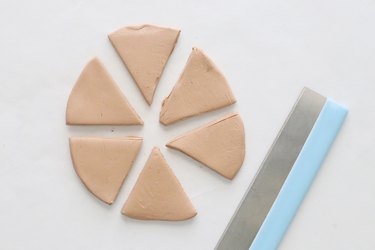
Slice disc according to the number of charm necklaces you want to make.
Tip
For our project, we created six pizza pendant necklaces. However, it’s possible to slice the circle into five to eight pieces. You can use every piece or just a few. The latter option won’t form a whole pie when charms are placed side by side, but they’ll still look cute together! Alternatively, if you want three or four slices to form a whole pie, simply cut the circle into larger pieces.
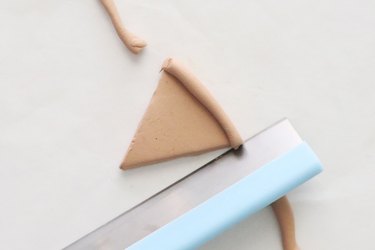
Next, roll out a thin rope of tan clay. Place rope along top edge of a slice and then trim edges. Repeat with remaining pieces.
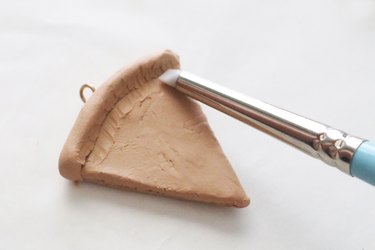
Using a clay sculpting tool, smooth the area where rope and flat triangle meet.
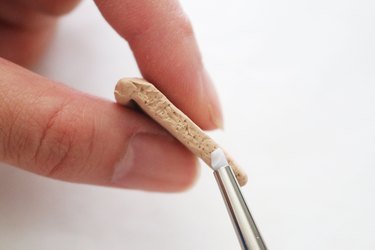
Dot the sides of each slice with the tip of a sculpting tool. This will give crust texture.
2. Add eye pins
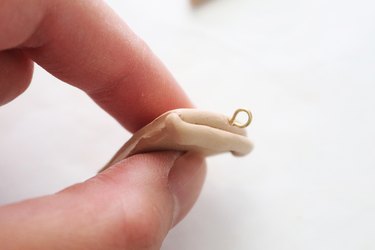
Carefully insert an eye pin into the top of each slice. We recommend placing the eye perpendicular to the pizza; this will make it easier to hang on a chain.
Tip
You might need to trim the eye pin so it fits in the slice. You can do this using the cutting portion of jewelry pliers.
3. Add sauce and cheese

On parchment paper or a paper plate, roll out a disc of red clay. Add clear liquid polymer clay and mix it in using clay tools. Continue adding liquid clay and mixing until red clay is spreadable but thick.
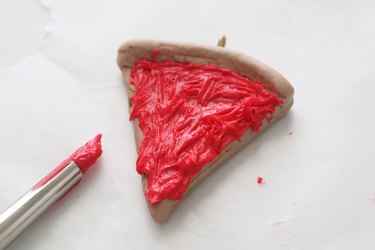
Carefully spread red clay, or "tomato sauce," onto each slice.
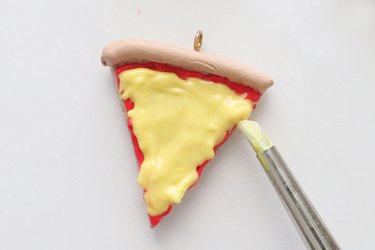
Repeat with yellow clay for "cheese."
Tip
Use slightly more liquid clay when preparing the yellow color. This will give it a melted look.
4. Make toppings
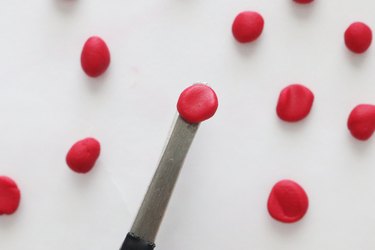
To make pepperoni, roll out dark red clay into tiny balls. Flatten with tweezers.
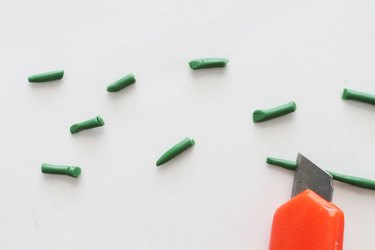
For bell peppers, roll green clay into a thin rope. Slice into pieces with craft knife.

Gently place clay pepperoni and bell peppers on each slice, curving green pieces first. You can also make olives with tiny flattened balls of black clay.
Want a plain cheese slice? Simply leave off toppings after adding yellow clay.
Tip
To make pizza look more realistic, brush a bit of brown or black soft pastel on crust. This step is totally optional, but it will add more depth and dimension.
5. Bake pizza pendants
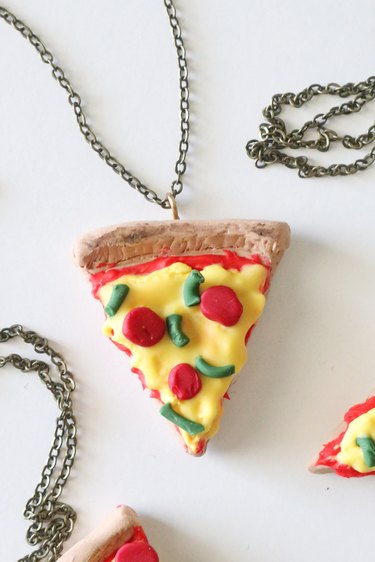
Place pendants on a parchment-lined baking sheet. Bake according to package directions, taking care to avoid burning clay. Let cool completely.
How To Make Pizza Accessories
If more pizza jewelry and accessories are on your wish list, you’re in luck. You can easily use pizza pendants in other fun pieces.
Pizza earrings: Turn your charms into a pair of earrings by adding an earring hook to each one. Want to make stud earrings? Skip the eye pins and glue a stud earring blank to the back of each slice.
Pizza keychain: Add a large jump ring to a pizza pendant. Place it on a key ring for an instant foodie keychain!
Pizza heart necklace: For a charming variation on this project, make a heart-shaped crust and add toppings as usual. Cut it in half and then decorate slices as usual for a super-cute necklace set for two people.
6. Add pizza pendants to chains

Once cooled, pizza pendants are ready to be turned into necklaces. To do this, cut a strand of chain and insert it through eye pin of each charm. At ends of chain, attach jewelry clasps using jump rings. Repeat with remaining charms and gift to the pizza lovers in your life!
These quirky pizza necklaces might not be conventional friendship jewelry, but they're deliciously unique and anything but cheesy. So, what are you waiting for? Get making! Or should we say baking?