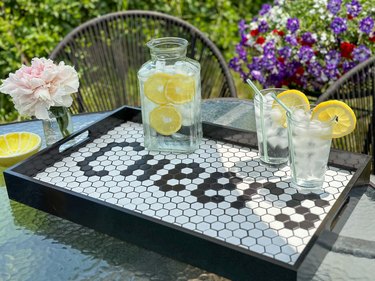
Ready to raise the bar on your hosting game and add a touch of chic to your next gathering? Get ready to say "cheers!" in the trendiest way possible with a black and white tile tray project. This clever and versatile creation will serve as show-stopping home decor and help keep drinks, snacks and conversation flowing with flair. So, gather your tools and follow our step-by-step DIY tile tutorial.
With a bit of elbow grease, we'll transform a plain ol' tray into a dazzling display of creativity and functionality. So, let's get tiling!
Video of the Day
Video: Say "Cheers!" With a Trendy Black & White Tile Tray
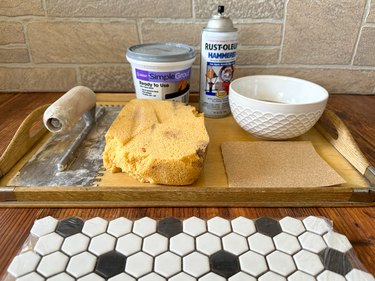
Things You'll Need
24-in. x 15-in. wooden serving tray (thrifted or new)
Paint
Coarse-grit sandpaper or orbital sander
Hexagon tiles
Hot glue
Downloadable template
Tile saw
Large piece of cardboard
Tile mortar
Bucket
Notched trowel
Sponge
Painter’s tape
Ready-to-use tile grout
Grout float
Scraper tool
Sharp blade
Part 1: Prepare Wood Serving Tray
1. Paint tray
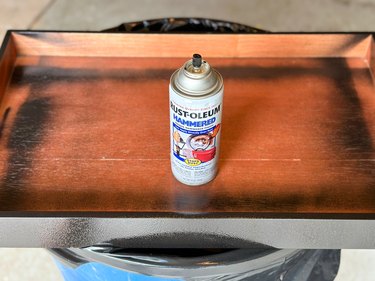
First, give serving tray base a makeover using spray or regular paint. If you're feeling inspired by a classic monochromatic palette like us, black is the way to go, perfectly complementing the black and white tiles that will grace your tray.
2. Sand bottom
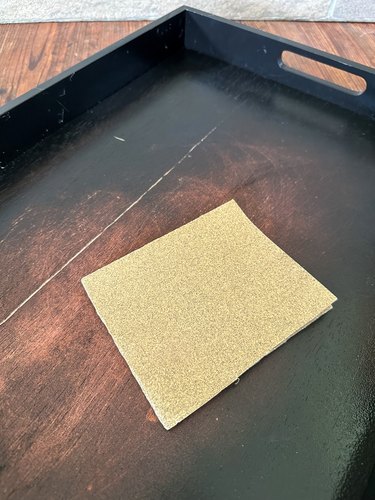
To ensure a rock-solid bond between tiles and bottom of tray, use coarse-grit sandpaper or an orbital sander to rough it up and pave the way for a tiled project that will stand the test of time.
Part 2: Plan Tile Design
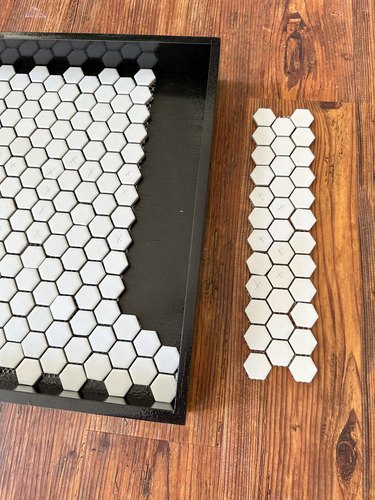
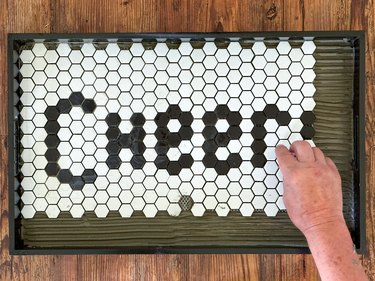
1. Place tiles

Place tiles snugly into tray, cutting mesh if needed.
2. Mark word onto tiles

Download our convenient stencil template to ensure accurate placement and carefully mark the word "Cheers" directly onto tile surface.
3. Remove and replace marked tiles

Carefully peel off each marked white tile from mesh.
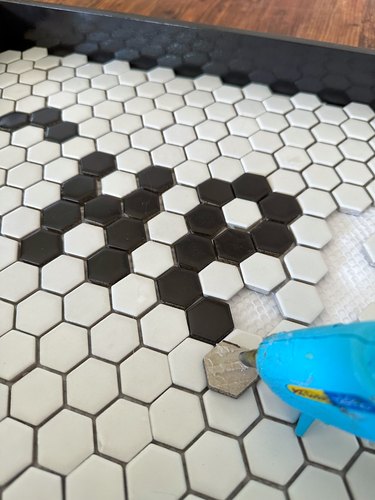
Replace white tiles with sleek black ones and secure them using hot glue.
4. Cut edge tiles
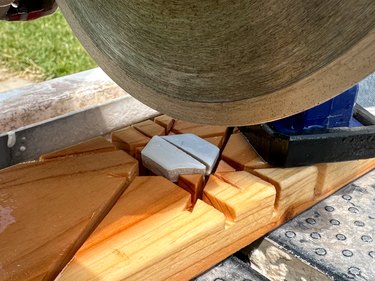
With a steady hand and a touch of precision, carefully cut each tile in half with a tile saw to ensure a perfect fit within tile tray.
Tip
Don't worry if you don't have a tile saw on hand! We've got a friendly solution for you: Simply skip the tile-cutting step and leave those pieces out. Fill the space with grout instead.
5. Remove tiles from tray

Grab a large piece of cardboard and gently position it atop tray. Carefully turn over tray while keeping tiles in place. You can remove tray without disturbing arranged tiles.
Part 3: Adhere Tile
1. Mix tile mortar
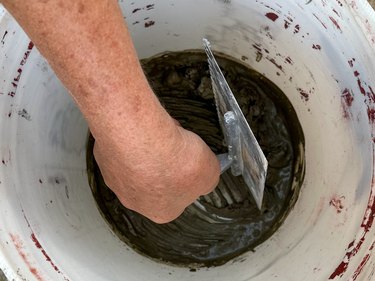
Mix mortar according to package directions.
2. Spread and trowel mortar
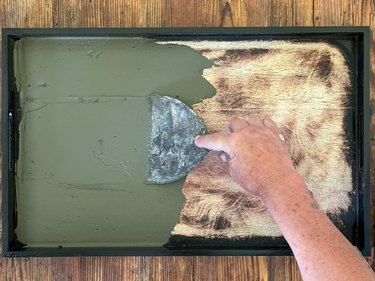
Start by evenly spreading mortar on bottom of tray, creating a smooth foundation for tiles.
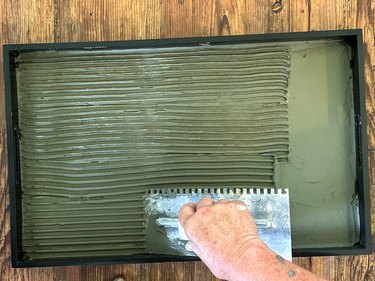
Run a notched trowel through mortar, creating neat grooves to ensure a secure bond with tiles.
3. Set tiles
Gently place tiles into mortar and use a damp sponge to wipe off excess. Let tiles dry 24 hours before moving on to next step.
Part 4: Grout Tiles
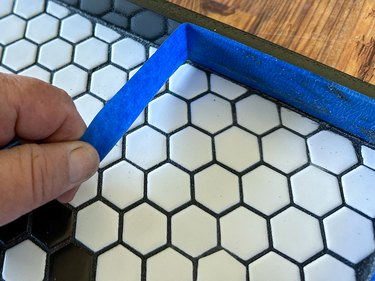
1. Adhere painter’s tape
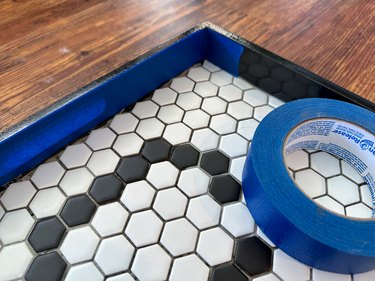
To protect sides of tray from grout, adhere painter's tape around inside edges.
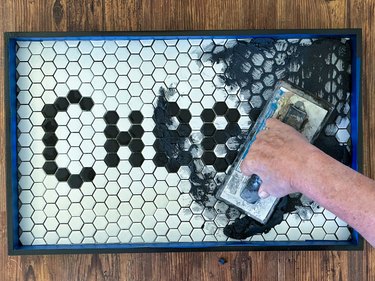
2. Apply grout
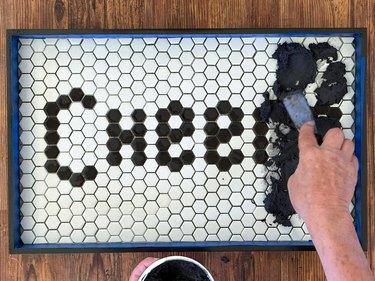
Using a grout float, push grout into spaces between tiles.
3. Remove excess grout
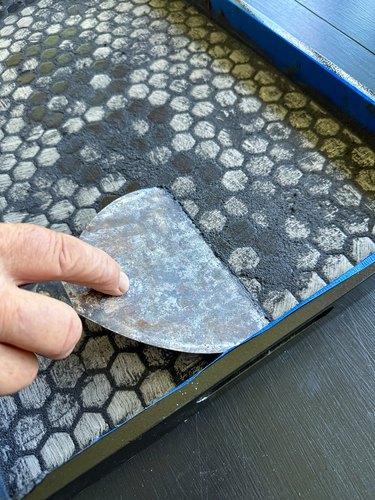
Use a scraper tool to remove excess grout.
4. Clean tiles
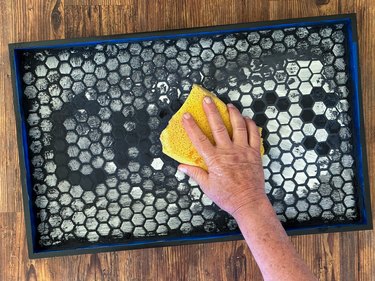
Grab a damp sponge to give those tiles a good cleaning. It's essential to take your time and exercise patience during this step. As you go along, rinse sponge regularly to keep it fresh and effective.
5. Remove tape
Run a sharp blade around bottom of tape to ensure tape doesn't pull any grout loose before removing.
Congratulations, handmade home decor enthusiasts! You've successfully transformed a plain tray into a tile masterpiece. This easy DIY serving tray will elevate your living room, coffee table or outdoor space, adding a touch of style that's simultaneously on-trend and vintage-inspired.
Whether you're hosting a casual get-together or a formal dinner or you're dreaming up gift ideas for loved ones, this piece is tough to beat. So, raise a glass and toast to your DIY prowess. Cheers to you, and may your tiles always be perfectly set!