
Ready to add a vibrant burst of color and whimsy to your living space? Look no further than this captivating DIY project: a rainbow pom pom chandelier. Combining the playfulness of pom poms with a spectrum of hues, this multicolor project allows you to embrace creativity and craft a soft, modern chandelier that will brighten any room.
Video: A Rainbow Pom Pom Chandelier to Brighten Any Room
Video of the Day
Whether you're decorating a dining room, enhancing a nursery or simply seeking a cheerful addition to your living room, this step-by-step guide will walk you through creating your own rainbow chandelier. Get ready to infuse your space with joy!
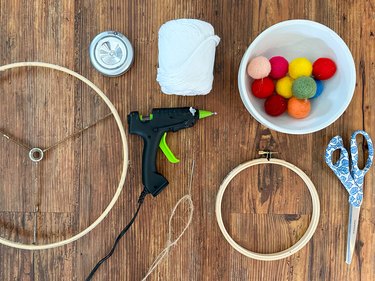
Things You'll Need
96 1 1/4-in. pom poms
Yarn
Large eye needle
11-in. metal shade ring (new or used)
6-in. wooden embroidery hoop
Hot glue gun
Craft wire
Paint
Battery-operated touch light
Part 1: Create Pom Pom Strings
1. Thread pom poms
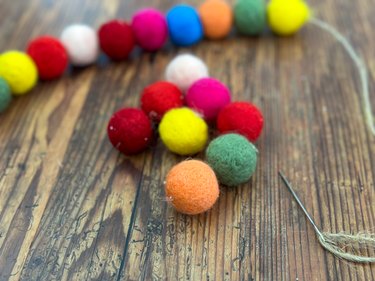
To begin, use a large needle to thread 16 pom poms onto a 30-in. piece of string or yarn, creating six pom pom strands. Make sure to leave approximately 4 in. of string on both ends. Adjust number of pom poms accordingly if you're working with a different size. By the end of this step, each pom pom strand should measure around 20 in. in length.
Part 2: Create Chandelier Base
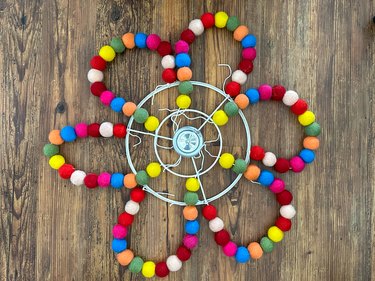
1. Assemble chandelier base
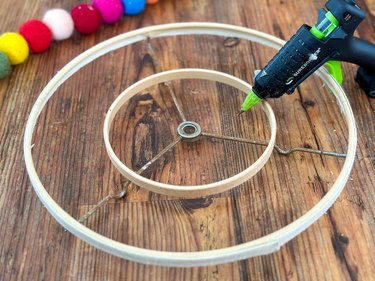
If preferred, purchase new metal shade rings on Amazon. We opted for a sustainable approach and repurposed an 11-in. metal shade ring from a thrifted lampshade. Simply remove existing shade material from metal ring. Position a 6-in. wooden embroidery hoop in center of shade ring and secure using a combination of hot glue and craft wire.
2. Paint
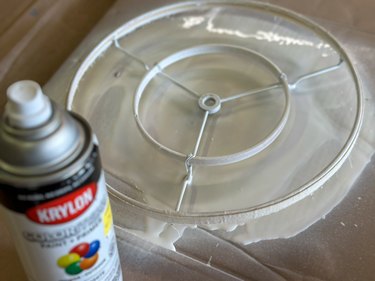
Ensure proper ventilation in your workspace and then proceed to spray paint chandelier base with a coat of white paint. Allow paint to dry overnight, giving it ample time to set. Alternatively, choose a color for the base that complements the pom poms you've selected.
3. Secure light
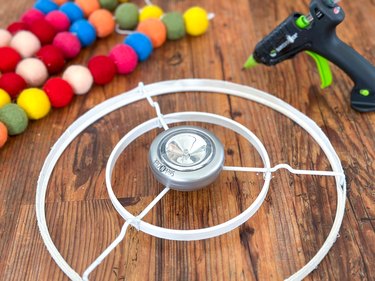
Turn ring over. Using a hot glue gun, securely attach battery-operated touch light to center of metal shade ring.
Part 3: Attach Pom Pom Strings
1. Tie strings to outside ring
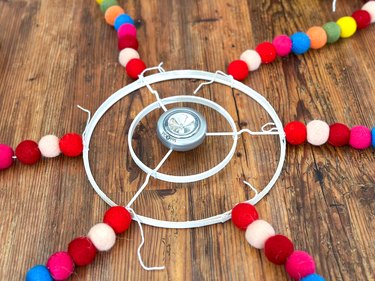
Tie ends of pom pom strings at equal intervals around outer edge of metal shade ring.
2. Tie strings to inner ring

Mark equal intervals around inside ring that align with strings tied on outside ring.

Then, take the end of each string and securely tie it to corresponding mark located one position over on inside ring.
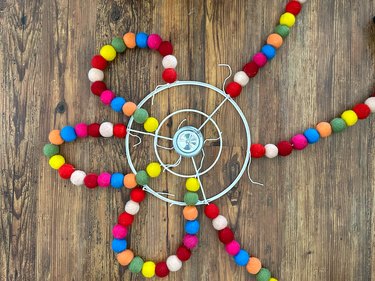
Continue until all strings are tied.
3. Add strings to hang chandelier

Shade rings typically feature three metal spokes extending from center of shade. Attach a long piece of string or yarn to each spoke, which will serve as a hanging mechanism for chandelier.
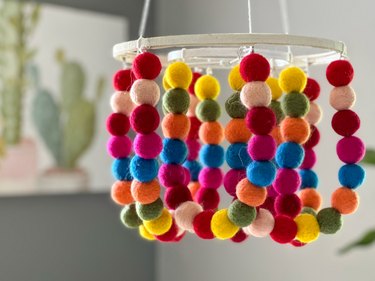
When you're in need of a DIY mood booster, this marvelous multicolor chandelier has you covered. After all, it's tough not to be enchanted by such an eye-catching piece!