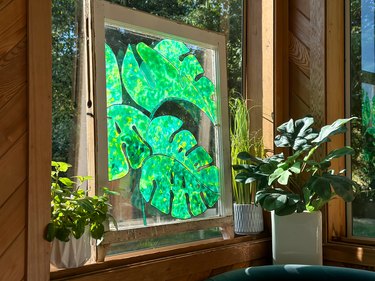
If you've ever marveled at the beauty of stained glass windows but thought it was beyond your artistic abilities, think again. With a little creativity, you can create stunning stained glass designs that will captivate the eye and add a touch of artistic elegance to any space.
No need for complicated techniques or expensive materials—this easy and accessible DIY project will unlock your inner artist and allow you to craft dazzling stained glasslike pieces using a simple yet versatile tool: glue! So, prepare to embark on a colorful adventure as we explore the fascinating process of creating faux stained glass designs that are sure to inspire and impress.
Video of the Day
Video: Make Magical Stained Glass Art With Glue
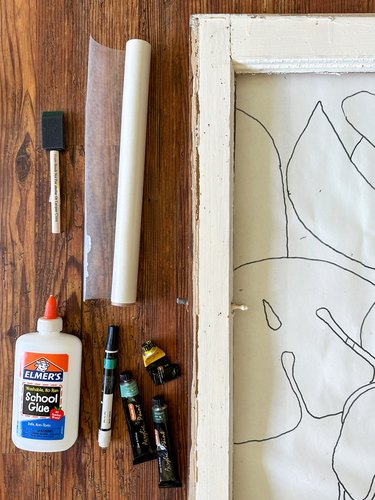
Things You'll Need
Large window or picture frame with glass (new or used)
Line drawing of leaves
Tape
Black paint pen
Wax paper or Styrofoam egg carton
White school glue, like Elmer's School Glue
Acrylic paint
Foam brush or paintbrush
Part 1: Prep Glass and Design
1. Wash glass
Finding the perfect glass piece to paint can be a delightful adventure in itself. Search thrift shops, garage sales, online marketplaces or even items stored in your own garage to uncover a hidden treasure. For instance, we stumbled upon an old glass window complete with a wooden frame and charming wavy glass.
Once you have your glass, thoroughly wash and dry the glass. You can decide whether you'd like to enhance the frame with a fresh coat of paint or leave the natural patina as it is, adding to the charm of your creation. The choice is yours, and it's all part of the creative journey!
2. Draw design
Decide on the design you want to paint on the glass. If you're skilled in drawing, feel free to create the design directly. However, if drawing isn't your strong suit, you can search for a design online, in magazines or in advertisements. Take a picture of the chosen design, enlarge the section you want to use and let it serve as inspiration while you sketch it on a piece of paper that matches the size of the glass you'll be painting.
3. Tape the design to the back of the window
Place the design on the back of the glass so you can see the image and secure with tape.
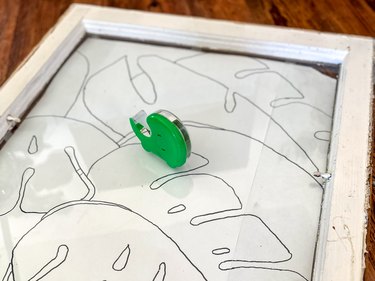
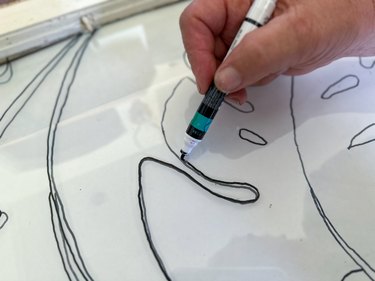
4. Trace design
Using a black paint pen, carefully trace the entire design on the glass.
Part 2: Paint Glass With Glue
1. Mix glue and paint together
Mix your desired paints with lots of glue in a Styrofoam egg carton or on a plate covered with wax paper.
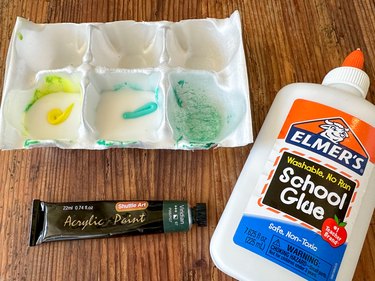
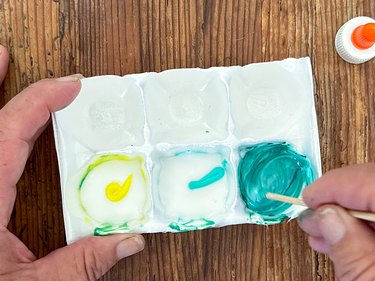
2. Apply paint
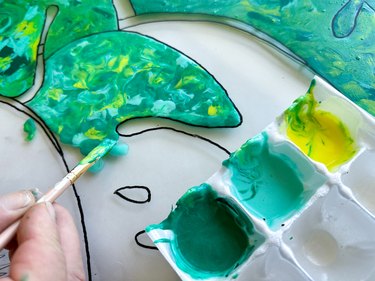
Using a foam brush or a paintbrush, apply small amounts of each paint color to a small section of the design on the glass. Swirl the paints together until you get the desired effect. Continue this way until the entire design is filled with paint. Let it dry flat overnight.
Once completely dry, remove paper and tape and then display your DIY stained glass window.
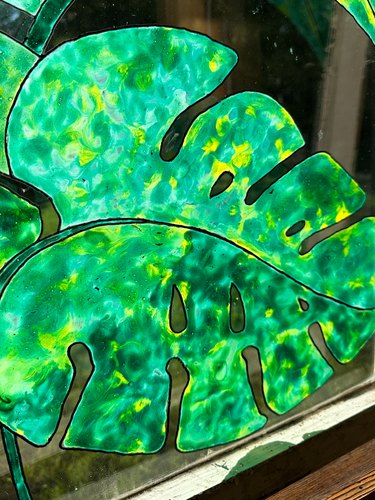
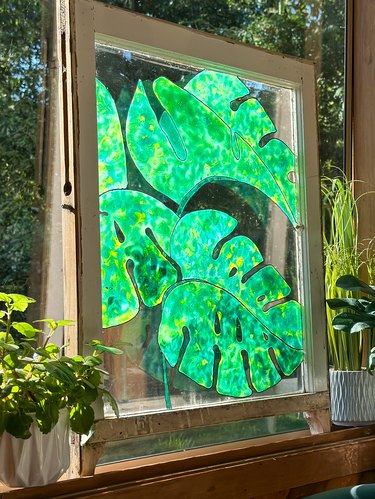
There you have it! Your DIY faux stained glass creation (or should we say masterpiece?) is complete. And to think it all happened thanks to a simple yet versatile medium like glue!