Want your backyard to be the talk of the avian town? Our tutorial demonstrates how to repurpose thrift store glass plates and vases into an upcycled, whimsical and easy DIY birdbath that will have your feathered friends flocking in style. Forget about uninspired store-bought bird baths and bird feeders—let's dive into a world of quirkiness and creativity where discarded treasures find new life and birds splash with glee.
Get ready to make waves—literally!
Video of the Day
Video: An Upcycled Glass Bird Bath to Complete Your Garden Oasis
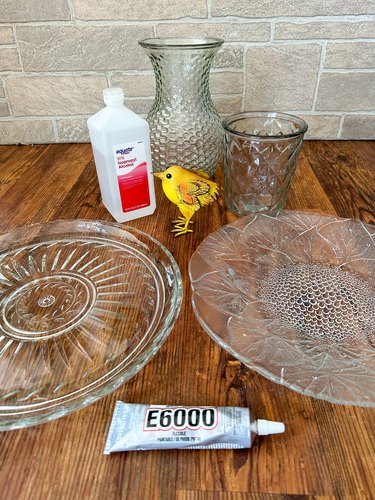
Things You'll Need
Preloved glass plates and vases (or other glassware)
Rubbing alcohol
How to make a Glass Bird Bath:
1. Wash plates and vases
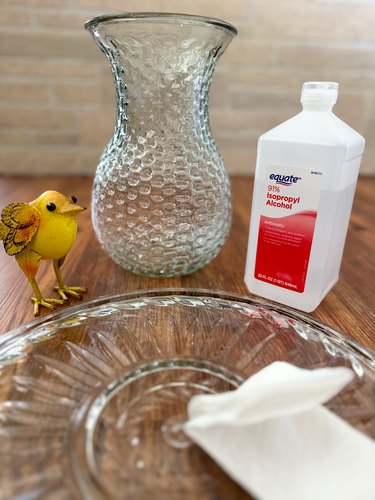
Once you've found the ideal glass plates and vases, whether they were hidden deep within your cupboards or uncovered at a thrift store, it's time to give them a proper scrub. Make sure to wash thoroughly, banishing any lingering grime or dust. To ensure a seamless adhesion process, wipe down the items with rubbing alcohol to remove stubborn residue.
2. Adjoin glass vases and plates with E6000
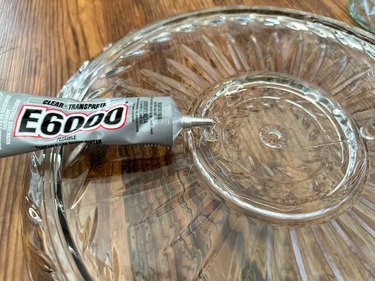
E6000 glue is an indoor/outdoor, industrial-strength adhesive that forms a tough, permanent bond on glass. For this project, start by turning over glass plate intended for base of birdbath. Squeeze out plenty of glue around base, where glass vase will be placed.

Carefully set vase into glue on bottom of plate. Attach another vase onto top of first vase using more E6000 glue.
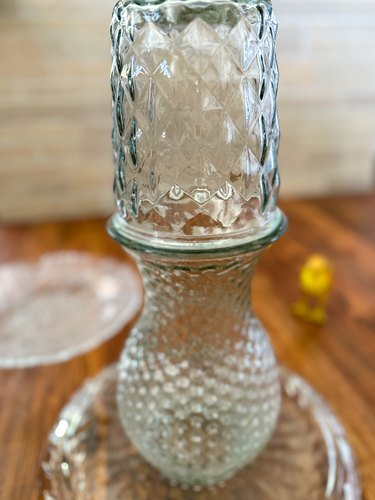
Squeeze more glue onto second vase. Carefully position plate you've chosen for actual bird bath, securing it firmly in place.
3. Let dry and place outside
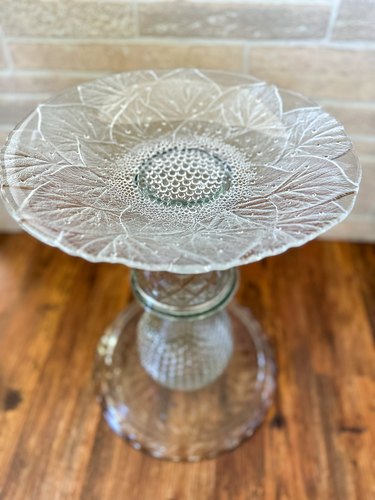
A little patience is necessary as you let your creation dry and bond. Allow a minimum of 24 hours for glue to work its magic before proudly showcasing bird bath in your garden.
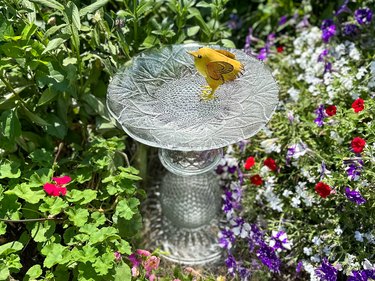
Find an area that provides a tranquil ambiance, preferably near foliage or flowers where your feathered friends can rest and refresh themselves. Ensure birdbath is placed on a stable, level surface to prevent wobbles or spills.
4. Fill with water

Now that your DIY glass bird bath is perfectly positioned in your yard or garden, it's time to bring it to life by filling it with water. Gently pour water into bath, allowing it to cascade and create a refreshing oasis. Regularly check water level and refill as needed, ensuring your feathered friends always have a clean and inviting place to drink and bathe.
So go ahead: Embrace the magic of nature and let your homemade glass bird bath serve as a source of joy for both yourself and the winged visitors who will flock to it.