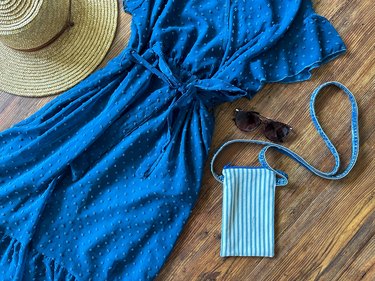
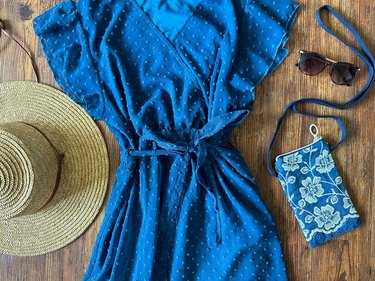
In a world where fashion meets functionality, the crossbody bag has emerged as the ultimate accessory, effortlessly combining style and practicality. And why settle for a run-of-the-mill purse when you can create your very own fashion statement? With our sewing pattern and a sprinkle of creativity, you can craft a personalized DIY crossbody bag that's perfect for concerts, festivals, dinner or movie outings and more. After all, it fits all the essentials: a phone, wallet, keys and sunglasses.
Video of the Day
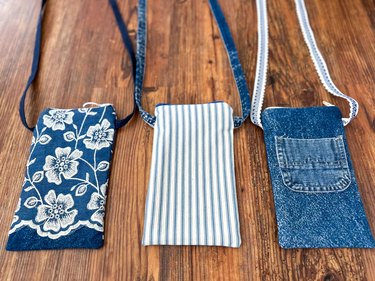
Whether you're a sewing novice or a seasoned DIY enthusiast, this bag-making sewing tutorial will guide you through the process. Best of all, our tutorial is leftovers-friendly, meaning you can use leftover pieces of fabric that you have on hand or even an old pair of jeans (hence the denim theme we went with).
So, get ready to dive into the world of sewing and transform fabric into a trendy, versatile crossbody bag that's perfect for adventures near or far.
Video: A DIY Crossbody Bag for Concerts, Festivals & Beyond
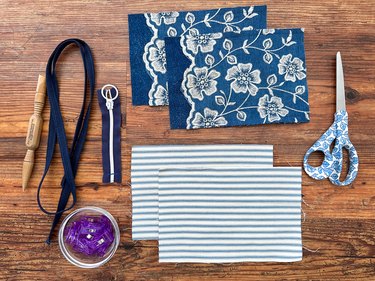
Things You'll Need
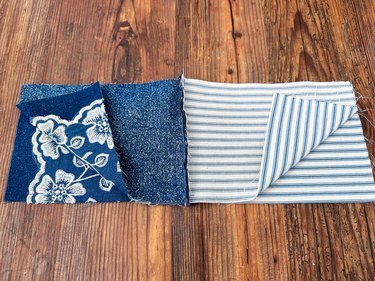
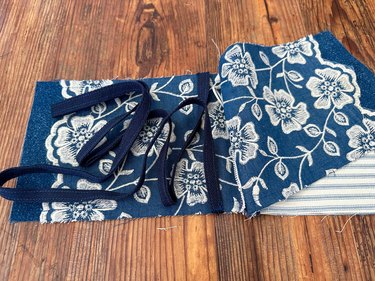
2 6-in. x 8-in. pieces of outer fabric
2 6-in. x 8-in. pieces of lining fabric
Fusible interfacing (optional)
6-in. zipper
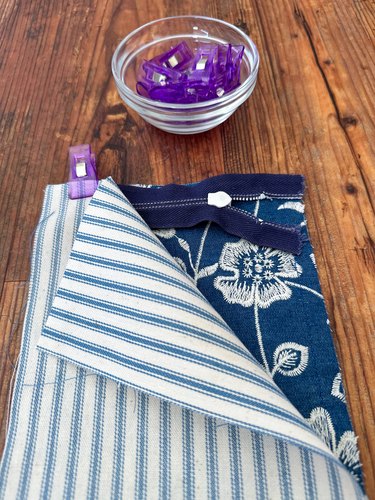
Clips or straight pins
60-in. strap (made from webbing, cord or fabric)
Sharp scissors
Chopstick or wooden point turner
Part 1: Sew Layers
1. Place zipper face down
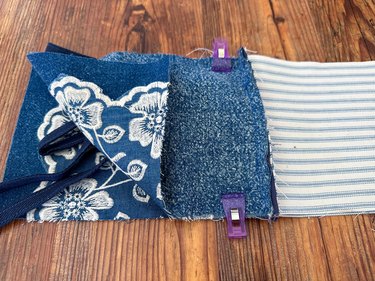
Start by placing the outer fabric with its right side facing up. Now, take the zipper and position it face down on the top edge of the fabric. Proceed by laying the lining fabric with its right side facing down over the zipper and outer fabric. Secure the three layers together by clipping them in place, ensuring they stay aligned during the sewing process.
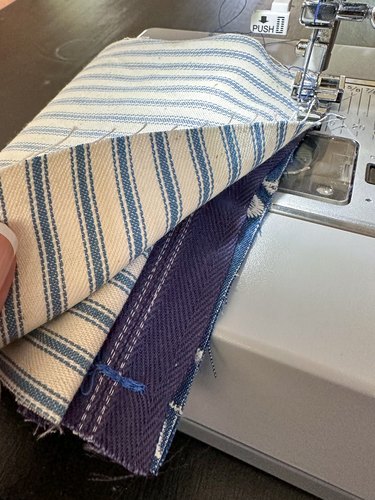
2. Sew all the layers
Using a zipper foot on your sewing machine, sew all three layers.
3. Position and sew other side of zipper
Flip the fabric pieces so the wrong sides are together and the zipper is out.
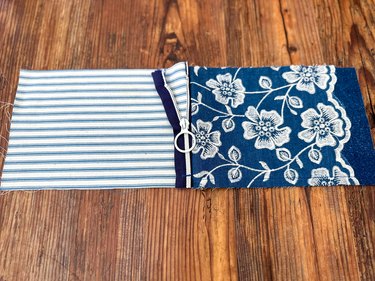
Place the zipper face down on the right side of the second piece of outer fabric. Next, place the right side of the second lining piece down and clip together.
Sew along the other side of the zipper.
Part 2: Attach Shoulder Strap
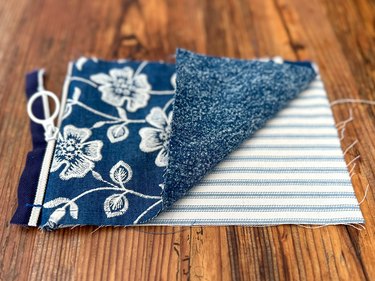
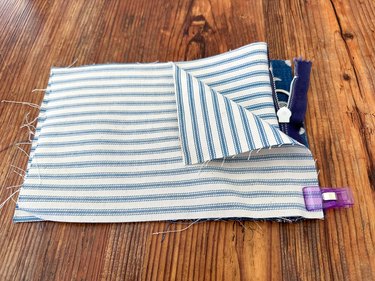
1. Position fabric pieces
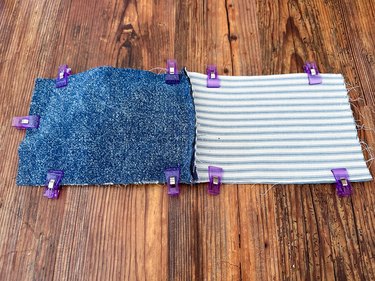
Open the zipper and place the outer fabric pieces and the lining pieces with right sides together. The zipper will be inside the fabric pieces.
Line up the ends of the straps with the raw edge of the outer fabric about an inch down from the zipper. Fold the other outer fabric piece over and clip in place.
Part 3: Assemble Bag
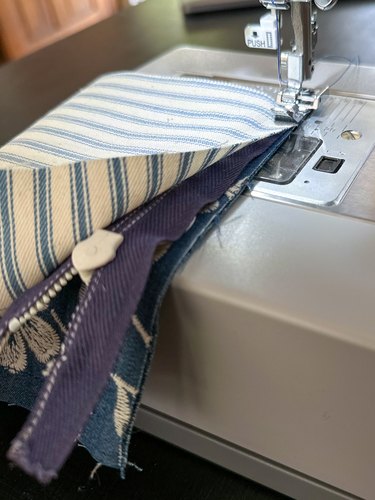
1. Sew bag
Use clips to hold the bag together while you sew around the outer fabric and the inner fabric with a 1/2-in. seam allowance. Leave a 4 1/2-in. opening in the short edge of the lining pieces.
2. Round corners
To reduce bulk and help the corners lie flat, use a sharp pair of scissors to carefully clip each corner at a 45-degree angle.

3. Turn bag right side out
Pull the bag through the opening in the lining to turn the bag right side out. Push the chopstick or wooden point turner into each corner to create nice, crisp corners.
4. Press and sew opening closed
Tuck in the raw edges of the lining and press with a hot iron. Sew a small seam across to close the opening in the lining.
5. Tuck lining inside
Push the lining inside the bag and use a chopstick or a wooden point turner to create crisp, clean corners.
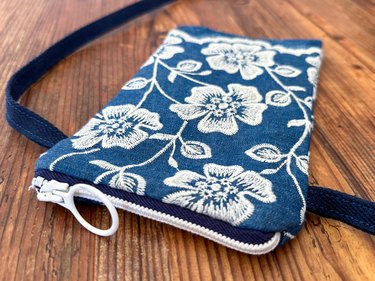
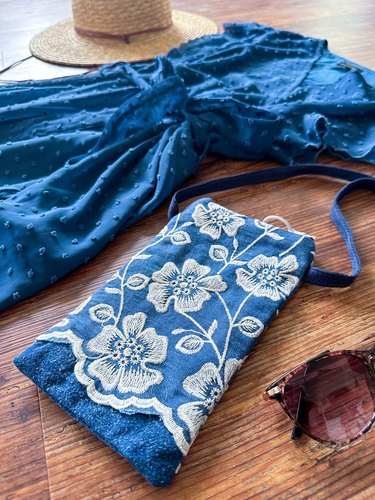
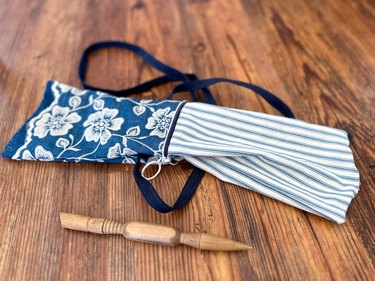
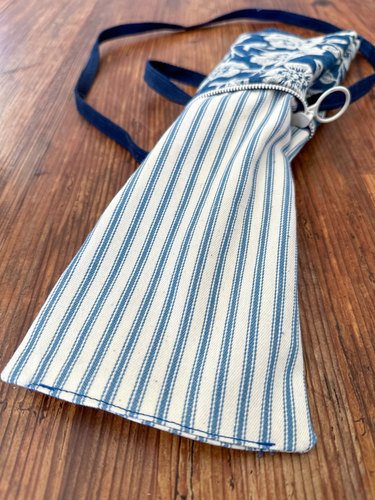
Ta-da! Your bag is ready to wear.