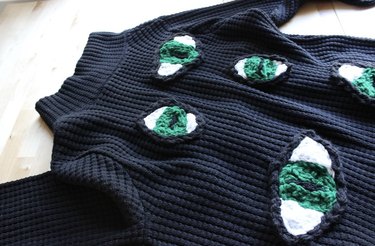
If you've been paying attention to fashion trends, you might have noticed that knit sweaters and embroidered cardigans are having a moment—and it's easy to see why. On their own, cardigan sweaters are cozy, versatile and downright timeless. Toss some original embroidery into the mix and you have the recipe for self-expression and wonderful wearable art. We love these creative garments so much that we simply had to make our own—and we'll walk you through every step!
Video: A DIY Cat-Eye Cardigan for Ultimate Coziness
Video of the Day
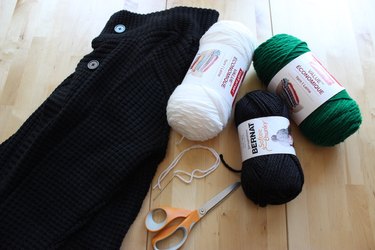
You might have spotted outerwear and sweaters featuring everything from flowers to clouds, but for our open-front cardigan tutorial, we opted for something more mysterious: cat eyes. It's the perfect theme for Halloween, a Taylor Swift concert, you name it! For this eye-catching project, you'll begin with a simple black cardigan with long sleeves. Snag one at the thrift store, reuse an old knit cardigan you have at home or buy a new one that matches the texture of your preferred yarn. This consistent yarn texture will help camouflage imperfections in the embroidery, making it easy for you to create and fill shapes without worrying about errors.
Ready to create a super-soft embroidered cardigan that's the cat's meow? Read on!
Tip
We recommend yarn weight #4 for creating puffy effects in adult-size sweaters. It fills blank spaces easily; details of each stitch are still visible.
Things You'll Need
White yarn weight #4
Green yarn weight #4
Black yarn weight #6 (bulky) or you can also use weight #4
Scissors
Large-eye embroidery needle
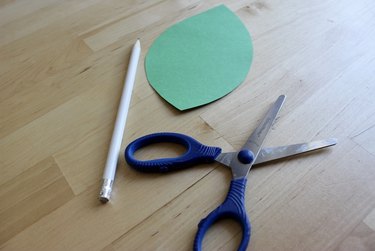
Card stock
Pencil
1. Create cat-eye outlines with card stock
We found it helpful to draw the cat-eye shape first in order to decide their size and design. To start, trace with a pencil and cut outlines from card stock.
2. Delineate cat eyes
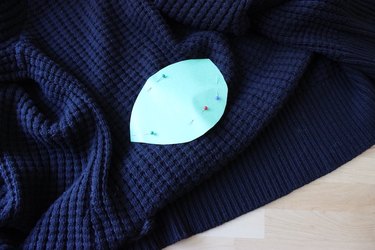
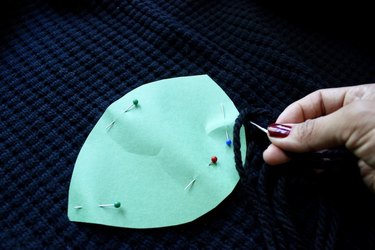
To delineate cat eye, attach card stock template to sweater using pins.
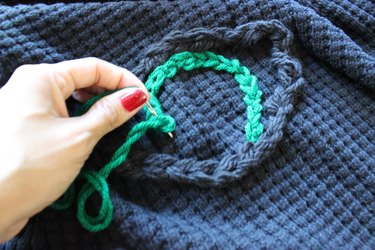
Next, trace cat eye shape using bulky black yarn in a chain stitch. The chain stitch makes it easy to create lines, circles and the "puffy" embroidered effect. The process is time-consuming but relatively simple.
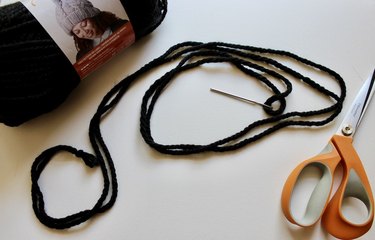
Before you begin chain stitch, insert yarn in large-eye needle and make a knot at the end as pictured below.
To create chain stitch, bring needle to back of your sweater and insert needle back down through same hole. Wrap up needle using yarn and then pull the yarn. The resulting stitch should resemble a chain.
We used bulky yarn for cat-eye outlines because it makes black lines resemble eyelids and hides imperfections. We don't recommend using it for larger shapes or to fill in shapes.
3. Embroider cat-eye irises and pupils
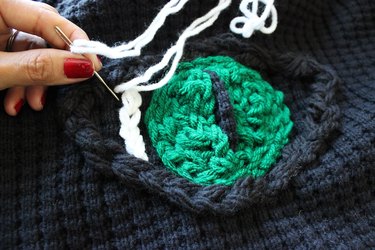
Create cat-eye irises using emerald green yarn. Use chain stitch again, making small stitches to create a circle. Fill irises of cat eyes completely, going around and around with the same chain stitch but leaving a thick line in the middle to form pupils.
Tip
Want to take your DIY sweater project to the next level? Turn it into a hooded cardigan with our tutorial for knitting a hood onto the back neckline of an existing garment.
4. Create sclera (white section) for each cat eye
When emerald green section is complete, embroider white part (sclera) of each eye using chain stitch again. Fill shape of sclera completely.
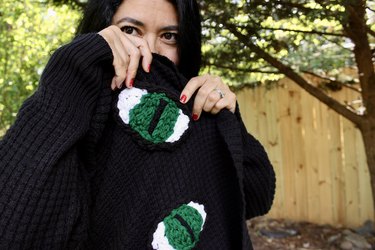
You can play with eye size, making them bigger or smaller. We love larger eyes because they're more noticeable and dramatic.
And there you have it: a delightful embroidered cardigan that perfectly blends trending styles, functionality and a dash of mystery. The best part? You've now perfected an embroidery technique that can be applied to pullover knit sweaters, V-neck cardigans, ribbed scarves and just about any other acrylic or yarn-based garment. It's so fun—and so much more unique than your everyday in-store selections!
