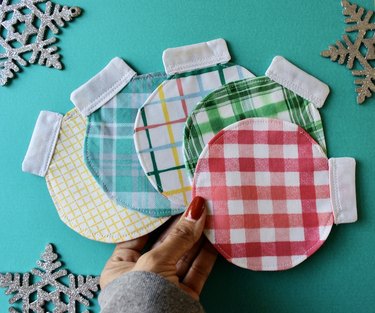
What's the holiday season without joyful ornaments and plenty of cozy beverages? To celebrate two hallmarks of the most wonderful time of the year, we've created a project that combines both: ornament-shaped Christmas coasters made from patchwork-inspired fabric!
There's so much room for creativity with this fun tutorial. Use a singular fabric design for all your coasters or select a collection of winter patterns to mix things up, from snowmen to snowflakes to elves and gnomes. Our DIY coaster set tutorial even includes a sparkly fabric "ornament cap" to add a dash of twinkle and celebration to your functional craft. And unlike more heavy-duty wooden coasters, slate coasters or even lightweight cork coasters, these fabric ornaments are easy to make and totally beginner-friendly.
Video of the Day
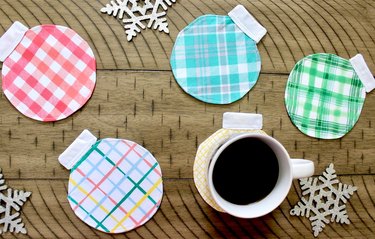
Use your charming Christmas drink coasters to dress up seasonal home decor, serve hot beverages to guests during holiday parties or even leave a glass of milk on the coffee table for Santa Claus. What's more, these homemade tabletop treasures double as great gift ideas for drink enthusiasts in your life.
Ready to let your holiday spirit shine? Read on for our step-by-step guide to making adorable, absorbent coasters shaped like traditional Christmas ornaments.
Video: Festive Fabric Coasters Shaped Like Christmas Ornaments
Things You'll Need
Cotton fabric quarters
Thread
Pins and clips
Fabric scissors
Card stock
Pencil
Fabric marking pen
Ruler
Paper scissors
Toothpick
1. Create ornament template
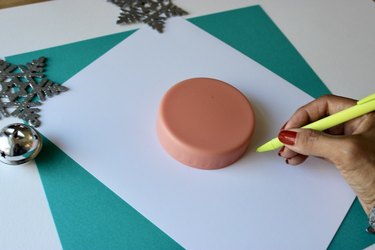
Start by creating a Christmas ornament template using something circular. Get creative: This can be a compass or even just a circular container lid. The circle should measure approximately 5 in. in diameter. This measurement includes seam allowance.
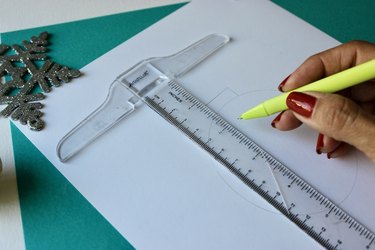
On top of the circle, measure a rectangle approximately 1 in. wide and ½ in. high. This will form the ornament cap.
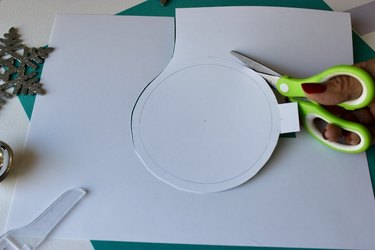
Cut the template out of card stock so it's durable and can be used multiple times to create a complete Christmas coaster set.
2. Cut ornament shape out of fabric
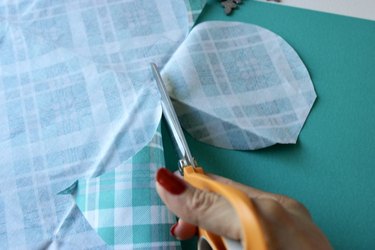
Trace the card stock template onto fabric.
Tip
Use a fabric marking pen to trace your design onto fabric. These pens are created to disappear easily. You can also use tailor's chalk, but this will leave a chunkier line that doesn't work as well for more detailed projects like this one.
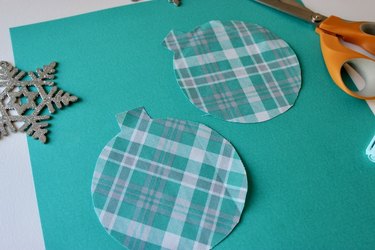
You'll need two ornament fabric pieces to create the front and back of each coaster.
3. Create ornament cap
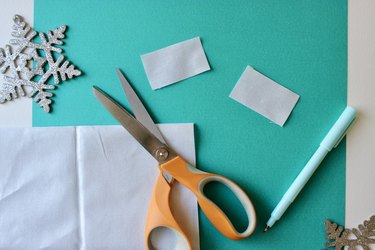
To create the ornament cap, draw two rectangles on card stock measuring 2.25 in. long and 1.25 in. high. Trace the ornament cap template over fabric and cut two pieces. Use a shiny silver or white fabric to make the ornament cap appear metallic.
4. Add interfacing material
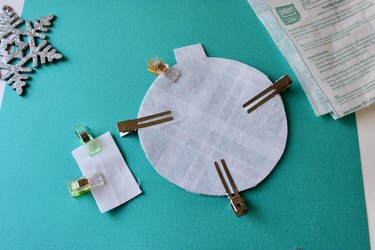
Add sewing interfacing to the ornaments to make them sturdy. Follow the instructions in the interfacing packaging and apply it to the interior of the ornament fabric pieces.
5. Sew ornament pieces together
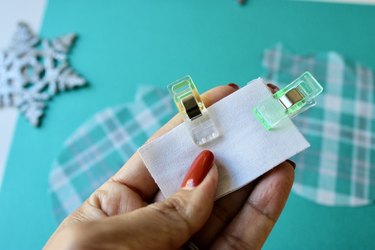
Use pins or clips to connect two pieces of the ornament fabric, placing the front of the fabric with the front of the fabric. Do the same with the ornament cap pieces.
Sew the ornament pieces together, leaving an opening at the top to allow the ornament to be turned inside out later. Sew around the circular section using a 1-cm. sewing allowance.
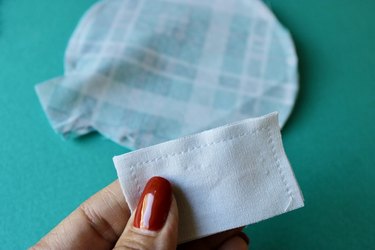
Sew the ornament cap using a 0.5-cm sewing allowance. Leave one side of the ornament cap open so it can be turned inside out later.
6. Turn ornament and cap inside out
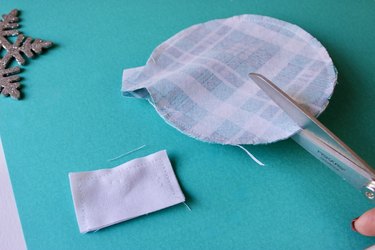
Make small cuts around the circular part of the ornament shape using fabric scissors. This ensures that the curves of the circle are more uniform when the ornament shape is turned inside out.
Next, turn the fabric ornament inside out. Use something like a toothpick to smooth all curves and create a uniform circle. Iron this piece.
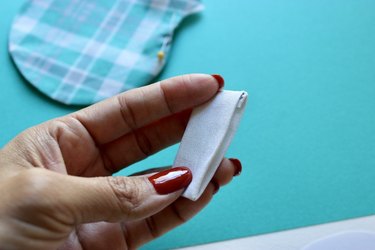
Turn the ornament cap inside out too and then iron it so the lines are straight. Fold the ornament cap back to the original state (no longer inside out) before sewing it to the ornament shape.
Tip
You can also create simple fabric ornaments for your Christmas tree using this tutorial! Simply reduce the diameter of the ornament base circle to approximately 4 in. and reduce the ornament cap rectangle to approximately 2 in. wide by 1 in. high. Add an ornament hook and enjoy!
7. Sew ornament cap to ornament
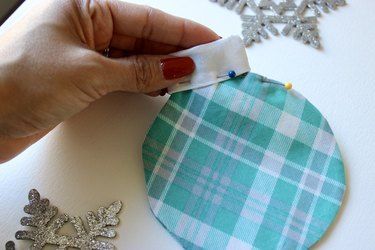
Pin the ornament top piece to the ornament.
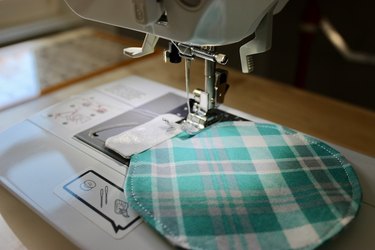
Sew the cap to the ornament in a straight line. You can also mix stitches, like a zigzag line near a straight line, as a decorative element. Finally, add a straight line around the entire ornament to ensure the pieces stay in place.
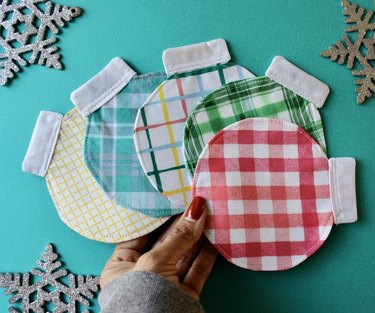
With that, you've created your very own Christmas decor with loads of charm and tons of functionality! Whether you're making housewarming presents or Christmas gifts, prioritizing craftiness as the new year approaches, DIYing all your holiday decor or simply trying your hand at something new, this charming drink coaster set is a playful sign of the season.
Merry Christmas, happy holidays and everything in between!