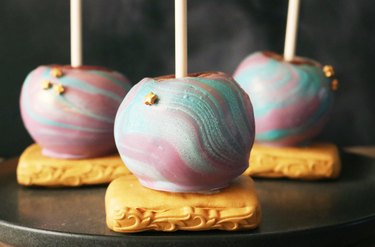
We foresee a delicious Halloween in your future, all thanks to these mystical crystal ball candy apples. They're seriously magical! Apples are covered in swirled candy and then decorated with edible metallic dust and gold star sprinkles. Next, they're placed atop sugar cookies wrapped in gold fondant, resulting in crystal balls that are 100% edible.
However, as with all homemade Halloween treats, you can get creative with this candy apple recipe. For example, if you love sparkle, skip the edible dust and go for edible glitter spray instead. Love eerie motifs? Add a skull icing decoration to the front of each crystal ball. You could also make skulls and other icons with fondant and a silicone mold. The cookie base is customizable too. Case in point: Our version uses classic sugar cookies, but you're welcome to use chocolate chip or toffee cookies. If you're short on time, use store-bought biscuits or cookies.
Video of the Day
Whether you're attending a Halloween party or looking for an alternative to caramel apples, your future will be sweet with these DIY crystal ball candy apples. Let's dig in!
Video: Crystal Ball Candy Apples for a Magical Fall Treat
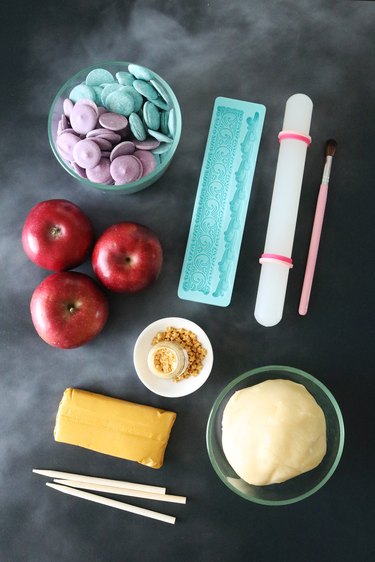
Things You'll Need
Tip
The best apples to use for this candy apple tutorial should be small, nearly perfect spheres. This will make it easier for each apple to stand on the cookie base. Opt for tart varieties, which will balance the sweetness of the candy wafers. Pink Lady and Granny Smith apples are great choices, but any small red or green apples will do in a pinch.
1. Prepare apples
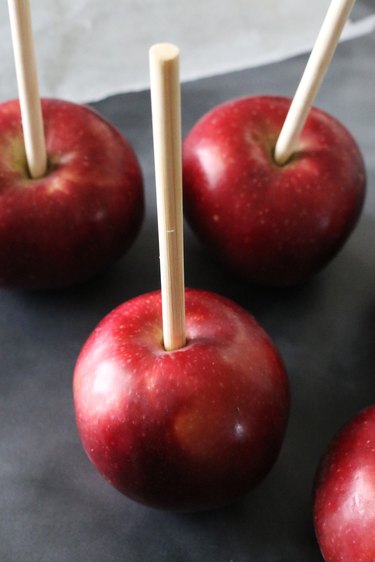
Remove stem from each apple. Pierce a pointed treat stick through top.
Tip
You can also use lollipop sticks or Popsicle sticks. Note that you might need to pierce the top of each apple with a pointed barbecue skewer or similar tool first.
2. Dip apples in candy
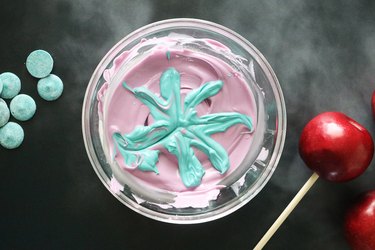
Microwave candy wafers according to package instructions. Scoop one color onto the other, creating a loose asterisk shape.
Tip
For our Halloween candy apples, we used light purple candy as the base and then swirled turquoise candy into it. You’re welcome to use any color combo you like!
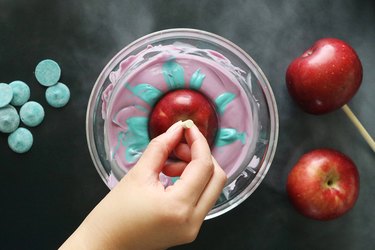
Dip apple into melted candy, pushing it down until most of apple is coated.
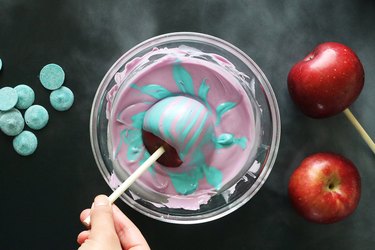
Tilt apple on its side and then move stick in a circle. This will help cover top portion of apple.
Tip
Another option is to coat apples with melted white chocolate chips. However, you’ll need to use oil-based food coloring to create different colors. Avoid gel-based food coloring, which will make white chocolate seize and harden. A candy thermometer will also be useful for ensuring white chocolate doesn’t burn.
3. Let candy apples dry
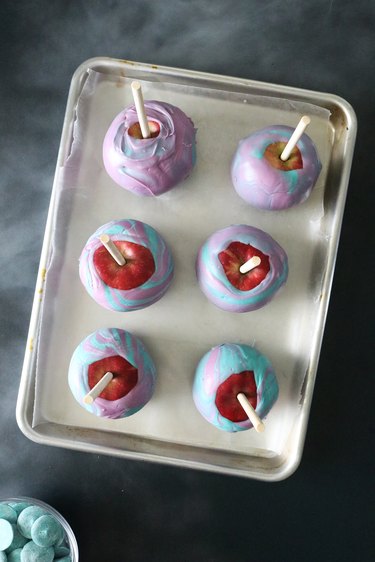
Remove apple, gently shaking it to remove excess candy. Place on a baking sheet lined with wax paper. Repeat with remaining apples.
Let apples sit at room temperature until candy coating is completely hard. This can take about an hour, but total time will depend on temperature of your space and size of your apples.
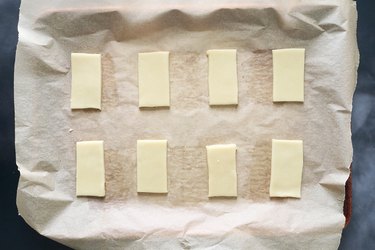
While candy apples are hardening, bake cookies for the base of "crystal ball." Roll dough into flat sheet, cut it into rectangles and place on a baking sheet lined with parchment paper.
Each rectangle should be wide enough to hold an apple. Keep in mind that cookies will spread slightly; when in doubt, make the rectangles larger than you think you'll need. You can always trim them later.
Tip
Cut-out sugar cookies are typically chilled before baking, but it's not necessary for this project. That's because the edges will be covered, so it's OK if they're not precise. You're welcome to chill the dough if you're not ready to bake them, but otherwise, feel free to skip this step to reduce prep time.
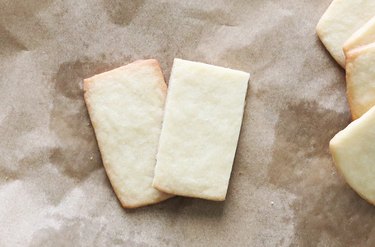
Bake cookies according to recipe or package instructions. Let cool.
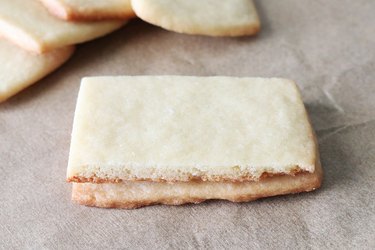
For each crystal ball base, stack two cookies. You can trim sides to make them stack more neatly if you'd like.
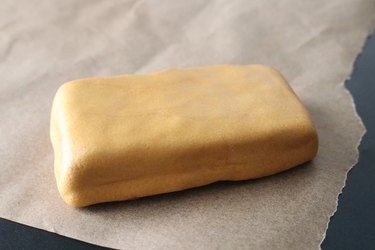
Roll out a sheet of gold fondant. Wrap cookies in fondant, removing excess as needed.
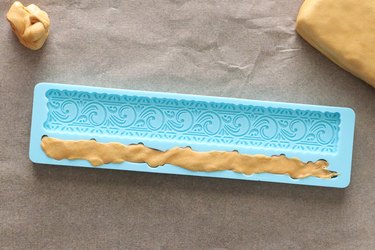
Roll a rope of gold fondant and press it into decorative silicone mold.
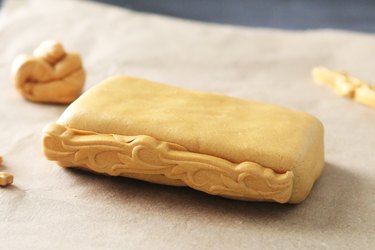
Remove fondant from mold. Trim strip so it's the same width as cookie base and then gently press it onto cookie base.
6. Decorate apples
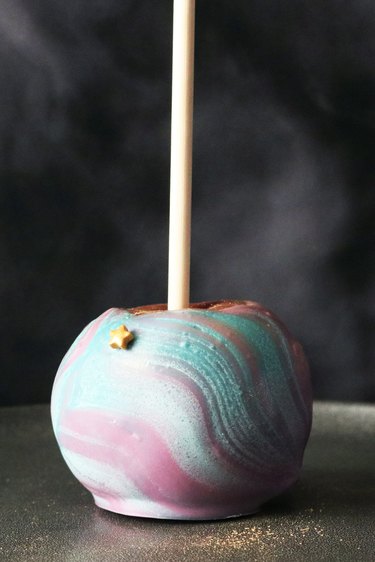
Once candy apples have set, brush edible dust on top for dimension. Next, stick star sprinkles to hard candy using icing as "glue."
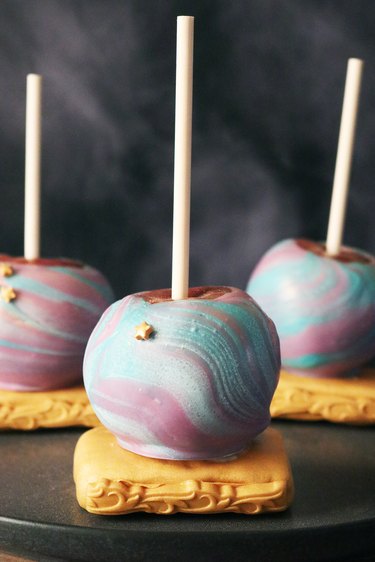
To finish your magical Halloween recipe, spread icing on top of each cookie base and add a candied apple on top.

Serve crystal ball apples immediately or wrap in cellophane for gifting. You can also store them in an airtight container at room temperature.
We might not be clairvoyant, but we're pretty certain these enchanting treats will be a hit at any Halloween gathering. How charming!