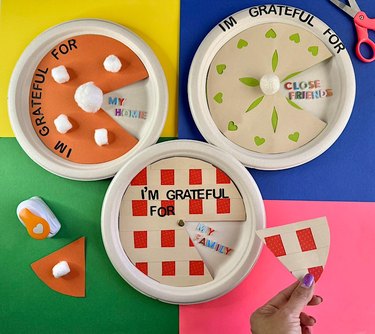
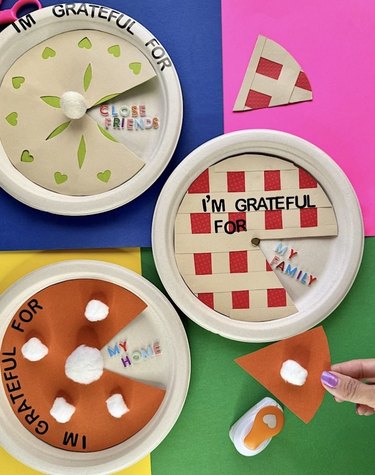
There's so much to love about Thanksgiving, and this playful tutorial combines three of our favorites: pie, crafts and gratitude!
Whether you're looking for a fun Thanksgiving craft idea to tackle with the kids or you're seeking an interactive fall project for the entire family, these rotating gratitude pies will add a sense of reflection and meaning to Thanksgiving Day. Little ones and grown-ups alike can re-create their favorite pie varieties on paper plates, then add embellishments and phrases to reflect what they're thankful for this year.
Video of the Day
Finished "rotating pies" can be displayed on mantels atop homemade leaf garlands, alongside gourds and pumpkins in seasonal cornucopias or even on the Thanksgiving table between bowls of mashed potatoes and cranberry sauce.
Ready to bake up a meaningful and downright cute Thanksgiving craft? Read on for an unforgettable Turkey Day DIY that will delight kids of all ages.
Video: Rotating Paper Pies to Express Gratitude on Thanksgiving
Things You'll Need
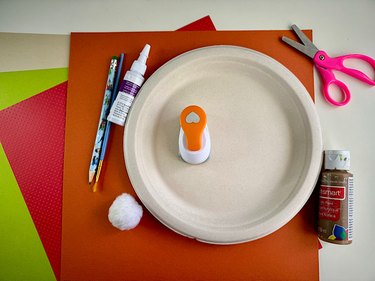
Paper plates
Card stock (or construction paper)
Compass (optional)
Scissors
Glue
Round head fastener or thumbtack
Small alphabet stickers
Heart hole punch (for apple pie)
Pom-poms, cotton balls or white tissue paper (for pumpkin pie)
1. Create center of pie
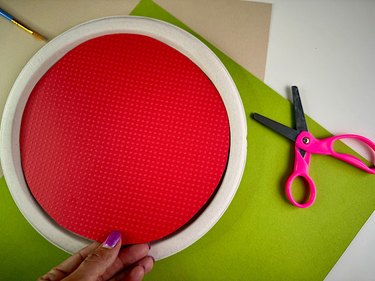
We measured the paper plate and reduced the circles by a few centimeters to get to the right size. (Alternatively, you can measure bottom of paper plate.) Cut circles from card stock that fit inside each plate. You can also use a compass tool for more precision.
Choose card stock with the color and texture to match your preferred pie type.
2. Personalize pie
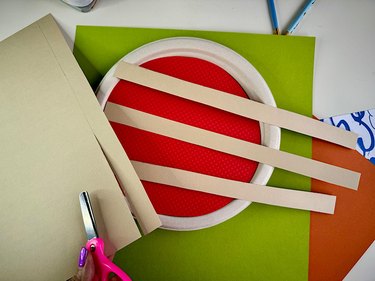
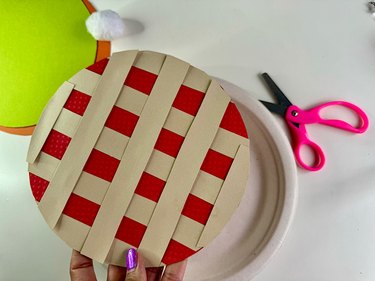
Use card stock and other embellishments to designate each pie type. For example, glue strips of light brown card stock atop a colorful base to create a lattice crust effect.
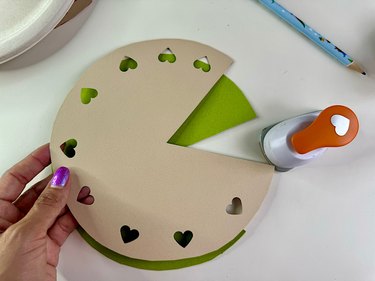
For a fun apple pie design, use a heart-shaped hole punch to create hearts in the "crust." You can also add extra leaf-shaped cuts in the middle—just like the ones you might see on a real store-bought pie!
Prefer a pumpkin pie? Glue white pom-poms, cotton balls or bunched up white tissue paper atop an orange base to mimic dollops of whipped cream.
Tip
Take this fall craft to the next level by adding acorn stickers, painted handprints, autumn leaf designs, bent pipe cleaners or even candy corn and googly eyes to each pie. After all, crafting is all about imagination and creativity, so your pies don’t have to be completely realistic!
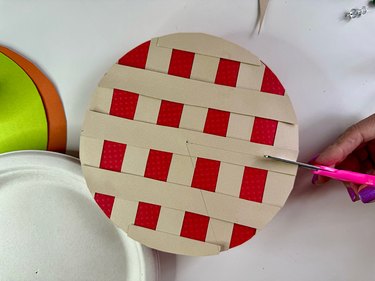
3. Cut out a slice of pie
After decorating pie, cut out a triangular slice.
4. Add fastener
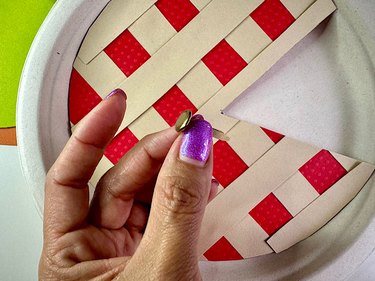
Attach a round head fastener or thumbtack to the middle of each pie to enable rotation.
5. Add messages of gratitude
Use alphabet stickers to spell out "I'm grateful for..." atop each DIY Thanksgiving pie. On paper plate bases, use stickers, crayons or markers to spell out things you're grateful for. Think: "My family," "My home" or "Beautiful fall leaves." Rotate the card stock pie to reveal gratitude messages in the "empty slice" section.
If you ask us, sharing thankful sentiments is the sweetest part of any Thanksgiving dinner! This year, make gratitude your centerpiece and give thanks with kid-friendly rotating pies that will add a lovely twist to traditional Thanksgiving decor (or keep little ones busy at the kids' table while you prepare dinner!).
