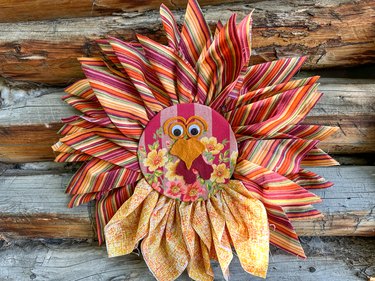
As temperatures drop and fall leaves transform, why not warm up your home with a dash of autumn color? Whether you're planning a Thanksgiving gathering, hosting a fall get-together or simply mixing up your space, adding front door decor is a fantastic way to embrace the fall season. Enter: our DIY turkey wreath made from colorful fabric and a few simple crafting supplies (including googly eyes, of course!).
This fun home decor tutorial provides an awesome opportunity to embrace your creative spirit and express your artistic side. Plus, the resulting turkey is just plain adorable! Of course, there's plenty of room for versatility—consider dressing up your Thanksgiving wreath with burlap, colorful tulle, faux flowers, greenery, fabric with a fall foliage pattern or even a few hot-glued pine cones and acorns for a natural vibe.
Video of the Day
No matter how you approach it, this eye-catching homemade turkey wreath will leave Thanksgiving guests gobbling with glee!
Video: A Thanksgiving Turkey Wreath for Your Festive Front Door
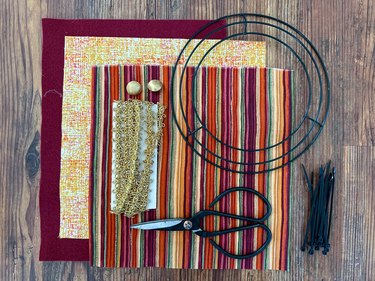
Things You'll Need
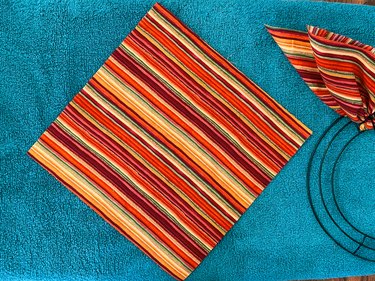
1. Prepare fabric
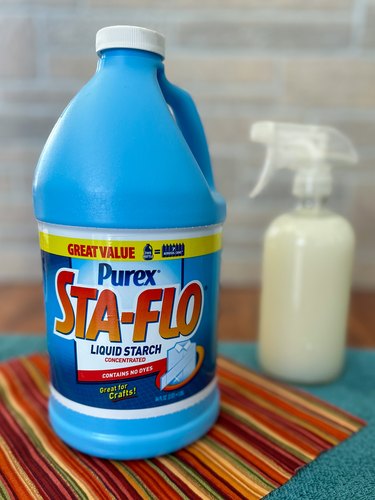
Fill spray bottle with liquid starch. Give fabric squares a good spritz of starch and then press with a hot iron. This will turn squares into stiff, feather-ready fabric for your turkey wreath.

Tip
If you're on the hunt for an alternative method to firm up fabric squares, try soaking them in liquid starch. After a good soak, make sure to wring out any extra starch and then set them out to air-dry. Once they're dry, grab your hot iron and smooth out any wrinkles for a perfect finish.
2. Create tail feathers
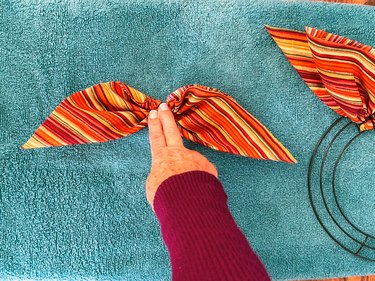
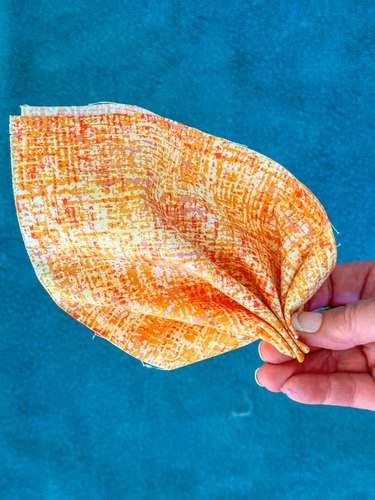
For those splendid turkey tail feathers, start by folding a fabric square diagonally.

Next, gather it up from center of folded edge right up to point.
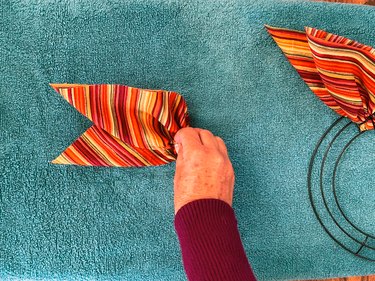
Fold gathered feather in half, ensuring folded edges face same direction.
3. Attach feathers to wreath form
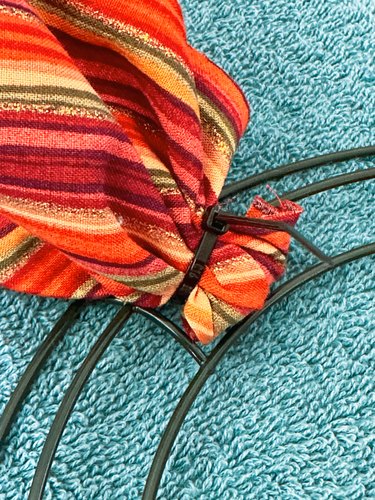
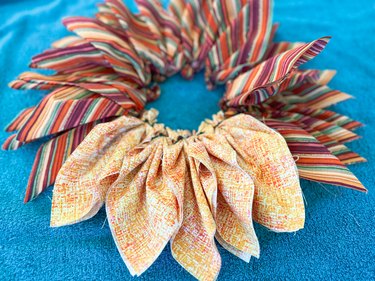
Slide gathered edge of feather into zip tie attached to wreath form. Once feather is neatly nestled within zip tie, give it a firm tug to secure everything in place.
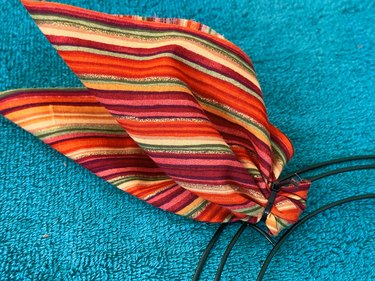
Keep following this method until you've successfully fastened 12 feathers to middle wire of wreath form and six feathers to central wire of wreath form.

4. Create turkey body feathers

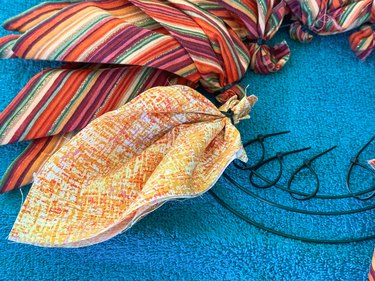
To craft feathers for turkey wreath's body, start by folding a fabric square diagonally.

Next, gather folded edge to form a petal shape.
5. Attach feathers to wreath form
Nestle gathered edge into one zip tie on wreath form's center ring and then pull tight. Keep repeating this step until you've added a total of five turkey body feathers.
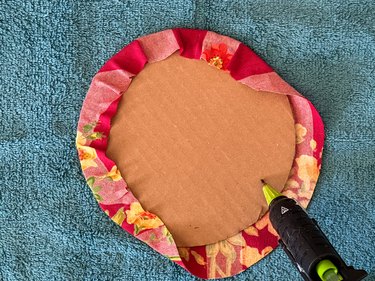
6. Create turkey head
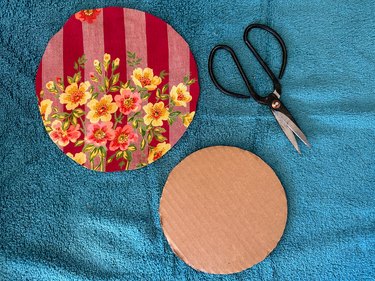
Start by snipping out a circular piece of cardboard measuring 7 in. in diameter. Feel free to repurpose an old cardboard box for this step. Next, cut a fabric circle that's slightly larger, with an 8-in. diameter. Position cardboard circle onto fabric's wrong side and secure it in place using a hot glue gun.
It's time to give our turkey some character! Cut out turkey's eyes, beak and wattle from a piece of felt. Then, use hot glue gun to fasten them onto fabric-covered circle.
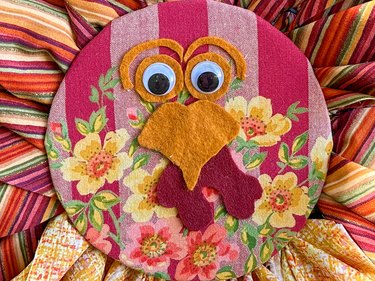
For an extra touch of whimsy, add googly eyes. Finally, attach this adorned circle right to the center of your front door wreath.
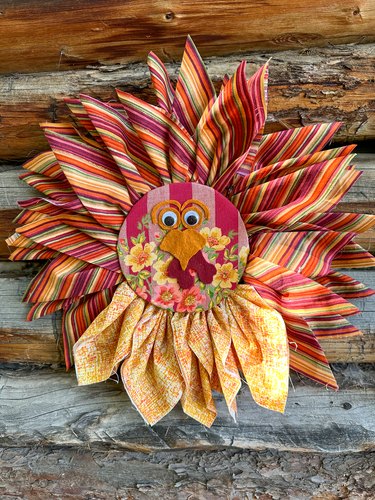
With that, you've completed a fantastic fall wreath that makes an adorable addition to your DIY Thanksgiving decor. Whether you're displaying your turkey wreath as an accent to fall front porch must-haves, like mini pumpkins, gourds and other fall decor, or repurposing it as a tabletop centerpiece surrounded by Thanksgiving dishes, it's sure to be a hit. (You might even decide to leave your terrific turkey up through Christmas!)