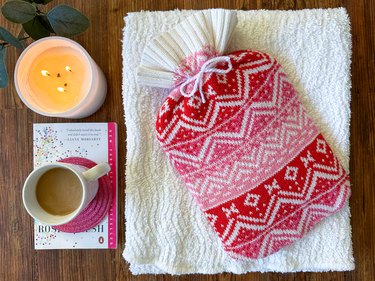
On a cold winter's night, there's nothing quite as soothing as the cozy embrace of a hot water bottle. And now, you can take that snug sensation to a higher level by crafting your very own DIY hot water bottle cover from a preloved sweater. Instead of languishing in a dark corner of your closet, the forgotten sweater can be given new life as a plush and comforting accessory. Whether you're in pursuit of pain relief, on the lookout for a wintertime bed warmer, or simply seeking a pretty cover to dress up a plain hot water bottle, this DIY heating pad alternative in its soft cover will become your favorite companion on chilly nights!
Video: Craft a Cozy Hot Water Bottle Cover From a Sweater
Video of the Day
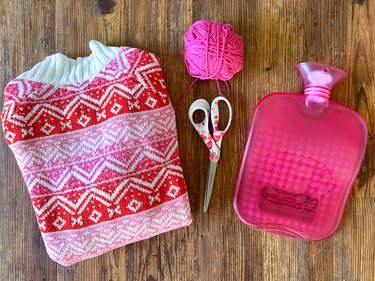
Things You'll Need
Sweater (knit, crochet, or similar style)
Hot water bottle
Sharp scissors
Clips
Sewing machine
Iron
Yarn, string, or ribbon
What is the best fabric for a hot water bottle cover?
Fleece, wool, and cotton are great choices for a hot water bag cover. These materials retain heat, making your hot water bottle stay warmer for longer. And the thicker the material, the better, so search your closet for a preloved sweater that's nice and thick.
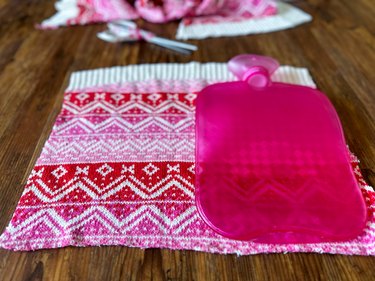
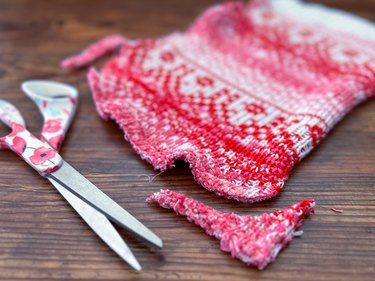
1. Cut the sweater
Place the hot water bottle on top of the sweater in a vertical position. Match the sweater's finished edge with the top of the bottle. Using scissors, carefully trim the sweater along one side of the hot water bottle, leaving about 1/4 inch of sweater material for seam allowance.

Flip the water bottle across the sweater to the opposite side. Repeat the cutting process, maintaining the same 1/4-inch seam allowance. Finally, cut along the bottom edge of the water bottle.
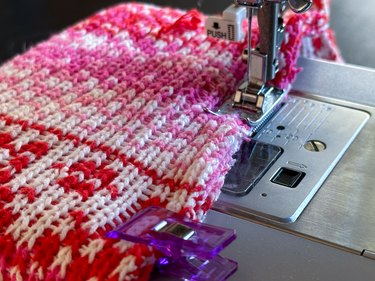
2. Clip and sew the sweater
Fold the sweater piece in half with the right sides (pretty sides) facing each other. Line up the finished top edge and the raw edges. Clip the raw edges together.
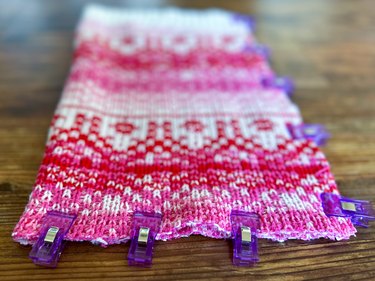
Change your sewing machine to a zigzag stitch. Using a zigzag stitch will allow the sweater to stretch without breaking the stitching.
Sew along the side and bottom of the sweater. Be sure to remove the clips as you sew.
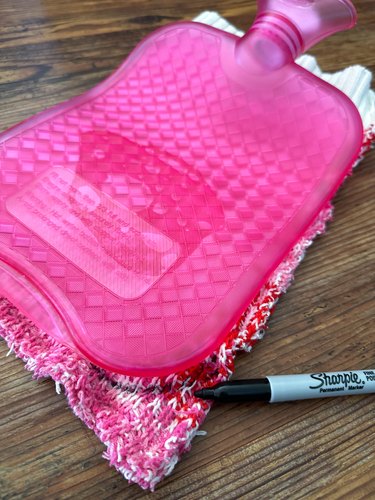
3. Mark and sew the bottom curves
Place the water bottle on top of the sewn sweater piece. Trace around the bottom corner curves with a marker.
Sew along the curved lines with a zigzag stitch.
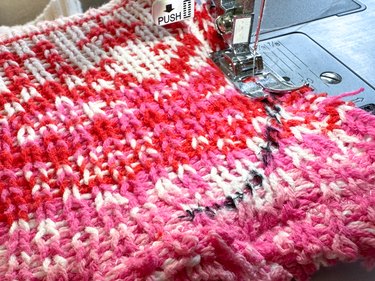
Trim the excess sweater fabric from the curves.
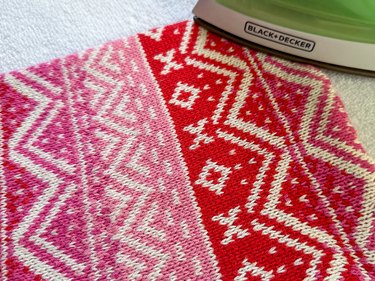
4. Press the sweater
Turn the sweater right side out and press the sides and bottom with an iron so they lay flat.
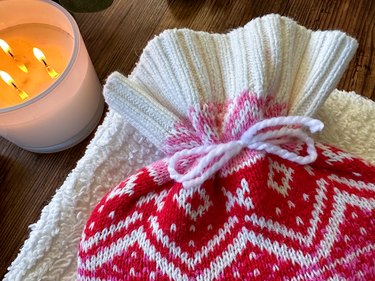
5. Insert and fasten the hot water bottle
Fill the water bottle with hot water but take care to fill it only to about two-thirds capacity. Secure the top of the water bottle tightly to make it leakproof. Slip the hot water bottle into the cover and fasten it snugly with a piece of yarn, string, or ribbon.
Tip
Want to dress up your removable cover even more? Consider embellishing it with faux fur, soft fleece borders, or pompoms!
You're all set to snuggle up and get cozy!
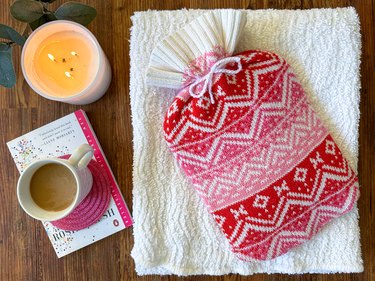
Holiday Gift Idea Alert!
Hot water bottles complete with homemade fabric covers make fantastic and functional gifts for anyone on your holiday shopping list! Not only are they super soothing on cold nights but your loved ones can also fill their hot water bottle with cold water to help with aches, pains, or minor injuries. Look for fabric in warm shades of red, orange, and brown to create cozy vibes and then tie it together with a festive ribbon!