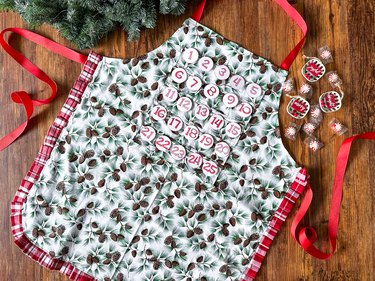
The holiday season is all about time-honored traditions. Two of our very favorites? Seasonal baking and advent calendars! There's a real sense of magic in whipping up tasty treats to share with loved ones and counting down the days until Christmas, so we decided to combine both pastimes into one jolly DIY project: a holiday advent apron.
This festive homemade accessory features 25 sewn-on number pockets to help you anticipate the arrival of December 25. Ask a loved one to tuck trinkets, candy or other treats into each pocket and challenge yourself to a month-long holiday baking journey, rewarding yourself with a fun surprise after each bake. Alternatively, simply wear your completed advent apron as a playful symbol of the season as you decorate Christmas cookies, wrap presents or hang ornaments on the Christmas tree. And if you're not a baker yourself, this delightful apron makes a fantastic homemade Christmas gift.
Video of the Day
With our step-by-step tutorial, you'll soon have a wearable piece of winter holiday decor that perfectly combines functionality and charm. 'Tis the season to get crafty and make Christmas memories. So without further ado, let's create a cooking apron that even Santa and Mrs. Claus would add to their Christmas list.
Video: An Advent Calendar Apron With Pockets for Treats
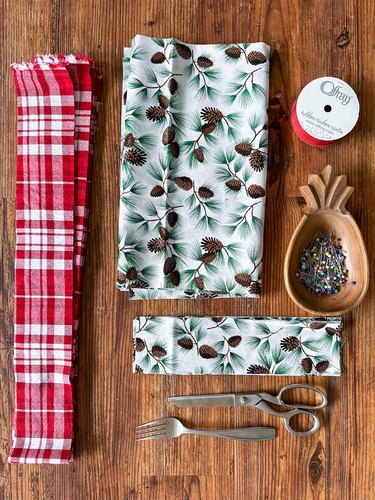
Things You'll Need
1 1/4-yard fabric for apron front and pockets
Measuring tape
Marking pen
Sharp scissors
1/2-yard fabric for ruffle
Iron
Fork
100 in. of ribbon for neck strap and ties
Pins
Stencils (optional)
Paper clips
Hot glue gun
Tip
To make your Christmas baking apron machine-washable, wash fabric in warm water and dry in the dryer. Baking cookies can get messy, and spills are sure to happen, so it's important that your bib apron is machine-washable. Before cutting and sewing, give the cotton apron fabric a good wash and dry. That way, you'll be all set to tackle those baking messes and easily clean up afterward. No fuss, no hassle—just a well-made kitchen apron.
1. Measure and cut apron front
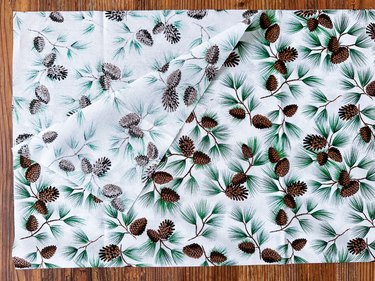
Fold 26 in. x 31 1/2 in. fabric in half lengthwise and place fold at the bottom. We chose a festive pine tree fabric, but snowflakes, snowmen, a Santa Claus pattern or even a retro color scheme would be just as charming.
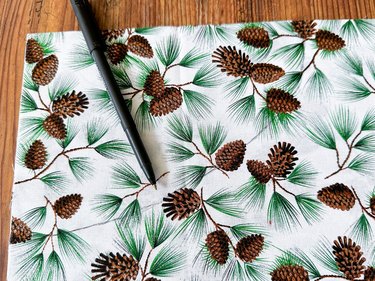
Mark a point 7 in. up from folded edge along left side of fabric. Measure and mark another point 8 in. from top left corner, situated toward right side. You will use two marks to create a curved line.
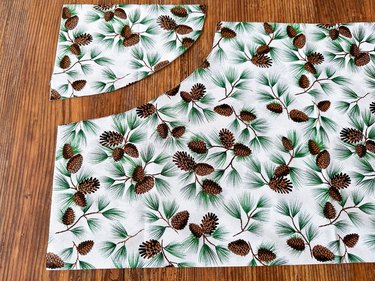
Draw a curved line from mark to mark and cut along line through both layers of fabric with a sharp pair of scissors to create armholes.
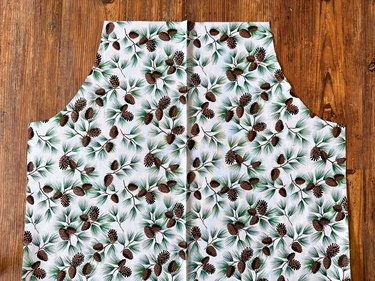
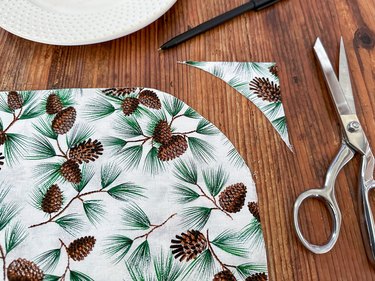
To create rounded bottom corners on apron, use a round plate to mark bottom corners and cut through both layers of fabric with a sharp pair of scissors.
2. Press and sew armholes
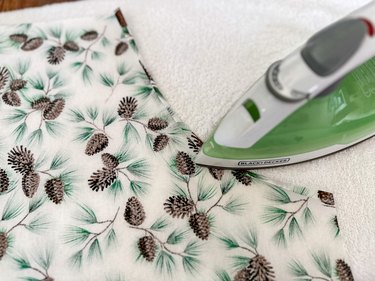
Press armhole edges inward 1/4 in. and press. Fold over another 1/4 in. and press again.
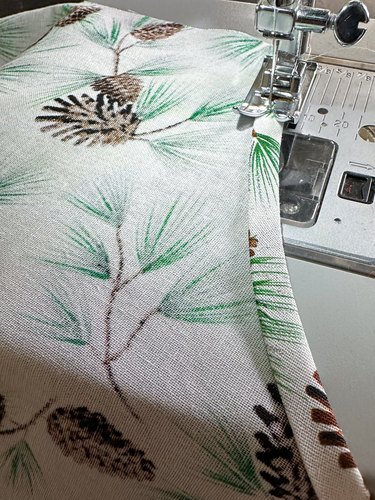
Sew along folded edges.
3. Create front pockets
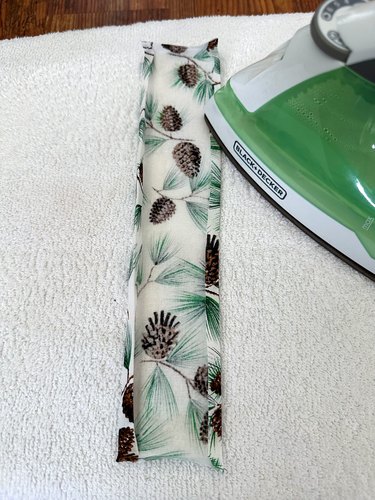
Fold over 1/4 in. toward wrong side on each edge of pocket pieces and press. Fold top edge over 1/4 in. again and press.
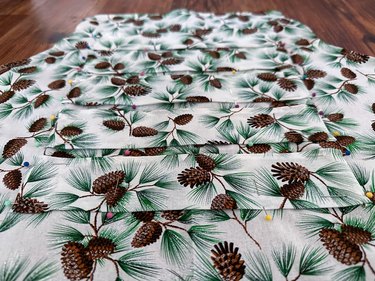
Pin pocket pieces onto front of apron. Sew along side and bottom edges of each pocket.
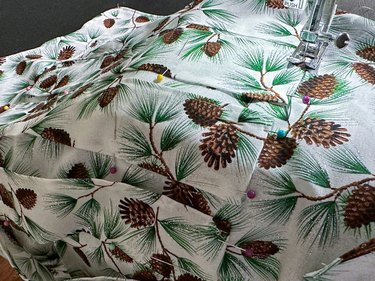
To create pocket sections, measure and mark every 2 in. on each pocket and sew along the 2-in. marks. This will create five sections on each pocket.
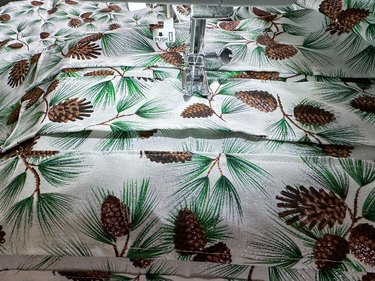
4. Sew pleated ruffle
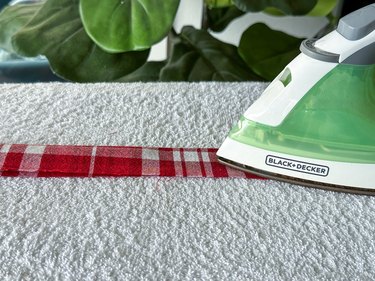
Cut 3-in. strips of fabric and sew ends together to create a 150-in. strip for pleated apron ruffle. Fold strip in half lengthwise and press with a hot iron.
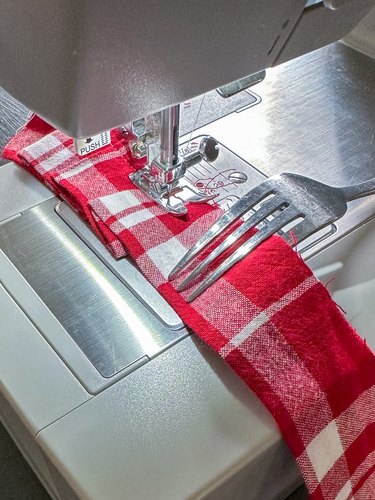
Place folded strip into sewing machine. Turn a fork upside down and place raw edge of fabric into bottom slot of fork.
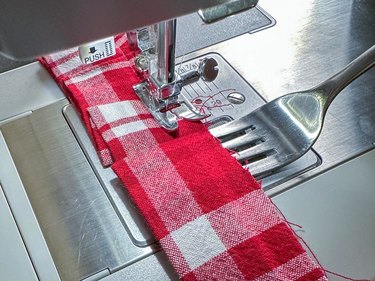
Give fork a little twist, turning it away from you so fork is now right side up with fabric folded. Align fork fold with edge of previous pleat. Keep fold in place with your finger and slide fork away. Then, sew halfway through pleat.
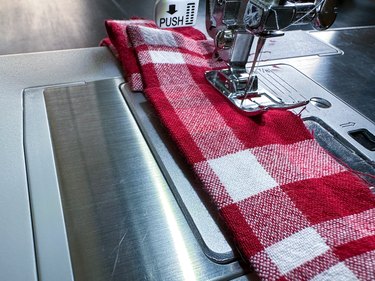
5. Attach pleats
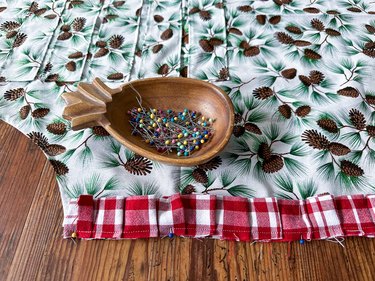
Line up raw edge of pleats with raw edge of apron, right sides (pretty sides) together. Pin and sew along raw edges with a 1/4-in. seam allowance.
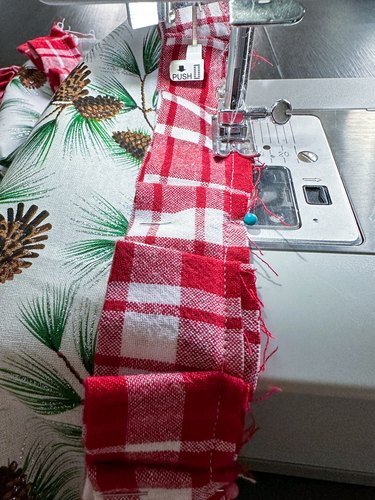
Flip pleats over so raw edge is folded under and then topstitch.
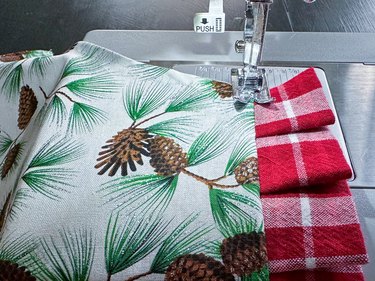
6. Attach neck strap and ties
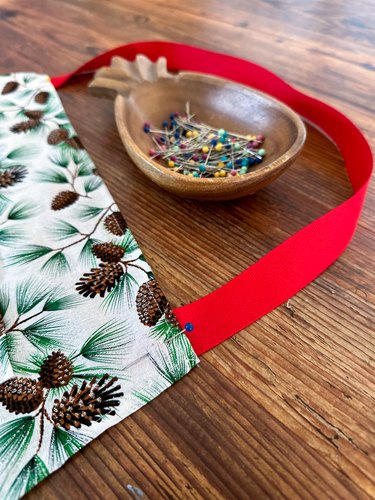
Cut a 24-in. piece of ribbon for neck strap and two 38-in. pieces of ribbon for apron ties. Pin neck strap ends under top of apron front. Pin ties under either side of apron front.
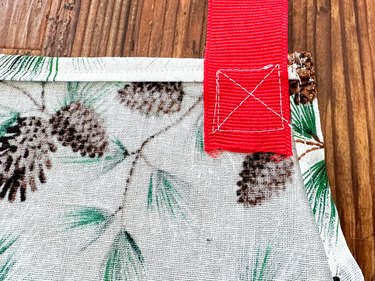
Sew in place using a square shape with an X through middle. This will keep strap and ties secure.
7. Add numbers to pockets
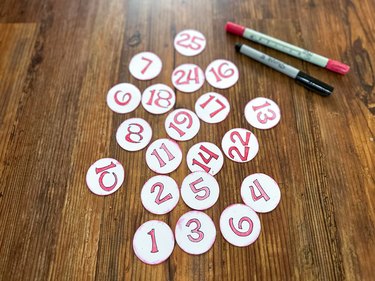
Cut paper circles and then use a stencil to draw numbers (or hand-write numbers if you're lucky enough to have great handwriting). For our advent apron, we chose to use paper numbers that can be removed, but wooden discs, gingerbread men, felt or fabric numbers would work just as well.
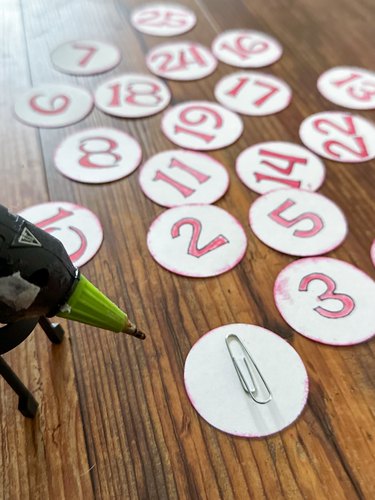
To make numbers removable so you can wash apron, hot glue a paper clip to back of each number. Slip numbers over each pocket.
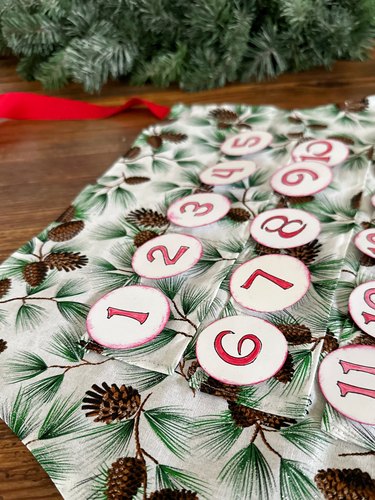
Your holiday advent apron is ready to be worn!
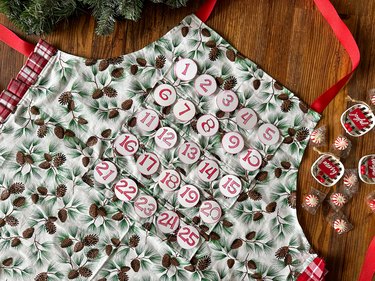
Transform your Christmas apron into a holiday treasure trove by stashing each pocket with candy, mini toys, festive stickers or even an engaging activity card. With these daily surprises, December's countdown is that much more fun.
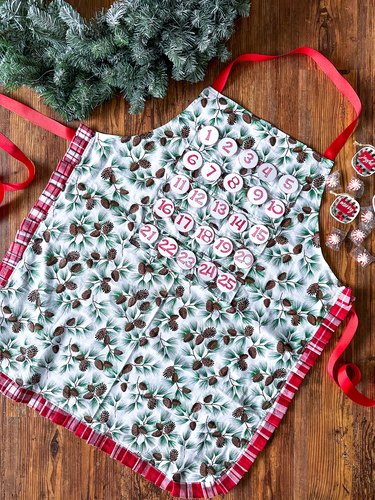
This holiday apron is a daily reminder of the holiday spirit. From the thrill of discovering a tiny treasure in each pocket to the warmth that baking and crafting together bring, it's a symbol of the season's joy. Let the countdown begin as you celebrate the most wonderful time of the year, one pocket at a time.
Merry Christmas!