Gardening season is in full bloom, and it's time to dive into the dirt! If you're anything like us, keeping track of which seedling is which can be a real head-scratcher. Enter DIY oven-bake clay garden markers — your new best friends in the garden. These little lifesavers aren't just practical; they also bring a touch of your unique flair to the greenery.
Video: Garden Markers
Video of the Day
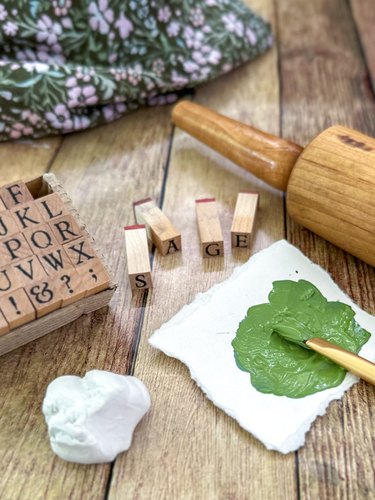
Things You'll Need
Oven-bake clay
Rolling pin
Sharp knife
Alphabet rubber stamps
Silicone baking mat or parchment paper
Baking sheet
Acrylic paint and paintbrush
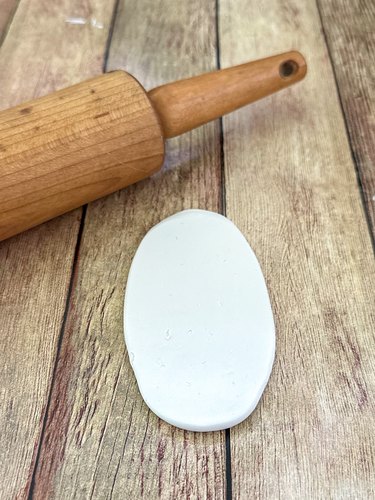
1. Roll out the clay
To kick off your garden marker project, you'll need to get hands-on with some oven-bake clay. Start by kneading a piece of clay in your hands for a few minutes — think of it as a mini workout for your fingers. This softens the clay and makes it more workable.
Once it's nice and pliable, plop it on a piece of parchment paper or a silicone baking mat to avoid any sticky situations. Grab a rolling pin (or improvise with a glass bottle if you're feeling resourceful) and roll out the clay to smooth, even layer about 1/4 inch thick.
Tip
Oven-bake clay comes in a rainbow of colors and is available at most craft stores.
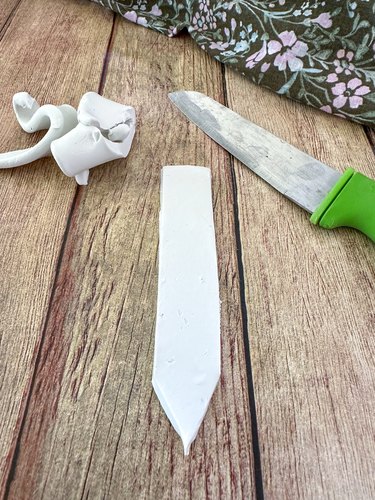
2. Cut the desired shape
Now comes the fun part: shaping your garden markers! The design is entirely up to you and your personal style. You might go for a classic straight marker with a pointed end to stick directly into the soil, or perhaps you're feeling a bit more adventurous and want to create a round or floral shape with a hole to hang from a metal stake.
Use a knife, cookie cutter, or even just your hands to cut or mold the clay into your desired shape. Remember that this is your chance to let your creativity run wild, so whatever shape matches your tastes and adds that extra charm to your garden is the perfect choice!
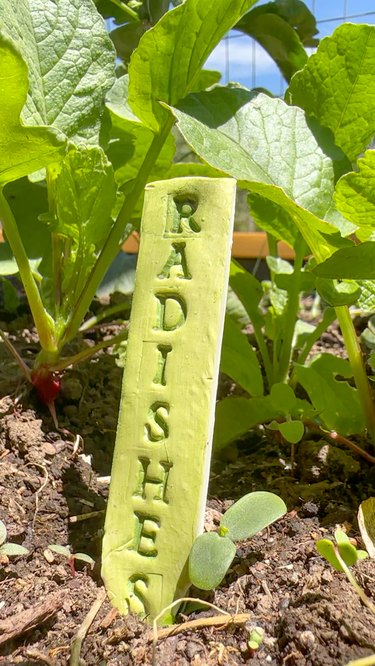
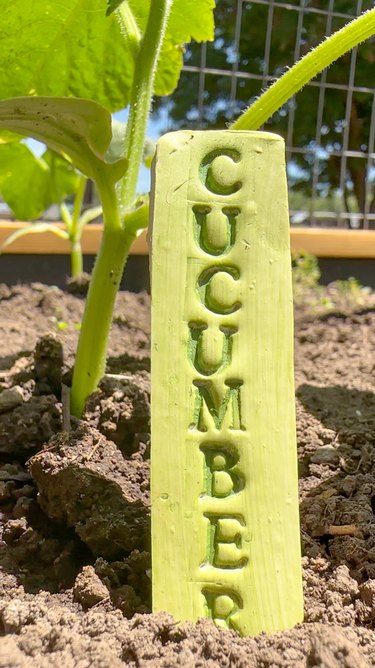
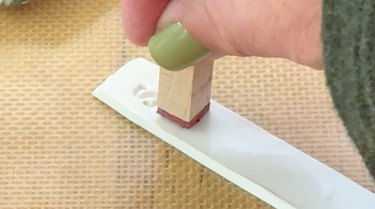
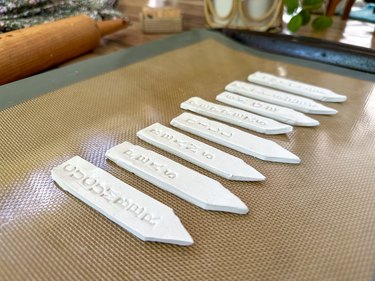
3. Stamp the words
It's time to give your garden markers some personality! Grab your favorite rubber stamps and get ready to make an impression — literally. You can stamp the names of your plants, like "basil" or "tomatoes," to keep things organized, or you can go wild with fun phrases, like "herb haven" or "veggie paradise."
For a touch of whimsy, why not add some cute designs, like little sunflowers, butterflies, or even tiny garden gnomes? Simply press the rubber stamps firmly into the clay before baking. This is your chance to infuse some fun and creativity into your garden, so let your imagination dig in and flourish!
4. Bake the markers
Now that your garden markers are looking fabulous, it's time to set them in stone (or more accurately, clay). Follow the baking directions on the clay package for best results.
Here's how we did ours. We baked them at 275°F for about 15 minutes per 1/4 inch of thickness. Pop your creations on a baking sheet, and into the oven they go! Keep an eye on them to avoid overbaking; you want them firm and durable, not charred. Once they've cooled, they'll be ready to add a stylish touch to your garden!
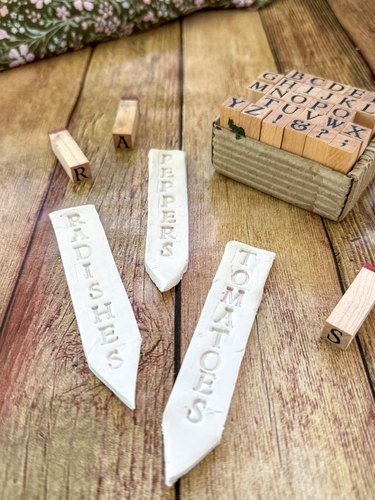
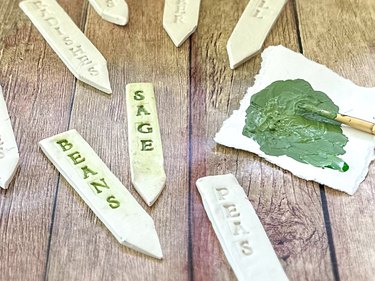
5. Add the finishing touches
Now that your garden markers are baked to perfection, it's time to decide on the finishing touches. You have a smorgasbord of options.
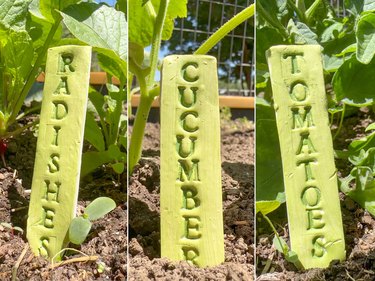
Give them a polished look by sanding down any rough edges or really go for it and drill holes if you want to string them up. If you're feeling fancy, a coat of glaze can add a glossy, protective finish. We opted for acrylic paint to make the stamped words pop, but we left them in their natural state to provide a rustic, earthy vibe that's equally charming.
Whether you're channeling your inner Picasso with vibrant colors or keeping it au naturel, the choice is all yours. Make these markers as unique as your garden!
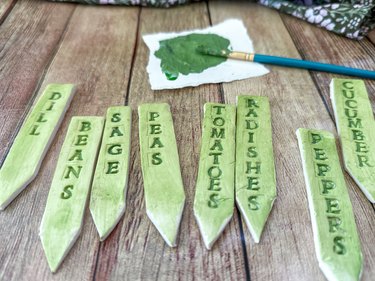
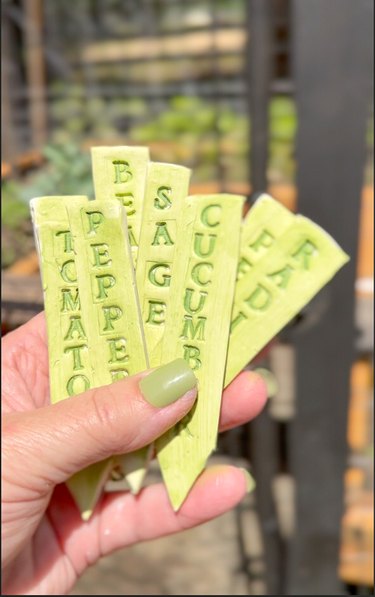
And there you have it! With just some oven-bake clay, rubber stamps, and a splash of paint, you've crafted beautiful and practical garden markers that will add a unique touch to your garden. These markers not only help you keep track of your plants but also showcase your personal style and creativity.
Why not spread the joy? Make a few extras as thoughtful gifts for the green thumbs in your life or donate some to a community garden to share the love (and organization). We hope this project adds a dash of fun and a burst of color to your gardening routine. Happy planting, and relish the charm and order these handmade markers bring to your outdoor oasis!