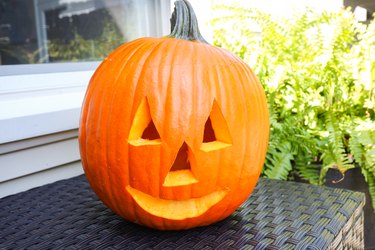
Carving pumpkins has long been a Halloween tradition, and it seems like the holiday spirit is hitting folks earlier and earlier in the year. If you want to carve your pumpkins early and make sure they don't rot or mold too quickly, you are going to love this tutorial on how to clean a pumpkin and make it last longer.
Video of the Day
Things You'll Need
Pumpkin
Hand mixer
Cloth or antibacterial wipes
Towel or paper towels
Knife or pumpkin-carving saw
Large spoon
WD-40 spray can
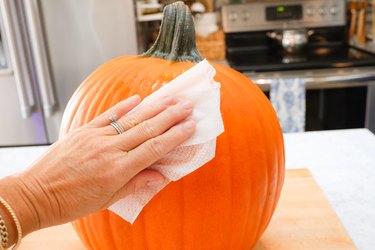
1. Clean the pumpkin
Use a clean, damp cloth or antibacterial wipe to remove any dirt and debris that may be on your pumpkin. Dry it off using a clean towel or paper towel.
Video of the Day
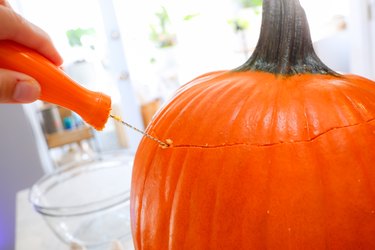
2. Cut off the top
Draw a line around the top of your pumpkin. Carefully use a sharp knife or serrated pumpkin carving saw to remove the top, or lid, of the pumpkin.
Tip
The larger the hole in the top, the easier it will be to clean the inside.
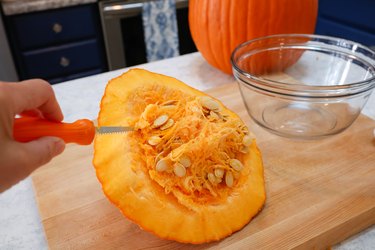
3. Remove the guts from the lid
Use a serrated pumpkin saw or large spoon to remove the pumpkin guts from the lid. Discard the guts in a bowl or in the trash.
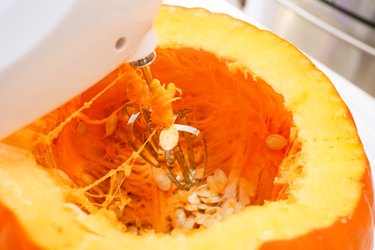
4. Loosen the rest of the guts
Use a hand mixer on low to medium speed to loosen the guts in your pumpkin. Simply move the mixer around the inside of the pumpkin in a circular motion until all of the pumpkin guts are loose from the sides. If there are any pieces that are stuck to the pumpkin, use a spoon to scrape them out.
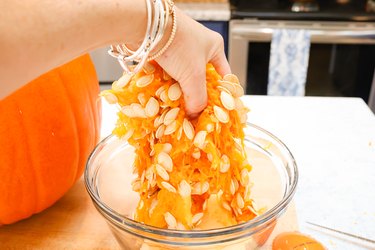
5. Remove all guts and seeds
Use your hands or a large spoon to remove the pumpkin guts and seeds. Place the seeds in a bowl if you'd like to save them for roasting.
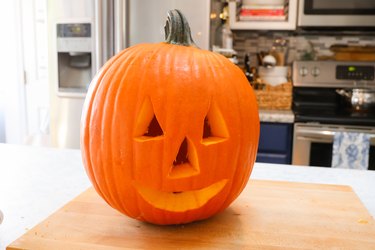
6. Carve the pumpkin
It's time for the fun part! Draw a design on your pumpkin and carefully use a sharp knife or serrated pumpkin carving saw to cut out your pumpkin's face or a cool silhouette.
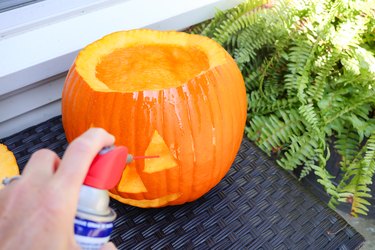
7. Seal the pumpkin
Take your pumpkin outside or to a well-ventilated area and spray the inside and outside (including the lid) with WD-40. This will help to seal your pumpkin and keep mold and bacteria from forming, making your pumpkin last much longer. Allow the WD-40 to dry for at least 24 hours before bringing your pumpkin inside.
Tip
WD-40 spray is flammable due to the propellant used in the spray can. WD-40 is not flammable after it is applied. The smell of the product largely dissipates when it dries.