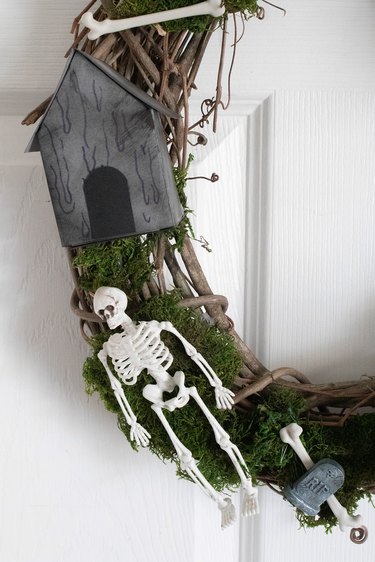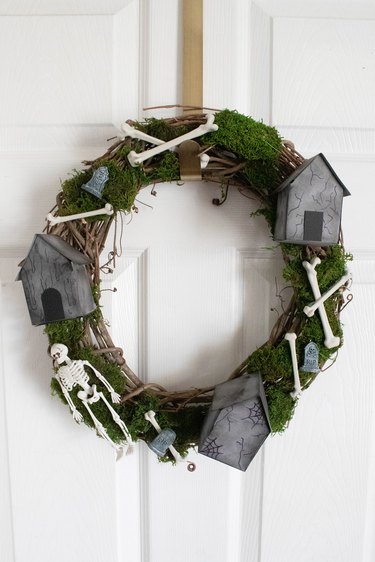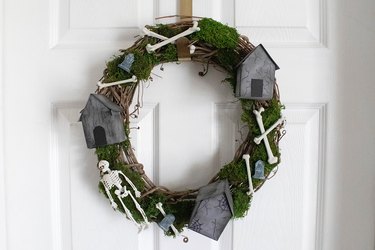
This Halloween, cast a spell over your front door with a DIY haunted house wreath. Equal parts spooky and charming, this wreath is adorned with a mini Halloween scene — think moss, tombstones, bones, and tiny haunted houses made of paper.
If you're new to paper crafts, fear not. The haunted houses are easy to make from scratch thanks to our ehow-exclusive haunted house printable. What's more, you can customize the haunted houses based on your own Halloween style. We went for a classic spooky vibe, but you're welcome to use funky colors and prints if you like.
Video of the Day
Video of the Day
Read on to learn how to make a haunted house Halloween wreath, with tips for personalizing the project.
Paper Haunted Houses
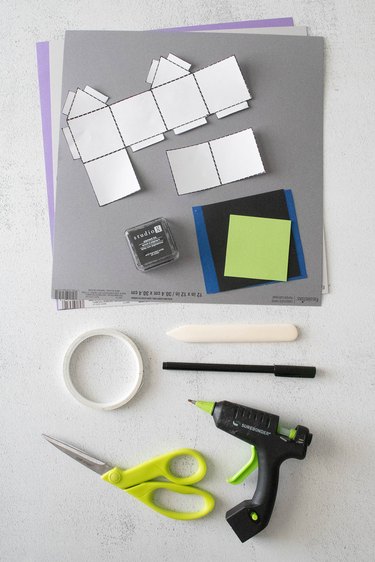
Things You'll Need
Mini haunted house printable template
Gray card stock
Paper scraps (optional)
Bone folder (optional)
Black marker
Black ink pad
Double-sided tape, hot glue gun, or glue tape
Scissors
Tip
Gray paper will give the haunted houses a classic spooky feel, but you can also make them brown, purple, green, or any color you'd like.
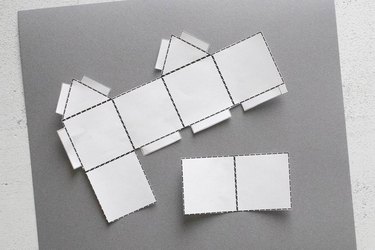
1. Print and cut the template
Print the mini haunted house template. Cut both pieces.
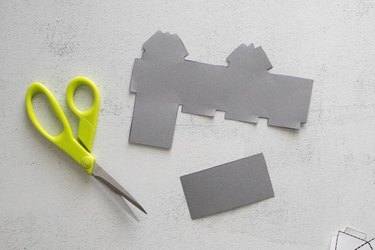
2. Prepare the card stock
Place the template on the gray card stock. Trace around the template with a marker or pencil.

Cut out both shapes from the card stock. The smaller piece will be the roof.
Tip
With a standard 12-inch by 12-inch sheet of scrapbook paper, you'll be able to make two haunted houses.
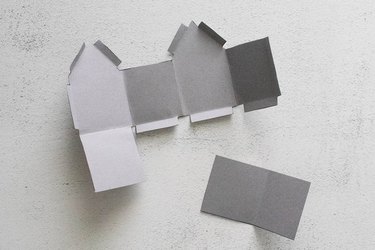
Fold down the tabs and press down to create a hard crease. On the template, the tabs are outlined by the finer dotted lines.
Next, fold the main part of the house horizontally to make four squares. This will create the four sides of the house. Fold up the bottom flap to create the bottom of the house. On the template, these folds are indicated by the double dashed line.
Fold the roof piece in half.
Tip
For clean folds, use a bone folder to crease the paper.
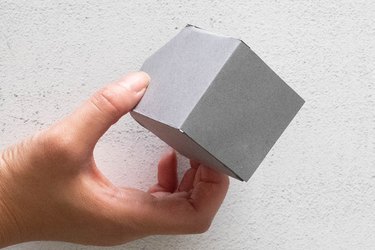
3. Assemble the haunted house
To join the sides, tape or glue the side tab to the opposite end of the house. The tab should be placed inside the house's body.
Tip
If you're using hot glue, be sure to work quickly! The glue will begin to dry within seconds.

Tape or glue the bottom flap to the four tabs on the bottom.
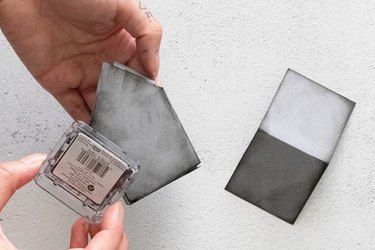
4. Distress the haunted house
Now, it's time to make the haunted house look old and spooky! Swipe a black ink pad across the house and roof, focusing on the edges and folds.
Tip
Again, you're not limited to black ink here. Try this technique with brown, dark gray, or even purple or blue ink.
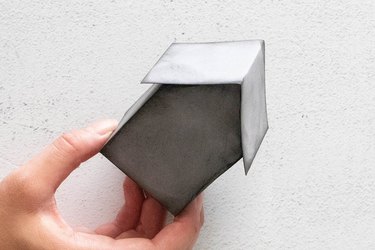
5. Add the roof
Tape or glue the roof to the four tabs on top of the house. Repeat until you've created the desired number of houses.
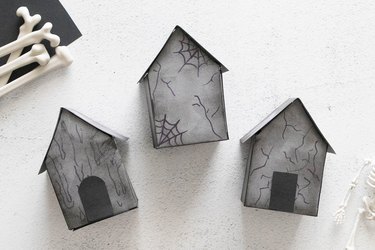
6. Add spooky details
Once you've made all the paper haunted houses, draw cracks, spider webs, or "dripping" details with a black marker. Add doors or windows with scrap paper.
Tip
Feel free to decorate the houses with embellishments, stickers, or any other supplies you have on hand.
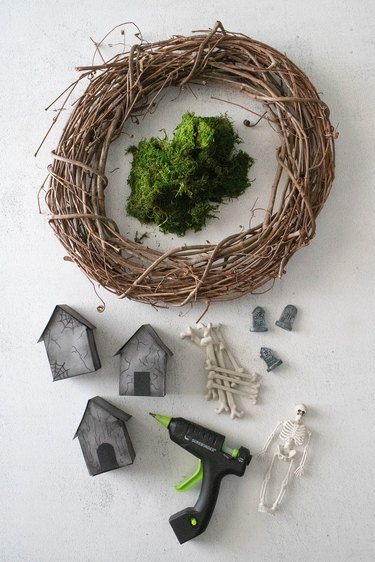
Make the Wreath
Things You'll Need
Grapevine wreath
Moss
Paper haunted houses
Plastic skeleton bones
Mini plastic skeleton
Mini tombstones
Hot glue gun
1. Add decorations
Before adding the decorations to the wreath, position the pieces on the wreath without actually gluing them down. This will give you a chance to reposition things as needed.
The moss will act as a filler, so you can place it between larger items (like the houses) and under smaller items (like the bones).
When you're happy with the placement, glue the moss on the wreath first. Follow with the haunted houses, bones, skeleton, and tombstones.

2. Hang the wreath
Place a wreath hanger on a door and add the wreath. Happy Halloween!