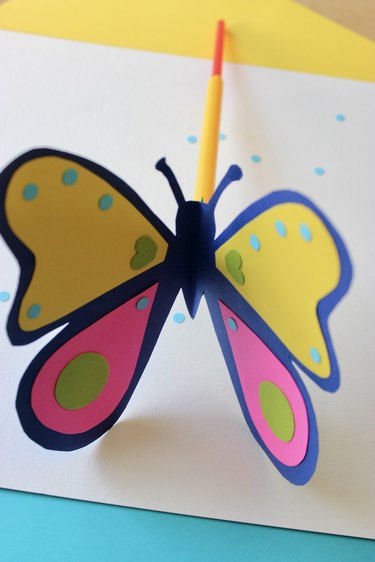
As summer winds down, it's the perfect time to soak up the last sunny days before the cold weather sets in. Why not make the most of it with a fun and creative outdoor activity? How about making a flapping butterfly using card stock and straws?
This charming project is not only a blast to watch in action but also a great chance for parents and educators to introduce kids to the basics of motion and mechanics in a hands-on way.
Video of the Day
Video of the Day
It's an activity that everyone can enjoy. Little ones (age 3 to 6) can dive into decorating their butterflies and putting the mechanics together with tape. At the same time, older kids (6 and up) can get creative with designing, drawing, cutting, and experimenting with the whole flapping mechanism.
Ready to create your fluttering butterfly? Just follow the simple steps below and let the fun begin!
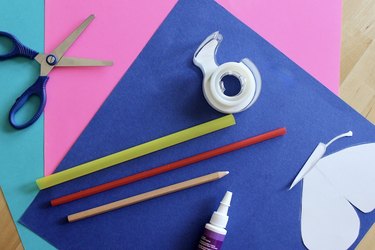
Things You'll Need
Colorful card stock
Regular-size straw
Boba straw
Scissors
Craft knife and cutting mat (optional)
Tape
Craft glue
Pencil
Ruler
Glitter, markers, paint, or stickers (optional)
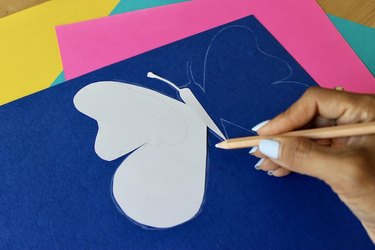
1. Design your butterfly
Start by creating a butterfly design. You can draw one side of the butterfly or use a printable template from the internet. Once you have your design, trace it onto a colorful piece of card stock.
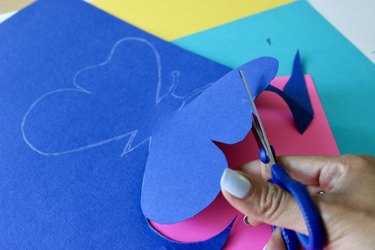
2. Cut out the butterfly
Carefully cut out your butterfly shape using scissors. For any tiny details that are tricky to cut with scissors, you can use a craft knife.
Tip
If you're using a craft knife, keep your work surface protected with a cutting mat.
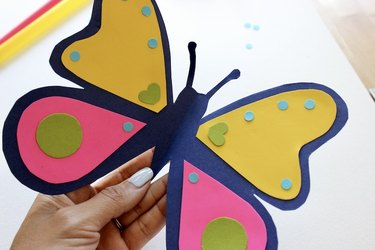
3. Decorate the butterfly
It's time to get creative! Decorate your butterfly wings by adding smaller pieces of contrasting card stock.
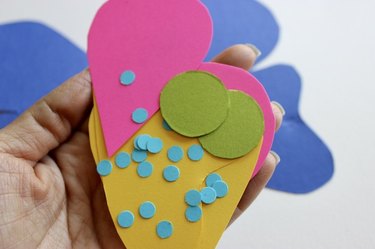
Feel free to use glitter, markers, paint, or stickers to give your butterfly a unique look.
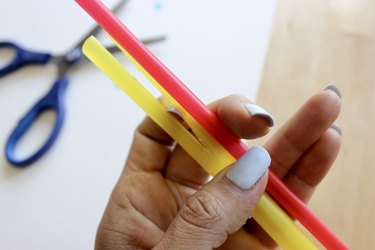
4. Prepare the straws
Start with the regular-size straw. Gently flatten it to mark where you'll cut. Slice it open along its length, cutting about 2 inches from one end.
Next, take the larger boba straw, flatten it a bit as well, and cut it open along its length to about 3 1/2 inches.
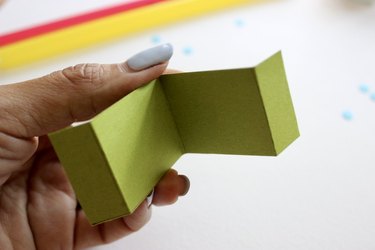
5. Create the flapping mechanism
Cut a piece of card stock into a rectangle about 4 inches long and 1 inch wide. Fold this rectangle in half.
Then, measure and mark about 3/4 inch from each end along the edges. Fold these marked sections in the opposite direction to create a V shape. This folded piece will act as a hinge, letting the butterfly wings flap up and down.
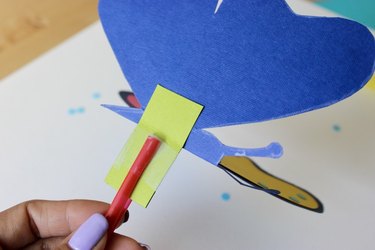
6. Assemble the flapping mechanism
Fold your butterfly in half and glue the rectangular piece of card stock on top of it.
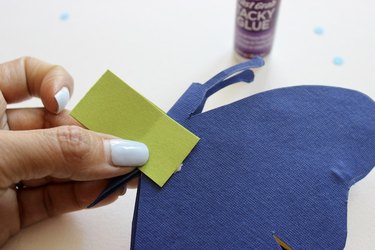
Make sure the wings can still open and close smoothly after the glue has dried.
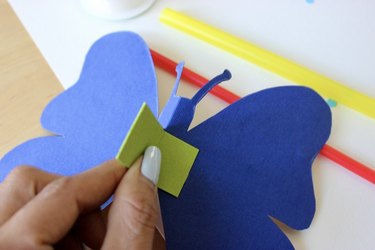
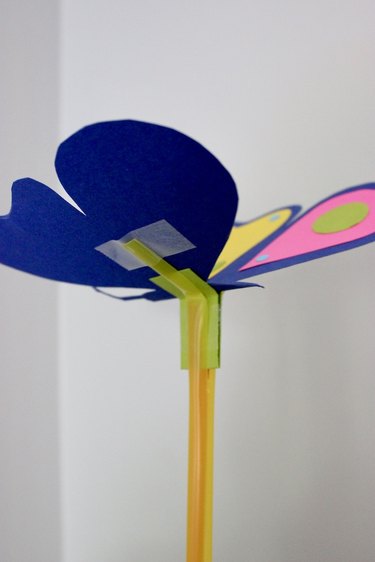
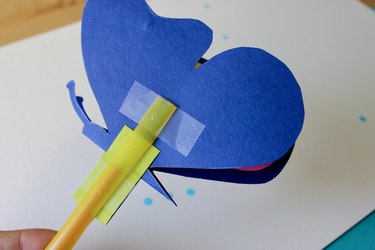
7. Insert the straws
Take the regular-size straw and tape it to the rectangular piece of card stock. Make sure it stays clear of the folding line so the wings can flap freely. This straw will be your handle for making the butterfly flap.
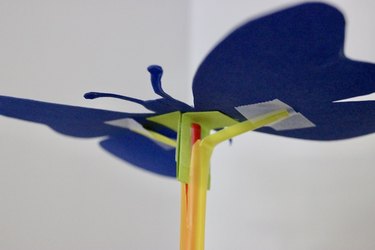
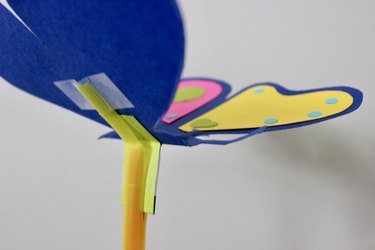
Next, slip the larger boba straw over the regular straw, and push it up past the card stock rectangle and onto the butterfly wings. Fold each boba straw flap to match the butterfly's shape so the wings can open and close easily.
Finally, tape or glue the boba straw flaps to the butterfly wings. Be sure to position the wings so they're evenly spaced and aligned, and ensure that everything is secure but still allows for smooth movement.
8. Test and adjust
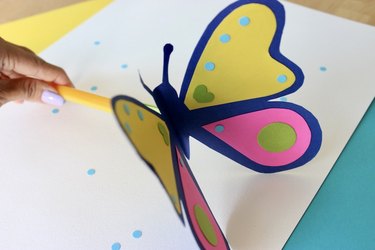
Hold the longer straw handle and gently move it up and down.
Your butterfly wings should flap as you move the handle.
If the flapping isn't as smooth as you'd like, check all the connections. Make sure everything is secure, and adjust or reinforce any parts with extra glue if needed.
Once you're happy with how the wings flap, it's time to enjoy your new fluttering butterfly!