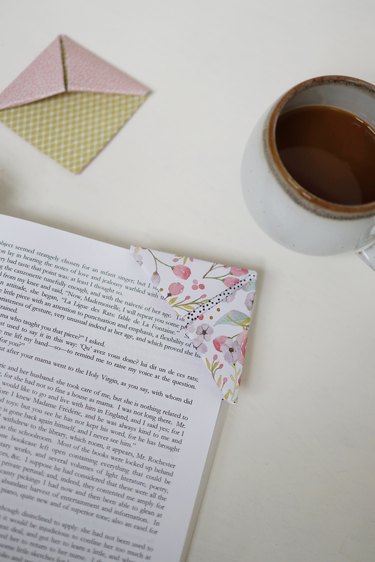
There's nothing quite like getting lost in the pages of a great book, waiting with bated breath to see how it ends. But when it's time to take a break from reading, you likely don't want to dog-ear any of those precious pages, especially if it happens to be an expensive or rare book or one that you've borrowed. Enter the origami corner bookmark. It has a handy pocket that slides over the corner of the page, so it won't slip down or fall out of the book.
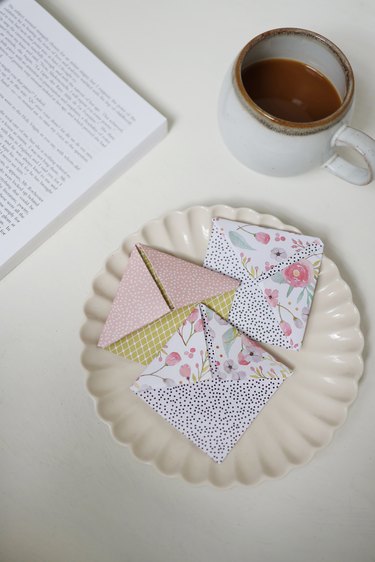
Even better, making a corner bookmark is a simple origami project that kids can help with. You can customize your bookmark using any kind of paper or card stock, such as the pretty floral pattern shown here, and you can also dial up the fun with a kids' version featuring fun animal faces or other kid-friendly designs. These bookmarks come together so quickly that you may want to make extra to give as gifts to teachers, students, or any other book lovers you know!
Video of the Day
Video of the Day
Things You'll Need
Paper, card stock, or construction paper
Ruler
Scissors
Glue stick
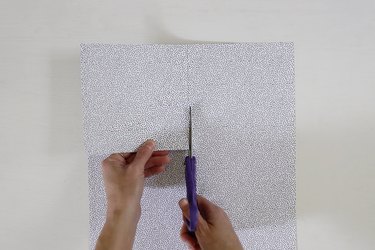
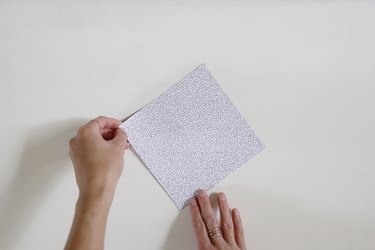
1. Cut paper into a square
Measure and mark a 6-inch by 6-inch square on a piece of paper or card stock and cut it out with scissors.
2. Rotate the paper into a diamond
Place the square piece of paper on a flat surface in front of you, and rotate it so that it forms a diamond shape.
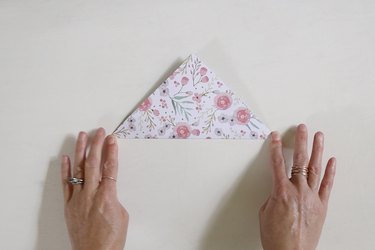
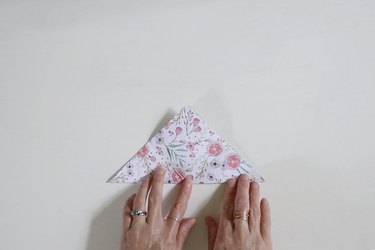
3. Fold the bottom to the top
Fold the bottom corner of the diamond up to the top corner and press firmly along the folded edge to crease it.
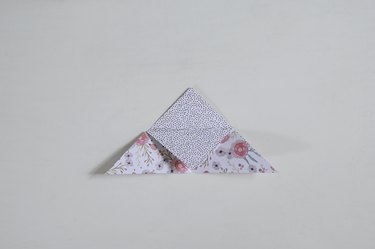
4. Fold up the right corner
Fold the right-side corner up to the top corner. Be sure to press the fold to create a crisp crease.
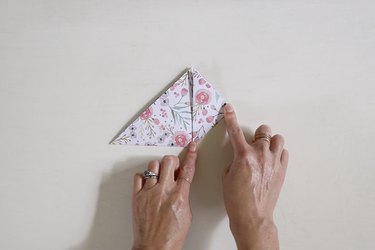
5. Fold up the left corner
Fold the left-side corner up to the top corner and press along the fold.
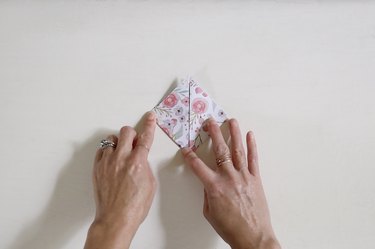
6. Open the folds
Now, fold the right and left corners back open.
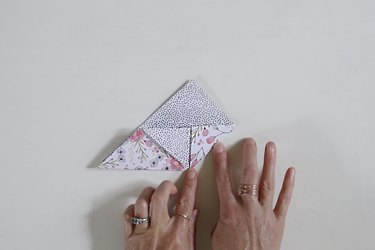
7. Fold down one layer of paper
Fold down only the top layer of paper from the top corner so that it meets the bottom edge. Press firmly along the fold to crease it.
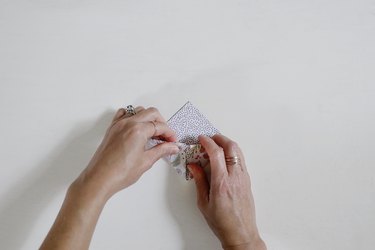
8. Fold and tuck in the right corner
Fold the right corner up to the top flap that you just folded down and tuck it under the flap.
9. Fold and tuck in the left corner
Similarly, fold the left corner up to the top flap and tuck it under the flap.
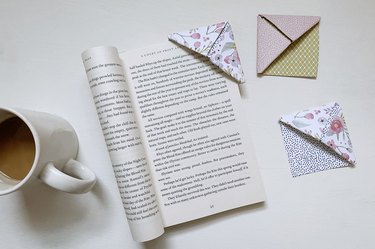
Your bookmark is now ready to use. Simply slide the pocket of the bookmark over the corner of the page you'd like to mark and you'll be able to quickly pick up where you left off the next time you read!
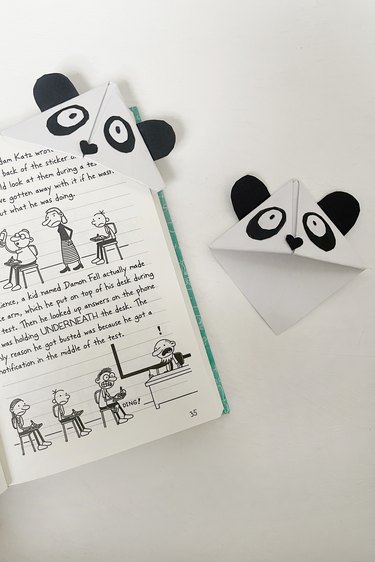
Make a Corner Bookmark for Kids

It's easy to customize these corner bookmarks for kids. Simply cut out shapes to create fun faces and glue them on. Here, I've created a panda bear by adding eyes, ears, and a little heart-shaped nose. However, you could create a variety of different animals as well as emojis, monsters, rainbows, dinosaurs, or anything else that interests your kiddos!