The start of a new school year is a fantastic opportunity for students and parents to celebrate the milestone, and one way to set a positive tone for the year is by making a unique back-to-school board.
This fun and interactive board can be personalized with different messages and colors. The interchangeable pieces will allow you to switch things up and use the board with different students and also for birthdays and other celebrations.
Video of the Day
Video of the Day
So, let's get creative, have some fun, and start the school year with a splash of excitement!
Things You'll Need
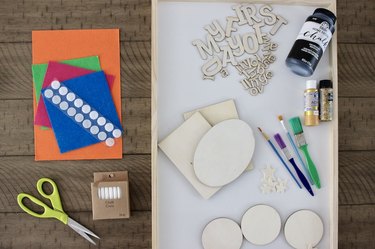
Unfinished wood art panel, plywood sheet, or lightweight wood plaque
Wood slats, felt sheets, or foam sheets
Card stock
Ruler
Pencil
Chalk paint
Scissors
Brushes
Small wooden alphabet letters
Medium wooden alphabet letters
Acrylic paint in a variety of colors (optional)
Self-adhesive Velcro dots or strips
Glue
Chalk
1. Choose the board
First things first: Choose your base! The board material can be anything that's flat and sturdy. Some great options are an unfinished wood art panel, a piece of plywood, or a ready-to-go lightweight wood plaque.
Tip
If you’re using plywood or an unfinished wood art panel, give it a quick sanding and a coat of white paint to make your designs pop.
2. Design and create the sections
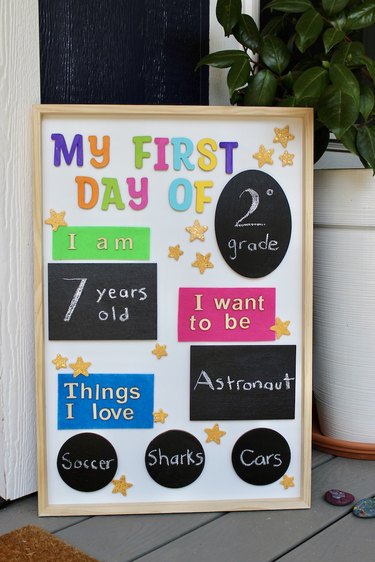
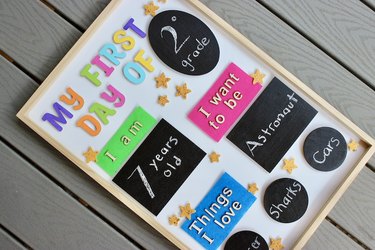
Start by designing your board. Imagine where you'll place your "First Day of School" spot and maybe some areas for "Things I Love," "I Want to Be," or other messages. Use a ruler and pencil to lightly mark where each section will go.
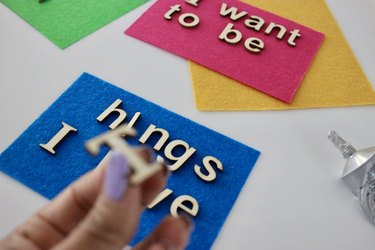
Think about the materials you want to use for each sign. To make the pieces or sections interchangeable, you can use something like wood slats, felt sheets, or even foam sheets as a base and glue the letters on top — rather than gluing the letters directly to the board.
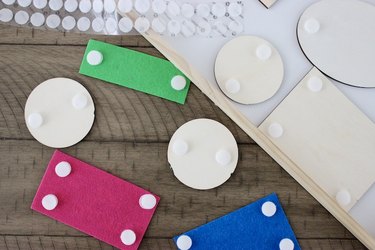
Cut pieces of felt, card stock, or foam sheets into shapes like ovals and rectangles. Decorate them with small wood letters. These will be your versatile pieces for the titles of each section.
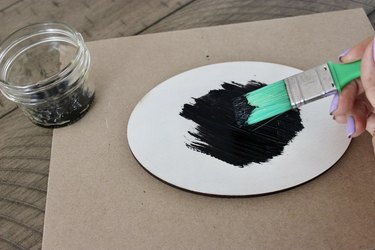
Another idea is to get wood slats, rectangles, or ovals and paint them with chalk paint. You can write personalized details and messages for each student in these wood pieces.
3. Add decorative touches
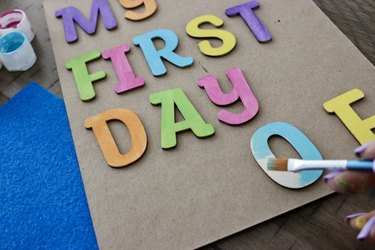
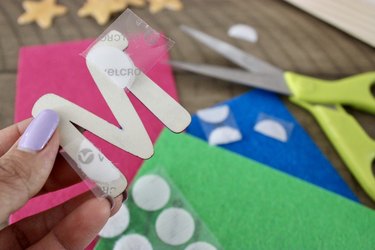
Go for big, bold wooden letters for your board title, and have fun adding lots of colors. If you want an easier option, just use a felt sheet to create the title.
Tip
Use your favorite color combinations or match the colors of your child's school or uniform for a personalized touch.
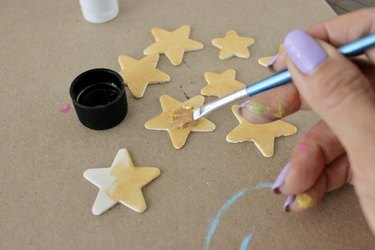
Add other decorative extras, like stars or geometric shapes, to fill the blank spaces on your board.
4. Attach the Velcro
Stick one side of self-adhesive Velcro dots or strips to the back of all your signs made from felt or wood. Attach the matching side of Velcro on top so you can place your notes and signs.
Add Velcro to the individual letters so you can easily update the main title as needed.
5. Personalize the board
You can easily move the pieces around to find the perfect arrangement. Adjust it until you're happy with the way everything looks. Glue permanent pieces to the board as desired.
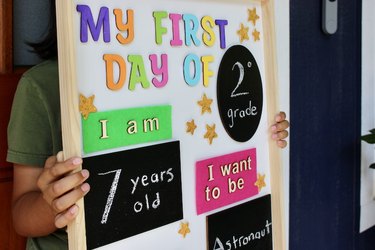
Finally, use chalk to write in the details for each student. Personalize their sections with their grades, things they love, and other fun information.

In the future, you can refresh your board by swapping out sections for different celebrations or milestones. Easily switch the top letters to say "Happy Birthday" or any other message.