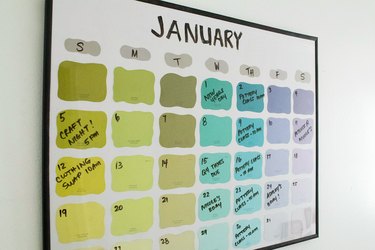
If you're in the market for new wall decor, look no further than this DIY picture frame perpetual calendar. Not only can it be reused every month but it's easy on the wallet too. That's because it mainly uses paint chip samples, which are free at the hardware store!
Plus, what makes this project so great is that it's endlessly customizable. For example, the picture frame can be as simple or decorative as you like. You can also pick paint chips in any color palette you'd like, from a monotone theme to a rainbow of colors.
Video of the Day
Video of the Day
Whether you're decorating your office or decluttering your desk, this DIY perpetual calendar is sure to help you stay organized. Here's how to make it!
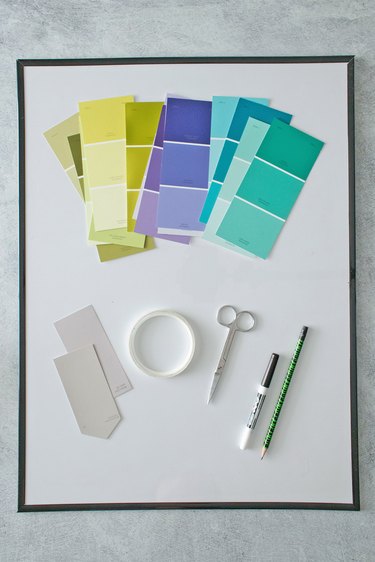
Things You'll Need
16 x 24-inch frame
Card stock poster board
Paint chip samples (at least 35 colors)
Solid paint chips
Double-sided tape or glue stick
Scissors
Dry-erase marker
Pencil and eraser
Tip
If you don't want to buy card stock poster board, consider using brown packaging paper or even the reverse side of the frame's original insert. You can even layer sheets of scrapbook paper or use book pages for the calendar's background depending on the look you're going for.
1. Plan the paint chip pattern
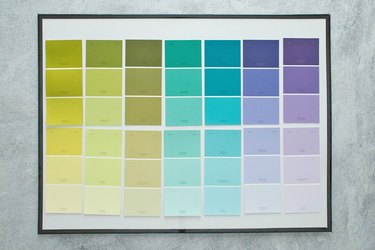
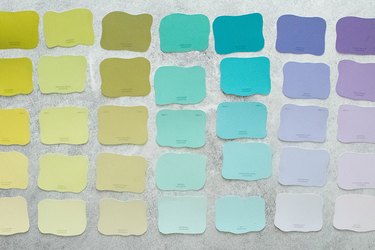
Place the paint chips on the frame to plan out your pattern. You'll need a total of 35 individual colors (or five rows of seven).
Since many paint chip samples include three colors, you'll likely need to omit one from each strip. I suggest skipping the darkest color to ensure you can read any writing.
Tip
Take a picture of the paint chips so you remember the placement of each one.
2. Cut out the paint chips
Now, cut out the individual colors. The most common method is to cut the colors into simple rectangles, but you're welcome to choose a different shape.
For example, for my calendar, I used a pencil to draw a wavy edge around each color.
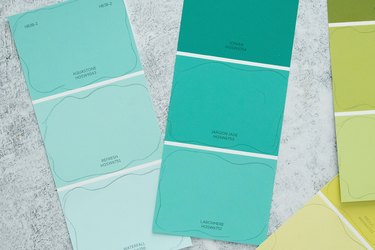
Cut the paint chips and if you drew a shape, erase any pencil lines.
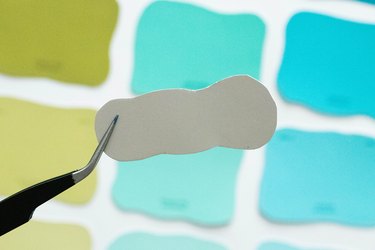
You can also cut out smaller pieces for the days of the week. This is optional!
For my calendar, I used gray paint chips so they'd stand out from the rest of the calendar.
3. Frame the paint chips
Disassemble the frame and trim your card stock if needed. Position the paint chips on the card stock, making sure they're evenly spaced. Don't forget to leave space along the top for the month.
Add at least two strips of double-sided tape to the back of each paint chip. You can also use a glue stick.
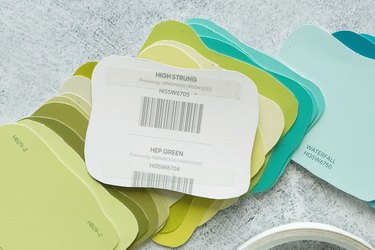
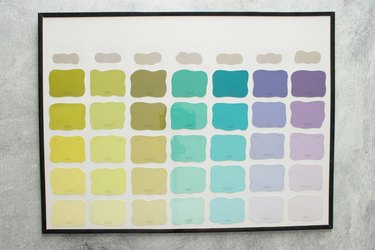
Stick the paint chips to the card stock and then reassemble the frame.
4. Date the calendar
Date the calendar using a dry-erase marker. You can start the week on Sunday or Monday depending on your preference.
Fill in your calendar and hang it up. To erase the marker, simply wipe the frame with a dry paper towel, microfiber cloth, or whiteboard eraser.
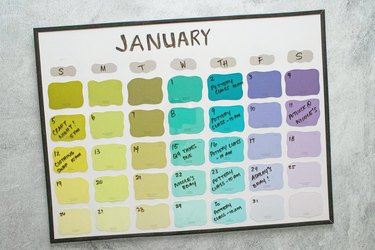
If you'd like, use dry-erase markers to customize the calendar with doodles or drawings. So fun!
