How to clean a coffee maker: fix what vinegar alone misses
Run vinegar through it. That's the advice you'll find everywhere, and it addresses one of two distinct fouling problems imperfectly, and only one. If your coffee tastes flat, bitter, or just off, the cause is mineral scale, rancid oil residue, or both. Treating one while ignoring the other is why the flavor problem keeps coming back. This guide walks through the complete two-part fix: washing removable parts and descaling internal passages, in the correct order.
The signs usually point in one of two directions. Bitter or stale taste with fresh beans, plus visibly dirty basket surfaces or a grimy carafe, points to oil residue: wash the removable parts with soap and water. Slow brew times, lukewarm output, white chalky deposits in the reservoir, or a flat metallic flavor that persists after washing points to scale: descale the tank and lines. Both symptoms together means doing both, in that order wash first, descale second.
Scale is primarily calcium and magnesium carbonate from tap water. It builds up inside boilers, tubes, and spray heads, insulating heating elements and preventing water from reaching the 195-205°F range required for proper extraction, per Better Grounds. Coffee oils left on baskets, showerheads, and carafes oxidize and turn rancid; acid-based descaling solutions do nothing to remove them that job requires warm soapy water (HomeWise Review). Warm, rarely emptied reservoirs also develop bacterial and mold biofilm, invisible slime layers that affect taste (Time for Espresso).
Before you start, gather: dish soap, a soft cloth or non-scratch sponge, distilled white vinegar or food-grade citric acid powder, warm water, and your machine's manual if it specifies a descale mode or prohibits certain cleaning agents.
The full two-part cleaning process: wash first, then descale
Video of the Day
Step 1: Wash the parts that touch your coffee
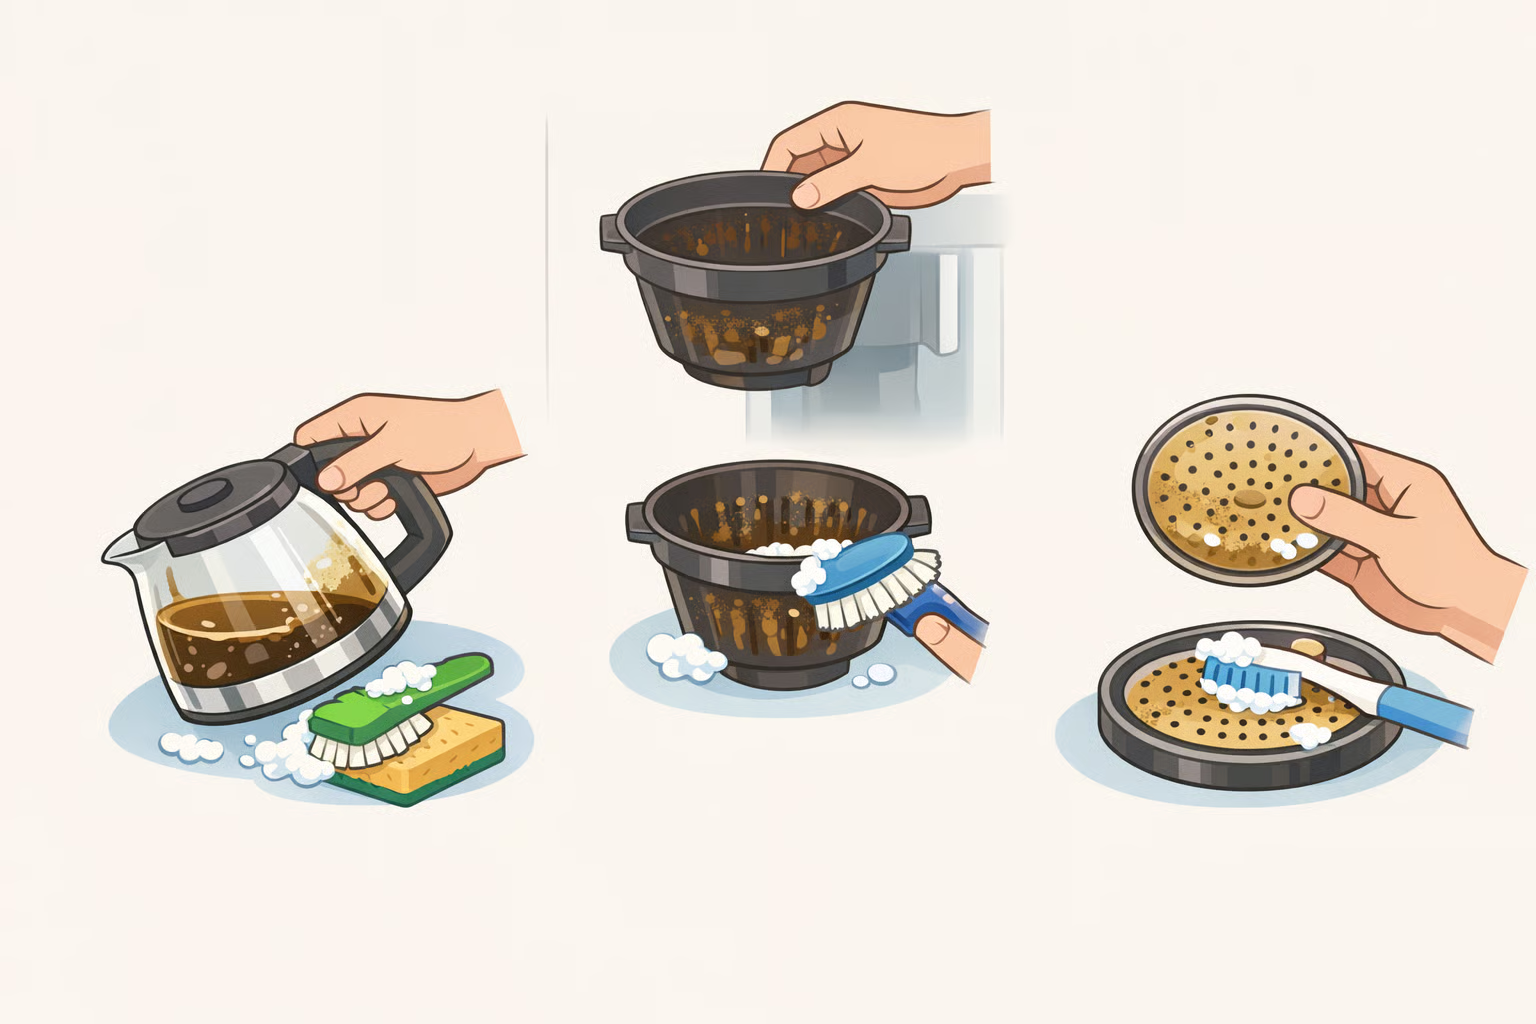
These surfaces accumulate oil that no descaling cycle reaches. Do this first, before introducing any acid to the machine.
- Remove and wash the carafe, brew basket, and any reusable filter. Use warm soapy water and a soft sponge. Scrub coffee oil off all interior surfaces. Rinse thoroughly soap residue affects taste just as much as the oils you're removing.
- Wipe the showerhead and brew head with a damp cloth. Oil accumulates here with every brew cycle and is not reached by descaling solution (HomeWise Review).
- Empty the water reservoir and wipe it out. Discard any standing water. If you see slime or discoloration on the reservoir walls, wipe with a soft cloth dampened with warm soapy water, then rinse. Leaving reservoirs filled between uses creates the warm, wet conditions where biofilm forms (Better Grounds).
Abrasive scrubbers scratch coated and plastic surfaces, creating microscopic grooves where oils and bacteria accumulate faster. Soft cloths or non-scratch sponges only (HomeWise Review).
Step 2: Choose your descaling agent
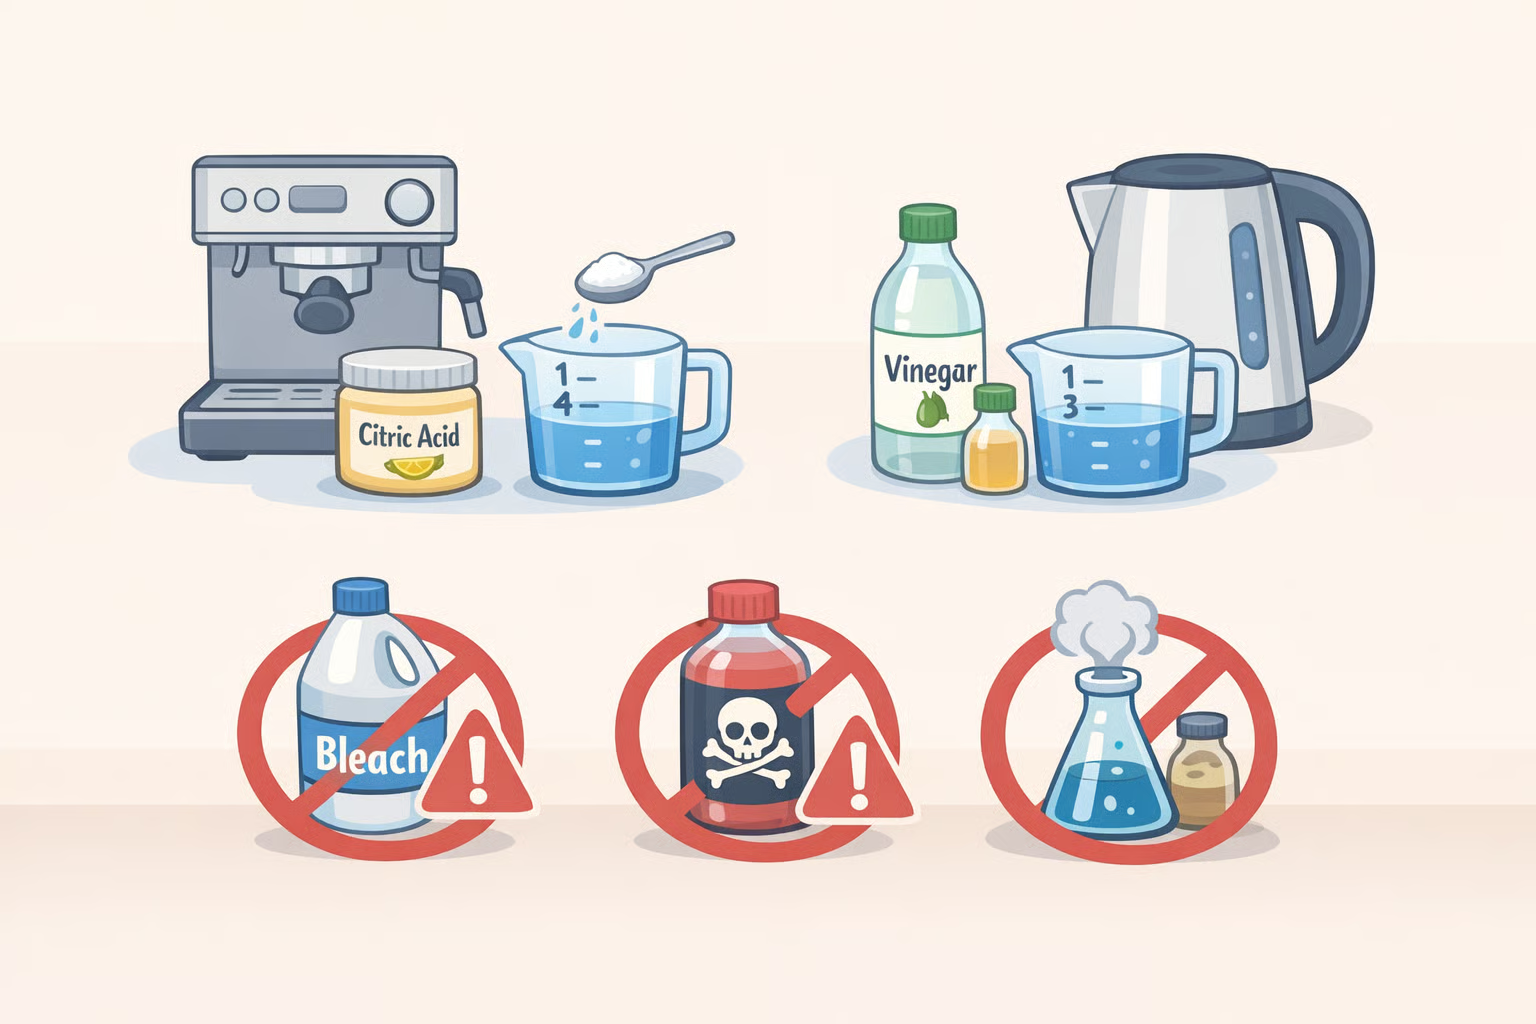
Citric acid (food-grade powder) is the recommended default. Low-odor, gentle on rubber seals and plastic tubing, and it rinses clean in two cycles without a baking soda neutralization step. Dissolve 2-3 teaspoons per quart of warm water (approximately 8-12 grams per liter) and stir until fully dissolved. If your machine's manual specifies a concentration, follow that over this general range (HomeWise Review; Time for Espresso).
White vinegar works and costs almost nothing. Use a 1:1 ratio with water for heavy scale, 1:2 for routine cleaning effective on calcium and magnesium deposits and food-safe (Better Grounds). The tradeoffs: acetic acid's vapor embeds into plastic tubing and reservoirs, requiring more rinse cycles to clear, and repeated use has been associated with rubber seal degradation in some machines (Time for Espresso). If your machine's manual flags aluminum boiler components, use citric acid instead (HomeWise Review). Vinegar gets the job done; citric acid is neater and gentler on seals over time.
Commercial descalers (Urnex Dezcal, Durgol, manufacturer-branded products) are the right choice for espresso and super-automatic machines where seal compatibility matters. They use citric or lactic acid at calibrated concentrations and leave no aftertaste, per Better Grounds.
Never use: lemon juice (pulp and sugars clog valves and leave sticky residue), bleach or any chlorinated cleaner, or full-strength undiluted vinegar (HomeWise Review).
Step 3: How to descale a coffee maker (standard drip)
Most guides skip the mid-cycle soak. That's the step that gives acid time to work on heated internal passages, and it's what separates a properly done descale from a quick run-through.
- Clear the machine. Remove the paper or reusable filter, any water filter cartridge, and confirm the carafe is in place to catch output.
- Mix your solution and fill the reservoir. Use the ratios from Step 2. Fill to normal capacity.
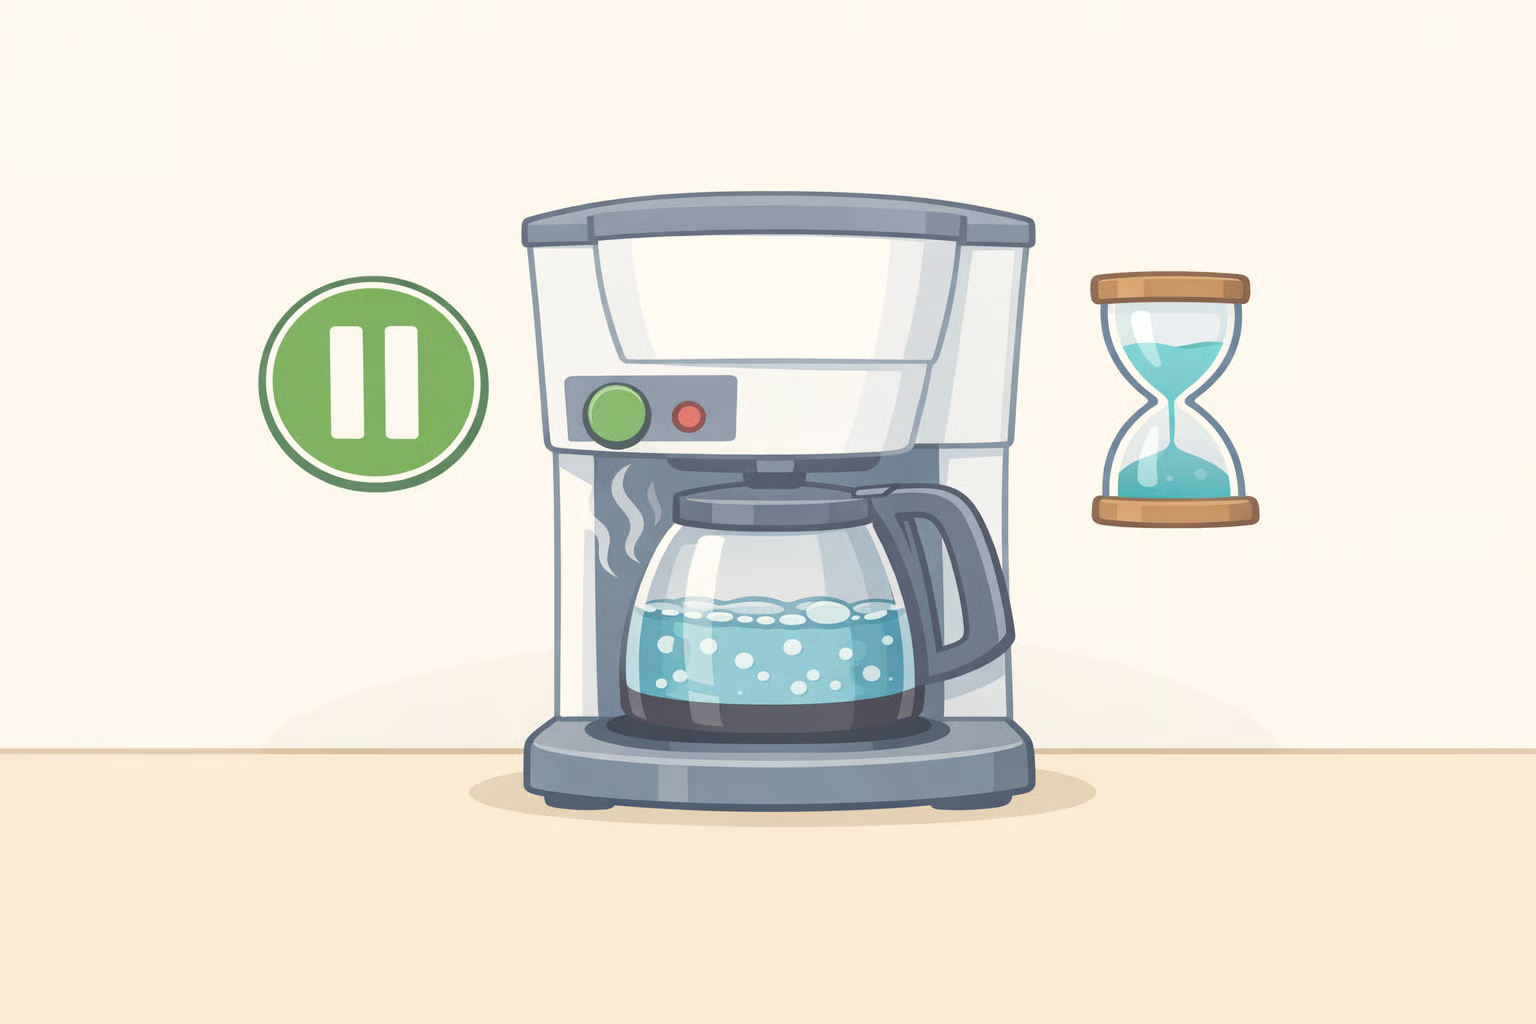
- Start the brew cycle and pause it halfway. Run the machine without coffee until roughly half the solution has moved through, then turn it off. Let it sit for 20-30 minutes this soak gives the acid time to work on heated internal passages (Better Grounds; NuvoH2O).
- Finish the cycle. Restart and let the rest of the solution brew through completely. Discard the output.
- Rinse minimum twice. Fill the reservoir with fresh water and run a full brew cycle. Repeat. For heavy scale or if you used vinegar, run a third rinse (HomeWise Review). If vinegar smell persists after two plain-water rinses, add a half teaspoon of baking soda to the third rinse water, then follow with one final plain water cycle.
- Smell-test before brewing coffee. Brew a small amount of plain water and check the output. Any trace of acid or vinegar odor means another rinse cycle is needed (Better Grounds).
Do not leave descaling solution in the machine overnight. Extended acid contact stresses metal components and seals (HomeWise Review).
Key differences by machine type
For most machines, the drip procedure above applies directly. Three exceptions worth knowing:
| Machine type | The one thing that's different |
|---|---|
| Pod machines (Keurig and similar) | Use the built-in descale mode if your model has one. Vinegar has been reported to cause odor retention and sensor problems in some Keurig 2.0 models specifically; citric acid is the safer option for those machines. If flow remains weak after descaling, unplug the machine, remove the pod holder, and clear the exit needle with a straightened paperclip, then rinse (Time for Espresso; HomeWise Review). |
| Espresso and super-automatic machines | Follow your manual over any generic ratio manufacturer instructions exist for good reason on machines with precision components. Run solution through both the group head and steam wand in alternating bursts; soak in the boiler for 15 minutes; rinse through both circuits with at least two full tanks. After rinsing, pull a test shot and steam a small amount of milk to confirm no off-flavors remain before serving (Better Grounds; HomeWise Review). |
| Bunn machines | The velocity tank holds hot water continuously, so descaling solution must fully flush that tank. Multiple additional rinse cycles beyond the standard two are not optional solution left in a hot tank affects every subsequent brew (Time for Espresso). |
Video of the Day
How often to clean a coffee maker
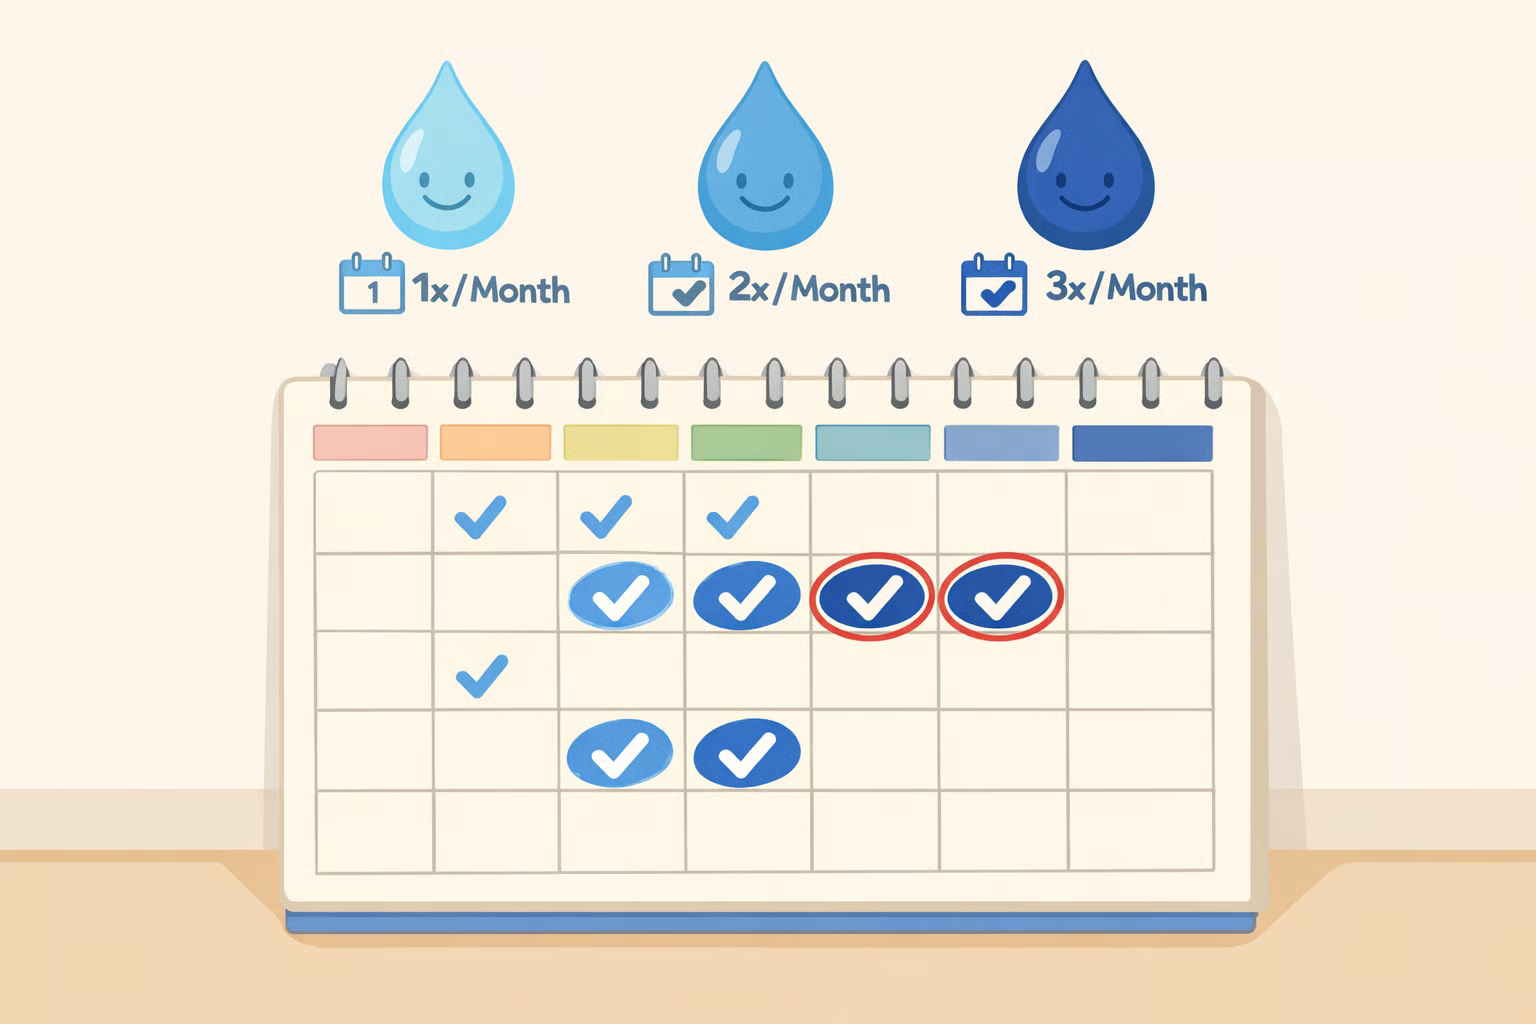
Descaling frequency depends primarily on water hardness, per HomeWise Review and Better Grounds:
- Soft water: Every 4-6 months
- Moderately hard water: Every 2-3 months
- Hard water: Every 4-6 weeks
Most manufacturers recommend descaling every 1-3 months as a general baseline, per NuvoH2O. Find your water hardness in your local utility's annual water quality report. No access to that? Start at every 2-3 months and adjust based on symptoms.
Skip the schedule and descale immediately if you notice: brew times have slowed, white chalky crust is visible inside the reservoir or around the water outlet, the carafe output is lukewarm rather than hot, or coffee tastes flat or carries a metallic edge despite fresh beans (Better Grounds; NuvoH2O). By the time those symptoms appear, restriction and heat loss inside the machine are already significant.
A few habits extend the interval between descaling sessions:
- Wash the carafe and brew basket with soapy water after every use; don't leave grounds sitting in the basket or brewed coffee sitting in the carafe (Better Grounds)
- Empty the reservoir daily; leave the lid open for an hour after cleaning to let moisture escape and slow mold growth (Better Grounds)
- Use filtered water when possible a basic pitcher filter reduces mineral content and extends the descaling interval, though it doesn't eliminate scale entirely (HomeWise Review)
Set a calendar reminder when you finish this first clean. Scheduled maintenance is always easier than reactive cleaning after the machine has already degraded, per Better Grounds.
What to do next
The two-part process above restores proper water temperature, unobstructed flow, and surfaces free of oxidized oil the same conditions a new machine has over a neglected one, and they're recoverable. Calcium buildup left untreated doesn't just affect flavor; it wears internal components and can lead to repairs or early replacement, per NuvoH2O.
If you haven't washed the showerhead or cleared the exit needle recently, start there before the next descaling cycle. Then set a reminder based on the frequency guide above, pick up food-grade citric acid if you don't already have it, and the next clean runs mostly on its own.