How to Turn Store-Bought Cookie Dough Into Berry Cobbler
A tube of refrigerated sugar cookie dough has one obvious use printed right on the packaging. This isn't that. Sliced into rounds and laid over a berry filling, the same dough bakes into a cobbler topping that's more interesting than a biscuit and considerably easier than making anything from scratch.
The reason it works comes down to fat and sweetness. Butter-rich dough stays tender under steam rather than turning dense, so the underside of each round softens while the exposed top browns and crisps. Standard biscuit dough, with its lower fat content and less sugar, tends to go uniformly soft all the way through. The built-in sweetness of the cookie dough also takes pressure off the berry filling: instead of carrying the full flavor load, the fruit can stay tart and acidic, which is where berries taste most like themselves.
When this works and when it doesn't: Best for a quick weeknight dessert using grocery-store ingredients. Not the right choice if you want neat slices, a make-ahead crisp that stays crunchy, or a traditional cobbler presentation. It doesn't replace a from-scratch pastry. It's a better use for a $4 tube of refrigerated dough than the package suggests, which is a narrower but more honest claim.
This guide walks through building the berry base, positioning the dough for even coverage, reading the visual cues that tell you it's done, and fixing the three things that most commonly go wrong.
Prerequisites: One 16–18 oz tube of refrigerated sugar cookie dough, a 9x13-inch baking dish, and 5–6 cups of fresh or frozen berries. If using frozen fruit, keep it unthawed until Step 2.
What to buy and how to swap ingredients
Video of the Day
Not all refrigerated doughs behave the same way in this application, and the fruit choices matter more than most recipes admit.
On the dough: Cylindrical slice-and-bake rolls are the most reliable format. The diameter is consistent, the thickness is easy to control, and the rounds hold their shape during baking. Break-apart grid squares work as a substitute but tend to be thicker and less uniform, so watch the doneness cues in Step 4 more carefully than the clock. Skip anything marketed as "soft-baked" style. That formulation is engineered to stay underdone at the center, which produces a gummy cobbler topping rather than one with any crust to it.
On the fruit: Mixed berries produce better depth of flavor than a single variety. Blueberries and blackberries hold their shape and release juice at a controlled rate; strawberries, especially overripe ones, flood the pan fast and need extra cornstarch to compensate. If the frozen bag came pre-sweetened, pull the granulated sugar back to 1 tablespoon and taste before the dish goes in. The dough is handling a significant portion of the dessert's sweetness already, and a very sweet filling collapses the tart-sweet contrast you're building toward.
Cornstarch adjustments by fruit type:
- Blueberries, blackberries, raspberries: 1 tablespoon cornstarch
- Strawberries or overripe mixed fruit: 1½ tablespoons
- Pre-sweetened frozen fruit: 1½ tablespoons, reduced sugar
Lemon juice is not optional. It brightens the filling and keeps the berry color from going muddy during the long bake. A teaspoon of citrus zest stirred into the mixture takes thirty seconds and ties the fruit layer to the vanilla notes already present in the dough.
Video of the Day
What to expect before you start
Two things are worth knowing before the steps, because they'll change how you read what's happening in the oven.
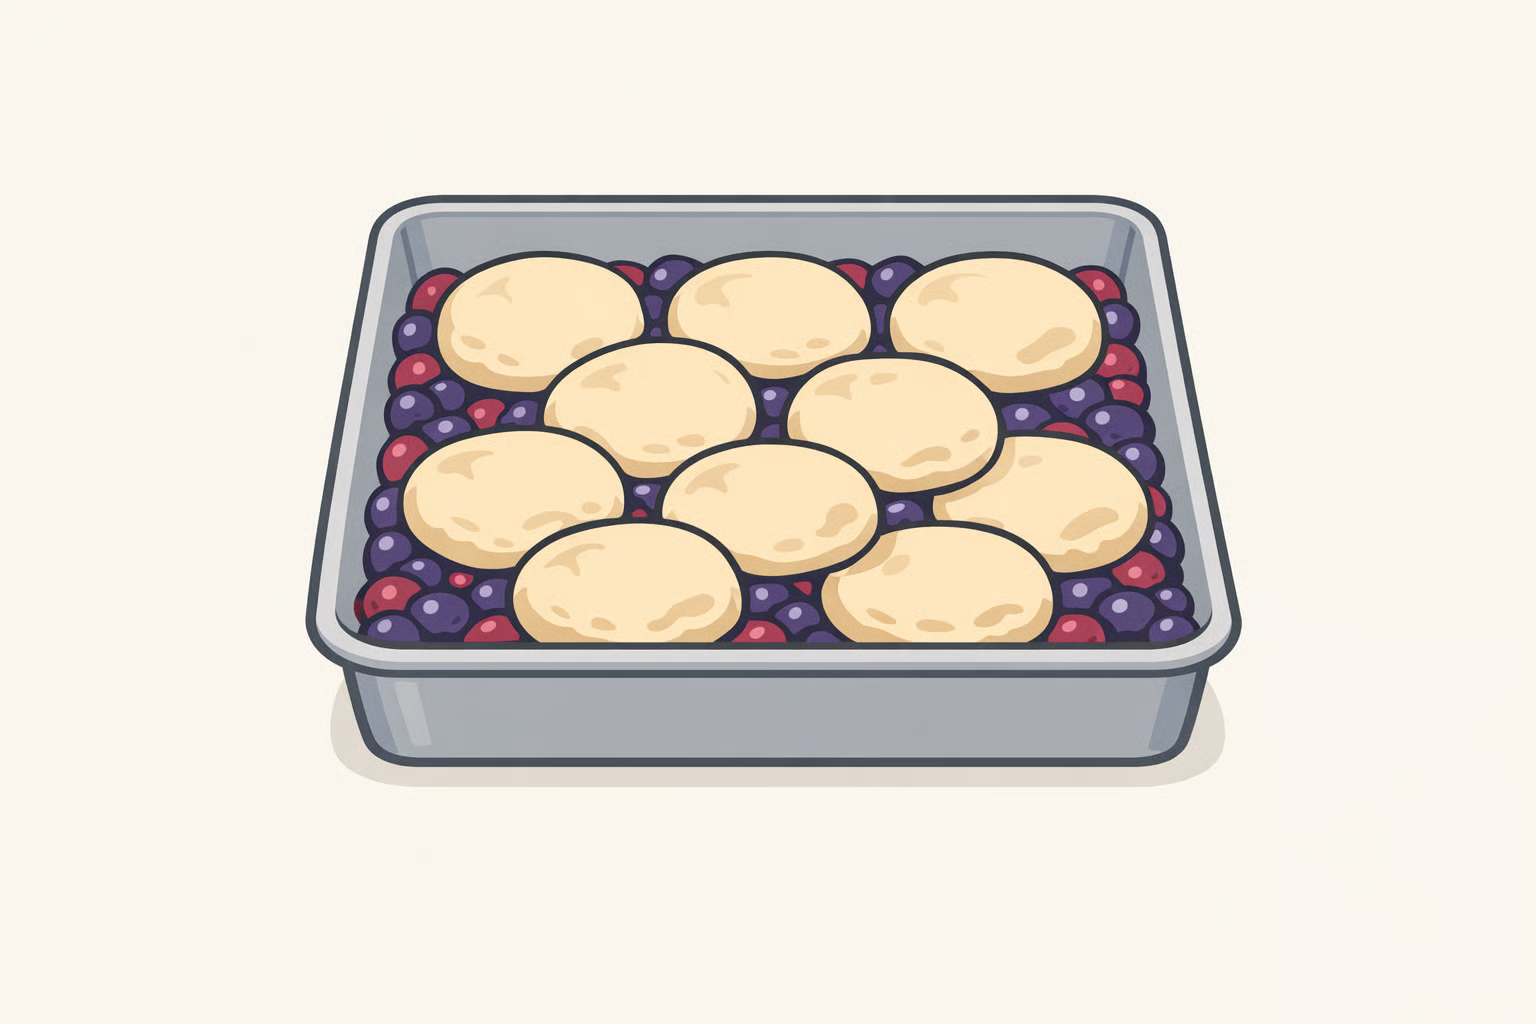
Coverage. A single standard tube yields roughly 16–20 rounds sliced at half-inch thickness. Laid across a 9x13 pan, those rounds will not tile the surface. They'll sit in a patchwork with visible gaps between them. That's the intended result. Berry juices bubble up through the gaps and caramelize slightly at the edges of each round, and that caramelized border is one of the better textures in the finished dish. It should look like scattered golden discs over a jammy fruit base. If you want denser coverage, use a second tube or scale down to an 8x8 dish with 3 cups of berries.
The texture split. A standard biscuit topping is designed to be neutral: lightly seasoned, starchy, there to carry the fruit. It absorbs steam from below and softens throughout. Sugar cookie dough, in testing, behaves differently. The underside takes on moisture and softens; the top, left exposed through the gaps, browns and develops a thin crust. That textural division is the practical reason to use cookie dough here rather than biscuit dough.
Step-by-step: building and baking the cobbler
Step 1: Preheat the oven to 375°F (190°C) and lightly grease a 9x13-inch baking dish.
This runs lower than most cookie package directions. The slower temperature gives the berry filling time to bubble and thicken before the topping browns. Grease the dish with butter or neutral spray; fruit juices will climb the sides during baking and stick to an ungreased surface.
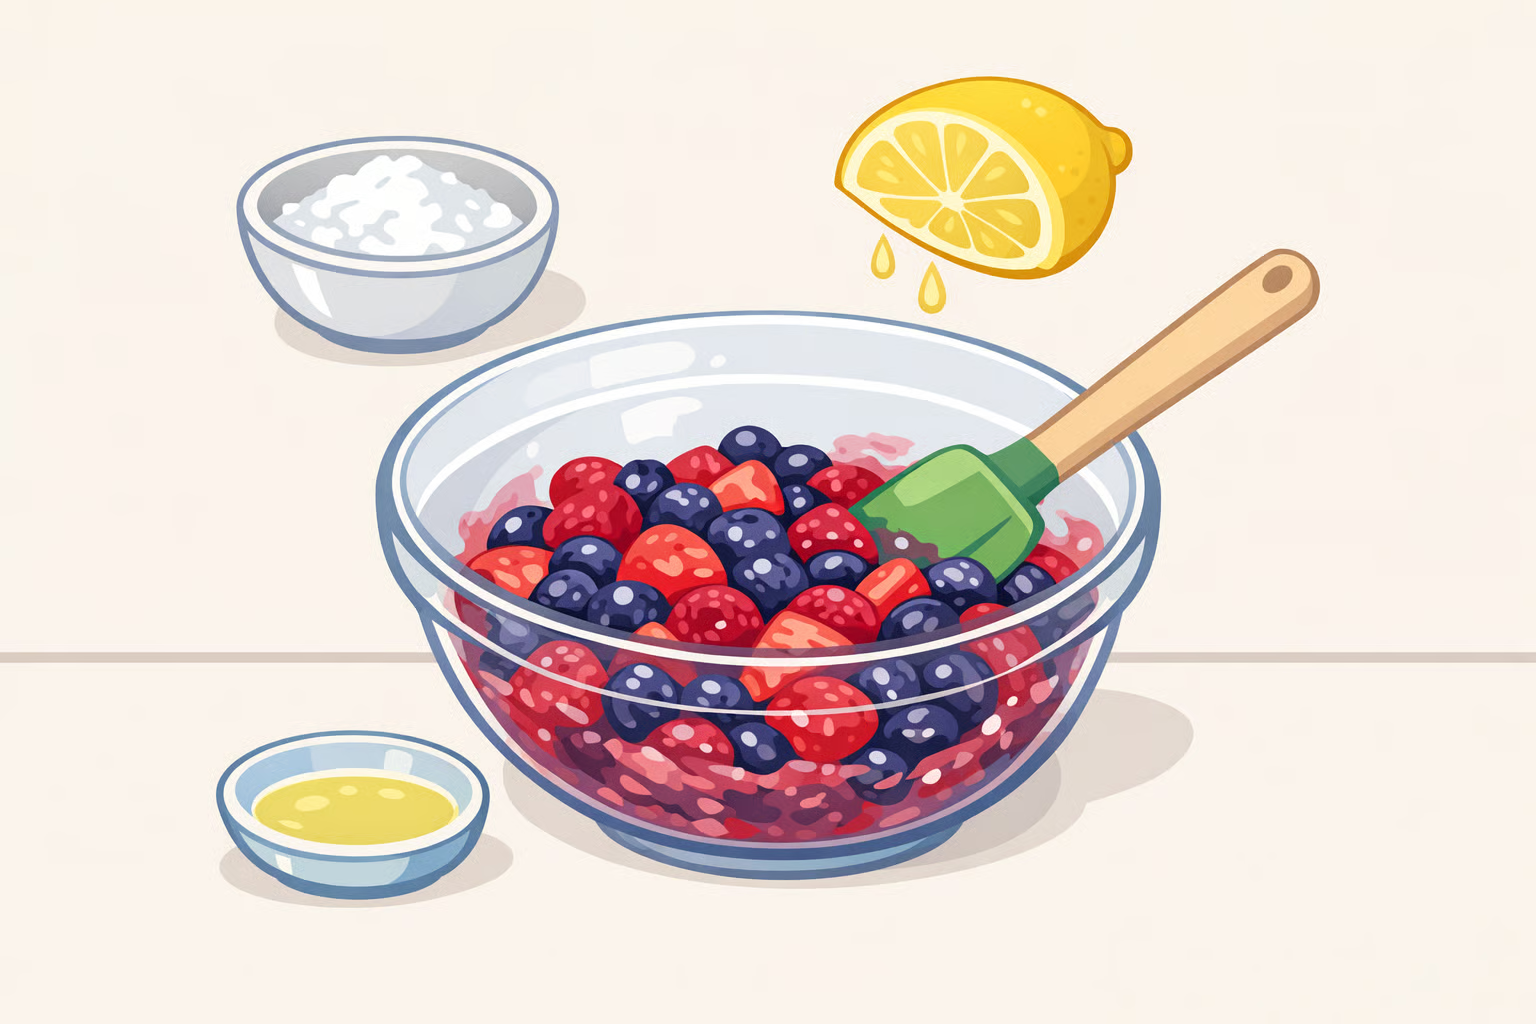
Step 2: Build the berry base.
Add 5–6 cups of berries to the dish. Toss with 3 tablespoons of granulated sugar, 1 tablespoon of cornstarch (see adjustments above), 1 tablespoon of lemon juice, and a pinch of salt until evenly coated. The cornstarch binds the released juice into a light sauce as the filling heats. Skip it and the base will pool rather than set.
The signal to increase cornstarch is visible liquid in the bowl before the dish has gone anywhere near the oven. That's the fruit telling you it's going to flood the pan. Don't wait to find out.
Step 3: Slice and position the cookie dough.
Slice the dough into rounds approximately half an inch thick. Lay them across the berry base in a single layer with small gaps between each piece. Do not press them down, stack them, or try to seal the surface.
Half an inch is the practical ceiling for thickness. In testing, rounds cut thicker than that brown on the outside while the center stays raw, which means you can't use color alone to judge doneness. The patchwork layout, roughly 16–20 rounds across a 9x13 pan, is correct.
Optional: dust the tops lightly with cinnamon or cardamom before the dish goes in. The spices bloom during baking without adding any extra steps.
Step 4: Bake for 35–40 minutes and use visual cues to confirm doneness.
Place the dish on the center rack. Pull it when two things are true at the same time: the topping is uniformly golden brown with no glossy or wet-looking patches, and the berry filling is actively bubbling up through the gaps. Not steaming. Visibly boiling at the edges.
If the topping looks done but the fruit isn't bubbling yet, cover loosely with foil and check in five-minute intervals. If the fruit is bubbling but the topping still looks pale at the center, leave it uncovered and keep watching. Both conditions have to be met.
With frozen fruit, add 5 minutes to the baseline bake time. The filling starts colder and the cornstarch won't fully activate until the filling reaches a sustained boil. A 9x13 dish with frozen berries can take up to 45 minutes total. The bubbling check matters more here than whatever the clock says.
Step 5: Rest for 15 minutes before serving.
The filling continues thickening as it cools. Scoop immediately and it runs across the plate; after 15 minutes it holds its shape. Vanilla ice cream or whipped cream alongside is worth the effort. The temperature contrast against the warm filling does most of the work.
When it goes wrong: three problems and how to fix them
The filling is watery. The cornstarch didn't activate fully, which means the filling never reached a sustained boil. This happens if the dish came out too early, if thawed frozen berries were used (they flood the dish before the oven can catch up), or if the cornstarch was skipped entirely. There's no fix once it's out of the oven, but it still tastes fine. Next time, watch for active bubbling, not just steam.
The topping is doughy in the center. A thickness problem, almost every time. Rounds cut thicker than half an inch brown on the surface before the center cooks through. Cover the dish with foil and return it to the oven in five-minute increments, watching for the loss of that glossy underdone look at the center of each round.
The topping over-browns before the fruit is ready. Happens when the oven runs hot or the dough was laid over filling that was still frozen solid. Once the topping reaches your target color, tent loosely with foil and let the fruit catch up.
Storage
Leftovers keep for up to three days covered in the refrigerator. Reheat individual portions in a microwave for 45–60 seconds, or return the full dish to a 325°F oven for about 12 minutes.
By day two, the topping has softened, but the berry sauce has had time to work into the dough in a way that doesn't happen fresh out of the oven. The flavors are more integrated, less distinct. Whether that's better depends on what you're after; it's a different dessert, not a worse one.
The single most reliable thing to carry away from this recipe: the bubbling check in Step 4. Watery filling is the most common failure, and every time it happens, the dish came out before the fruit reached a genuine boil. Get that right and the rest follows.