How to Make a Money Lei for Graduation in 30 Minutes
Graduation season calls for a gift that does two things at once: gives the graduate actual money and looks like you put in more than a quick ATM run. A money lei does exactly that. This guide walks through how to make a money lei for graduation from scratch, folding the bills, threading the ribbon, checking the spacing, and finishing the ends so the whole thing looks intentional. Made with HAPPY puts the total time at about 30 minutes, and the only materials required are dollar bills and a length of ribbon.
One structural note before the steps: a graduation money lei is an open strand, not a closed loop. Both ends stay free, finished with enough ribbon tail to tie around the graduate's neck. That distinction matters for how you cut and prepare the ribbon in step 4.
How to make a money lei for graduation: materials
Video of the Day
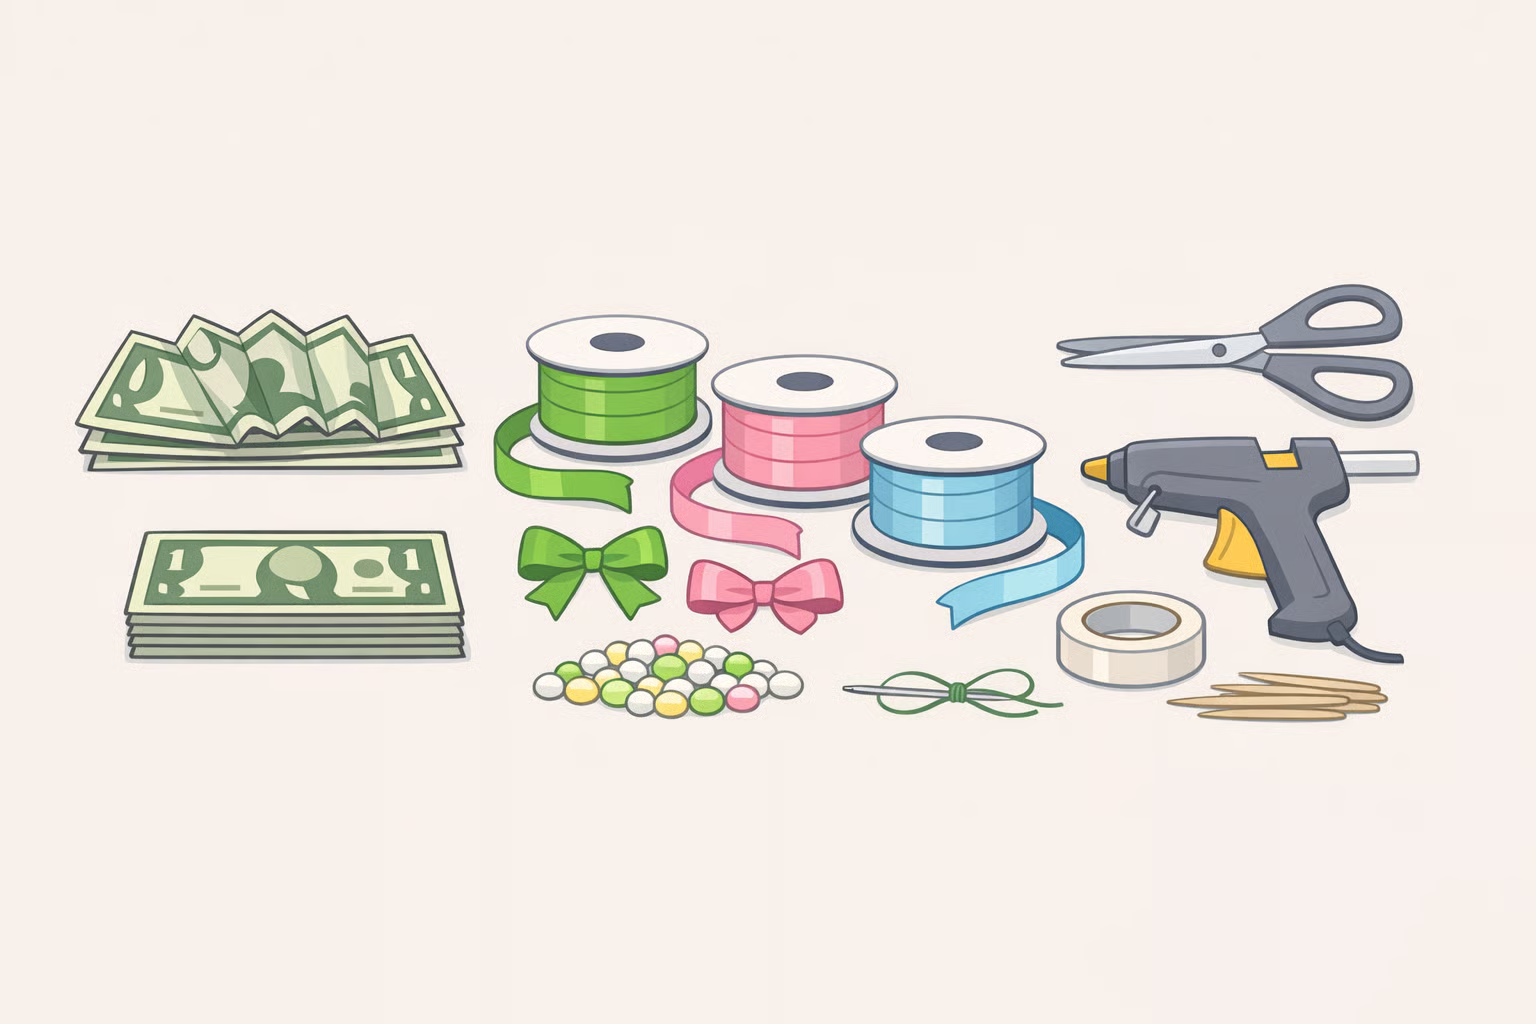
Get everything on the table before the first fold. Stopping mid-project to hunt for scissors or a longer piece of ribbon is the fastest way to end up with half-folded bills sitting loose on the counter.
Dollar bills. Made with HAPPY uses 40 one-dollar bills as the example project, with the total starting from $20 and scaling up from there. A practical reference for planning:
- 20 bills: a lighter strand that works well as an add-on to another gift
- 40 bills: the count used in the source tutorial; a solid choice for a standalone gift
- 60+ bills: a showpiece for a close family member or significant milestone
Mixed denominations are fine. A lei made with a mix of ones and fives folds and threads identically to one made entirely of ones; the total changes, the method doesn't.
Bill condition matters more than most people expect. Crisp, flat bills from the bank fold cleanly and hold their shape through threading. Limp, heavily circulated bills tend to lose their folds partway through the process. If the bills on hand are wrinkled, press them flat on a hard surface before starting.
Ribbon. Made with HAPPY recommends starting with approximately four feet, which leaves enough tail at each end for tying and room to add other items if wanted. Plan for a longer cut if threading candy or a card between bills, since extra items eat into the ribbon length. Wider ribbon tends to look more polished and gift-appropriate; thinner or curling ribbon is easier to thread but reads as more casual. If the graduate's school colors are available in ribbon, it's a small touch worth considering.
Optional but useful: a large blunt needle or a small safety pin threaded through the ribbon end makes it significantly easier to push ribbon through tight accordion folds, especially with wider or stiffer ribbon. Binder clips help hold each folded bill in shape while working through the full count.
No cutting machine, adhesive, heat press, or design file required.
Video of the Day
Step-by-step instructions
Step 1: Place each bill face-up, oriented horizontally
Orient the bill landscape-style, long edge running left to right. Working through all the bills at once before threading anything is worth doing, since it lets you catch any that need pressing flat before committing to a fold.
Step 2: Accordion-fold each bill along the short axis
Starting from one short end of the bill, fold forward about one centimeter, then fold that section back one centimeter, continuing in a tight zigzag all the way to the other short end, the same motion used to fold a paper fan. Made with HAPPY describes folding approximately a centimeter at a time along the short side. The finished fold should be a narrow, evenly pleated strip with clean, consistent ridges.
Fold width consistency is what separates a polished result from a messy one. Irregular folds produce uneven fans; tight, uniform folds create the clean pleated texture that makes the finished lei look deliberate.
Gotcha: The first few bills take longer while the motion becomes automatic. Fold five or six before threading anything. Once the rhythm is there, the rest move quickly.
Step 3: Pinch each folded bill at the midpoint
Pinch the accordion-folded strip exactly at its center so both halves fan outward symmetrically, like a bow tie. This is the shape that slides onto the ribbon.
If bills keep unfolding between steps, a binder clip at the center holds the shape while moving to the next one.
Step 4: Cut and prepare the ribbon
Cut the ribbon to approximately four feet for a standard lei, per Made with HAPPY. Tie an overhand knot a few inches from one end to act as a stopper, so the first bill doesn't slide off while threading the rest. Leave the other end free; it gets knotted after all bills are on.
Gotcha: Cut generously. A ribbon that comes up short after all the bills are threaded means starting over. Trim any excess at the end.
Step 5: Thread each bill onto the ribbon
Slide the ribbon through the center pinch of the first bill so the bill sits perpendicular to the ribbon and the bow-tie fans open on both sides of the strand. Push it down to the stopper knot. Repeat with each bill, nudging them close together as you go.
This is the fussiest part of the project. A large blunt needle or safety pin looped through the ribbon end makes it much easier to push through tight folds, particularly with wider ribbon.
Step 6: Hang and adjust spacing before tying off
Before knotting the open end, hold the lei up and let it hang freely. Gaps, bunching, and uneven spacing show up immediately when the strand is vertical. The bills should sit close enough that the lei looks full, but not so tightly packed that the fans can't open on both sides.
Adjust now. It's considerably harder after the final knot is tied.
Troubleshooting:
- Bills bunching and won't fan open: Too tight. Spread them slightly and re-check hanging.
- Bills drooping instead of fanning: The accordion folds are too loose. Remove a few bills, re-fold with tighter, more consistent pleats, and re-thread.
- Folds slipping apart mid-thread: Use a binder clip at each center pinch point until that bill is secured on the ribbon.
- Lei looks sparse: Either add more bills or tie off sooner so the finished strand is shorter and fuller.
Step 7: Tie off the open end and finish the ribbon tails
Knot the open end securely, leaving a tail on each side long enough to tie around the graduate's neck with room for a bow or a comfortable knot. Trim any frayed ribbon ends at an angle to keep them from unraveling.
Step 8: Add finishing touches
Tie a ribbon bow at one or both ends. For a hybrid gift, slip individually wrapped candies between a few bills; Made with HAPPY lists a candy lei as a companion project to this one. A printable graduation card threaded onto the ribbon before the final knot adds a message without adding bulk.
Presentation and practical notes
Transporting it. Lay the finished lei flat in a shallow box rather than hanging or coiling it. A loose nest of tissue paper underneath keeps the fans from crushing in transit.
Variations. The same ribbon-threading structure works with small silk or paper flowers substituted for bills, which Made with HAPPY lists as a flower lei variation. A candy-only version works well for younger graduates or as a party favor for a group rather than a single recipient. Both use the same basic process, no additional technique required.
When to make it. Fresh folds hold their shape better than folds made several days in advance, so the day before the ceremony is a practical target. If making it further ahead, store it flat and out of direct sunlight.
Before you hand it over
The project takes about 30 minutes from first fold to finished knot, per Made with HAPPY. Two things most affect the finished look: bill condition and fold consistency. Everything else, ribbon color, bill count, whether to add candy or a card, is adjustable based on the occasion and the recipient.
Before gifting, do one final hang-test to confirm the spacing looks even and the fans are actually opening rather than pressed flat against each other. Check that both ribbon tails are long enough to tie comfortably. Those two steps take about two minutes and catch the only problems likely to surface at the last moment.