Things You'll Need
Straw cowboy hat
Ruler
Pencil
Scissors
Grosgrain ribbon
Spray paint
Hot glue

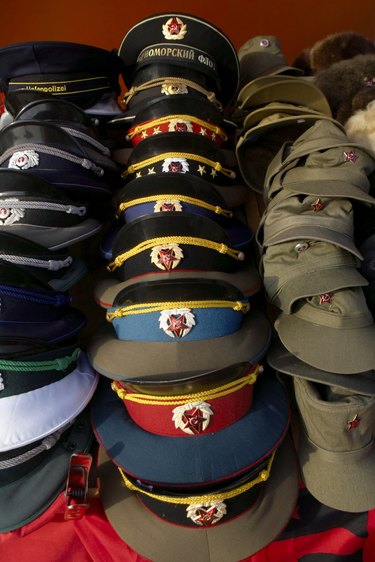
Whether you're going for a complete vintage look or just want a touch of vintage inspiration for an outfit, there are many ways to achieve army-inspired outfits. If you've searched everywhere for a fashionable military cap but can't find one you like, or don't want to purchase one that is extremely expensive, consider designing your own. Creating a DIY military cap may seem challenging, but with the right materials and method, the process can be easier than you think. Become familiar with a technique to transform an ordinary cowboy hat into a one-of-a-kind fashion-forward military cap.
Step 1
Become familiar with the look of garrison-style military caps. You can do this by conducting an online image search; select a photo that you can look at during the cap-making process to use as a guide. This will ensure you have an accurate idea of what your finished project should resemble.
Video of the Day
Step 2
Determine the desired height of your cap and use your ruler to find out the exact measurement. Mark the measurement with a pencil and do the same thing to the other side of the hat. This ensures both sides will be equal in height.
Step 3
Make pencil marks to illustrate where you will cut the crown of your hat to form the style and shape of the garrison cap. You will only be using the crown of the cowboy hat. The brim will be cut off and discarded.
You should have two semicurved, diagonal lines on either side of the crown to form the shape of the hat. Your cap should be slightly longer towards the front so you are able to achieve the pointed tip, which is a signature characteristic of garrison caps.
Step 4
Put the cap on to make sure it's the desired height and shape. If not, carefully use your scissors to perfect the shape of the cap. The base of your cat is now complete.
Step 5
Spray paint your hat the color of your choice. To ensure an even application, use two coats of spray paint; allow the first coat to dry completely before applying the second.
Step 6
Measure the round edge of the cap and a strip of grosgrain ribbon. The ribbon should be slightly longer in length compared to the round edge, according to the website The Fashion Traveller.
Step 7
Fold the grosgrain ribbon in half, lengthways and crease the ribbon.
Step 8
Glue the ribbon to the cap so that there is an equal amount of ribbon on both the inside edge and outside edge of the cap.
Tip
If you don’t have a cowboy hat available, consider visiting a local thrift store to find one for a reasonable price.
If you wish, you can hot glue embellishments of your choice onto your cap.
Warning
Use hot glue with caution to avoid injury.
Video of the Day