Things You'll Need
Sheet metal
Marker
Ruler
String
Drill
Rivet gun
Rivets
File

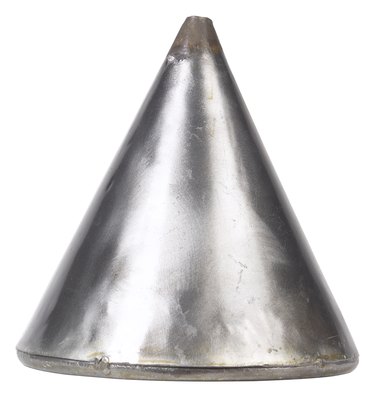
Rolling a metal cone out of sheet metal may be a little easier than you may think. By determining the length of the slanted side and the circumference at the wide end of your cone, you can quickly and easily produce a cone exactly the size you want it to be out of a flat piece of sheet metal. Secured in place with sheet metal rivets, your cone will hold its shape and you'll be able to use it in a variety of purposes as you see fit.
Step 1
Draw a line onto your sheet metal the same length as you want the slanted edge of your cone to be. Mark one end of the line "pivot" and the other end "wide."
Video of the Day
Step 2
Cut a length of string with a loop at one end, and the other end held at the "pivot" mark. The string should be the same length as the line in Step 1.
Step 3
Place the tip of your marker through the loop and trace an arc onto the sheet metal starting at the "wide" mark and radiating around, creating an arc the same length that you want the circumference of your cone to be. Measure this length with your ruler and add 1/2 inch. You must add 1/2 inch to this length so that you can overlap the sheet metal slightly, allowing you to rivet it closed. Draw a straight line from the end of the arc back to the "pivot" mark.
Step 4
Cut out your cone template from the sheet metal using your tin snips, then file the edges smooth to avoid cutting yourself or someone else with the cone.
Step 5
Roll the template into a cone shape, overlapping the sheet metal by 1/2 inch, then drill a few holes along the seam and seal it closed by placing rivets in the drilled holes.
Tip
Add a bead of silicone sealant along the overlapping edge if you require the cone to be water tight.
Video of the Day