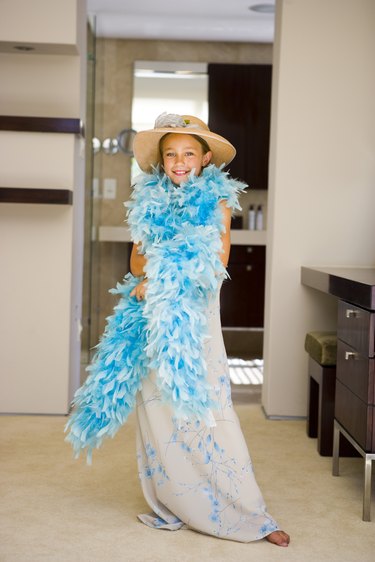
A modern twist on the feather boa -- and more animal-friendly -- you may have seen the organza boas worn by models in fashion shows and contestants in beauty contests. If you have already attempted to make one at home, you know that regular organza and what you would think would be the correct process for making one, ends in a frayed mess that can be worn only once or not at all. When done properly, boas can look full and fluffy without any fraying issues.

Video of the Day
Things You'll Need
Scissors
100-Yard Spool Of 2-Inch Organza Ribbon
Monofilament Line
Sewing Needle
Step 1
Use scissors to cut a section of monofilament line to 6 inches longer than the length you want the boa to be.
Video of the Day
Step 2
Thread the line into a sewing needle and knot the end.
Step 3
Poke the sewing needle into one end of the 2-inch organza ribbon.
Step 4
Poke the needle back down into the organza ribbon about 4 inches from where you first inserted the needle. For a fuller boa, poke it 6 inches away instead of 4, and for a tighter boar, poke it only 2 inches away.
Step 5
Continue poking the needle through the organza ribbon, using the same spacing each time, until you can no longer add ribbon to the length of the mono-filament line.
Step 6
Cut the excess ribbon with scissors and knot the ends of the monofilament line together.
Step 7
Fluff the boa by spreading out the loops of organza so they are consistent along the entire length and cover the knotted area.