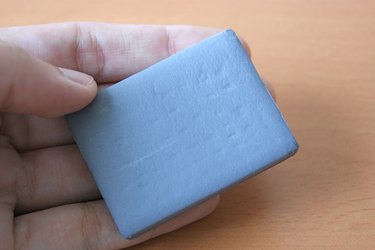
When it comes to drawing with pencil or charcoal, a kneaded eraser is perhaps the most versatile and pliable eraser you can use. Unlike other hard erasers in a set, block form, kneaded ones are meant to be reshaped and resized to fit your particular drawing needs. As these erasers are already bendable when you buy them in the package, they can easily be molded even further and made more soft.
Step 1
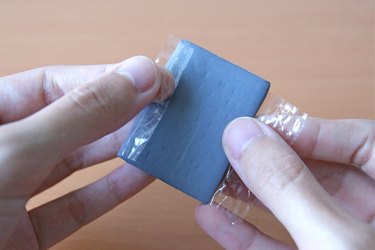
Place a new kneaded eraser in front of you. Unwrap the plastic packaging and throw it away. Press the eraser with your finger to test its hardness. The kneaded eraser is usually rectangular and gray in color, and should be pliable, but firm, to the touch.
Video of the Day
Step 2
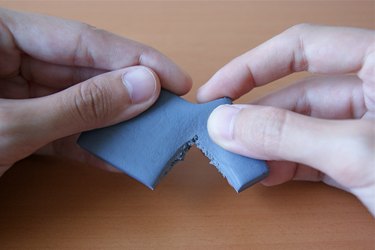
Tear off a piece of the eraser that is approximately 1/4 the size of the whole rectangle. The eraser should break cleanly with an elastic-like snap. Set down the remaining part of the eraser and take the 1/4 section on your fingers.
Step 3
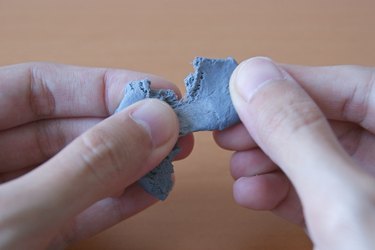
Pull the piece of eraser between your fingers as if you are playing with a piece of gum or making taffy and stretching it. Do this a few times until the eraser piece is warmed up and softer to the touch.
Step 4
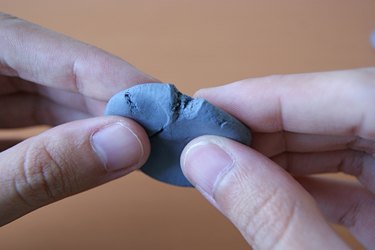
Press the piece of eraser into a ball. Roll the ball between your palms for a few seconds. Press the ball of eraser to test its softness. It should be nearly as moldable as dough but slightly firmer and more elastic. Flatten the ball and pull it out to stretch it as you did in Step 3 if it is not yet soft enough.
Step 5
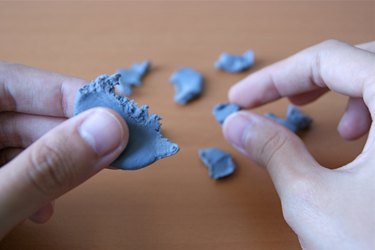
Tear this softened piece of eraser into smaller pieces as needed for detail work. Roll the eraser or smash it between your fingers as needed to keep it soft while you are drawing.
Step 6
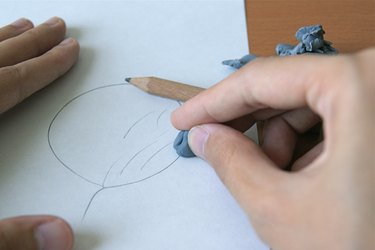
Soften the rest of the eraser in small, individual sections as outlined in Steps 1 to 5. Soften the eraser only if, and when, you plan to use it so that you leave the rest intact and firm.
Tip
Store your eraser and softened eraser pieces in a small box or bag so that you do not lose them.
Video of the Day