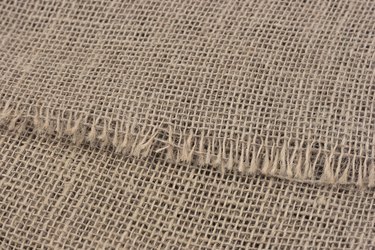
Burlap is often used for DIY projects, weddings, and crafts, but can be a difficult fabric to deal with because it unravels easily. Fraying and unraveling can be prevented by sealing the edges of the burlap. Iron-on hem tape is a no-sew alternative to hem fabric. Sewing a straight stitch or zig zag stitch can also prevent burlap from unraveling.
Items Needed
Video of the Day
- Sewing machine
- Iron-on hem tape
- Iron and ironing board
- Thread
- Scissors
- Pins
Video of the Day
Cutting Burlap
To create an even and precise hem on burlap, it must be cut the proper way. On the edge of the burlap, use a pin to pick one of the burlap threads from that area out of the weave. As you pull the thread, the burlap begins to bunch. Keep pulling the thread through until it eventually comes out of the burlap. Cut on the straight line where the thread is missing.
Iron-on Hem Tape
Turn the burlap wrong side up. Measure and fold the edge of the burlap to the desired width of the hem. Make the width of the hem slightly past the width of the tape. Pin the fabric to keep it in place and iron the fold to create a crease. Remove the pins when the fabric has cooled. Place the hem tape underneath the folded edge so the tape is between the folded edge and the burlap. Set the iron to its cotton setting. Press the warmed iron down on the fabric for 3 to 5 seconds to activate the adhesive in the hem tape. Continue to iron the rest of the hem until the entire tape has bonded the hem in place.
Sewing a Hem on Burlap
If the burlap is cut on the straight grain, sew it with a sewing machine zigzag stitch so it grabs more of the burlap's fibers. The edges can be folded under or left unfolded depending on the desired look. For unfolded edges, sew a top stitch 1/4 inch away from the edge. For edges folded under, turn the burlap wrong side up and measure and fold the edge of the burlap to the desired width of the hem. You can use a double-fold hem, but it isn't necessary if the hem is not going to show.