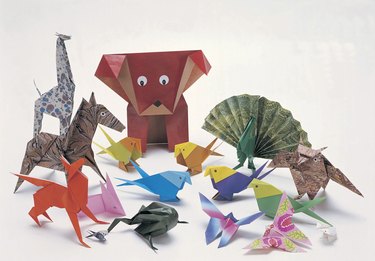
The art of paper folding began in the 2nd century in China. This art form eventually made its way to Japan in the 6th century. The traditional art of Japanese paper folding is called orukami. "Oru" means fold, and "kami" means paper. The goal of creating art from geometric folds and crease patterns is to represent an object in life.
Step 1
Fold the paper square in half. Unfold.
Video of the Day
Step 2
Fold the edge nearest you into the center line and crease. Turn 180 degrees. Fold this edge into the center line and crease.
Step 3
Fold the long rectangle in half and crease. Unfold.
Step 4
Fold both sides into the center line forming a square. Crease and unfold.
Step 5
Take the top right corner and fold it diagonally into center. Unfold. Put your finger inside the top right and open this edge. Push your finger in opening up a pocket. Flatten this pocket into a triangle. Repeat with the other three corners. This will form two diamonds on the outside.
Step 6
Fold behind from the left point to the vertical center line on both edges to form a cone shape.
Step 7
Fold the left diamonds' right points inward, forming two tiny diamond shapes.
Step 8
Fold backwards in half along the center line. You will have the two little diamond shapes on the outside.
Step 9
Open the larger end a little, while holding the left point of the triangle. Push the right end into form a diamond. Gently tug on the top part of the diamond, pulling it through the open space and flatten as the tail. The outside triangle becomes the foot.
Step 10
Rotate the paper into a standing position then bend the pointed end over. Unfold and bend down again. Open the point and push down, forming a head. Tuck the pointed end under and flatten the head towards you.
Step 11
Take the tail pressing down to flatten it out. Draw an eye and teeth. Congratulations, you have made a beaver!
Video of the Day