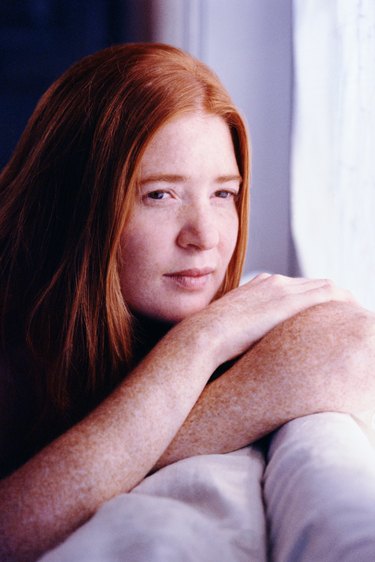
Though some freckled individuals curse the small, brown dots that line their face, others adore the look of freckled skin. Often, photo retouching that smooths and illuminates an image erases the appearance of freckles. However, Photoshop's brushes and layers allow you to add a few freckles to any face. Though faux-freckle photos often appear realistic from afar, they typically fail to stand up when compared to those of a naturally freckled face.
Step 1
Open the image in Photoshop.
Video of the Day
Step 2
Navigate to the "Layers" window and press the "Add Layer" button. Highlight the new layer.
Step 3
Click on the "Color Wheel" icon. Move the cursor over the wheel until it displays a light-brown color. Left-click.
Step 4
Open the "Brush" drop-down menu and scroll to a 2 pixel to 5 pixel brush, with soft edges.
Step 5
Navigate to the "Layers" window and press the "Brush" tab. Open the "Brush Presets" drop-down menu. Check the boxes next to "Shape Dynamics" and "Scattering".
Step 6
Drag the "Spacing" and "Scatter" sliders until the sample image displays a freckle pattern. Drag the "Diameter" slider until the freckles appear an appropriate width. The appropriate diameter varies, depending on the size of the image. Use a diameter between 10 and 50 pixels.
Step 7
Click on the "Lasso" tool. Drag a selection around the area of the face you want to contain freckles. For example, drag a soft box around the forehead.
Step 8
Color the selection with freckles, using the "Brush" tool.
Step 9
Drag the "Opacity" slider for the filter toward 50. Lower the opacity until the freckles appear natural.
Step 10
Open the "File" menu and scroll to "Save As". Enter a new file name, such as "JaneFreckles," and press the "OK" button.
Warning
Increased brightness typically reduces the appearance of freckles.
Video of the Day