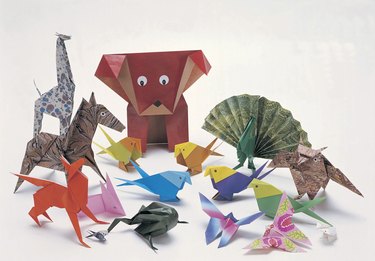
Sloths are one of the more advanced animals you can make in Origami. They require knowledge of inside and outside reverse folds as well as squash, petal, valley and mountain folds. Once you have a good knowledge of these, you should be able to make a sloth with just a little practice.
Step 1
Start with the paper laying flat on your work surface. Fold along the diagonals with valley folds, and along the North-South and East-West lines with mountain folds. This should give you a square base.
Video of the Day
Step 2
Squash fold each face of the square base, which should leave the paper in a diamond shape. Fold and then unfold the corners, giving them visible crease marks. Petal fold each face of the diamond utilizing those crease marks. This should leave you with a standard Origami frog base.
Step 3
Place the frog base so that the pocket created by doing the petal folds is facing up. There should be four flaps at the top and a point at the bottom. Fold the paper in half vertically.
Step 4
Do an outside reverse fold to the lower tip. Follow this with a squash fold to the lower flap. This forms the sloth's "face." Take the front bottom flap and tuck it under. Do an inside reverse fold on both sides of the sloth "face" to give the head a rounded appearance.
Step 5
Perform a valley fold to the top, outside flap to form an arm. Repeat this action with the back outside flap as well. Do a valley fold to the new front, top, outside flap to create the first leg. Repeat this action with the new back outside flap as well.
Tip
You can use any color of paper you prefer. It may help you keep track of folds at first if you use paper that is colored differently on each side.
For your first attempts, you may need guidelines to show you where to fold the paper. Draw dashed lines from the top to the bottom and from one side to the other. Then draw lines from one top corner along a diagonal to the bottom corner. Repeat for the other corners.
Video of the Day